2025 ARMORTEK KIT SURVEY

Over the last few years we have brought out a whole series of kits as a direct result of your feedback - kits like the Pershing, JagdPanther, Hetzer, Leopard 2A4, and more recently the Sd Kfz 7, 88mm Flak 36 and the upcoming Challenger 2.

So, in keeping with what has become and annual tradition, here is your opportunity to once again influence our future production plans.

We have added in some "guide pricing" next to the names of the models. This is a rough estimate of the price at the current rates.

Thanks in advance for your input and we look forward to the results.

Panther Progress!

Forum for discussion relating to the Panther
Post Reply
Kent Wiik

Post by Kent Wiik »

Bob, so they are still red outlined in white...I do need new glasses... :wink:

Remember many moons ago you wanted to do a Das Reich Panther (Barkmann) and their numbers was black outlined in white, but now I remember you dropped the DR and took a random "Normandish" Panther instead - sorry.
You succeeded to do a Normandy look Panther for sure!
Well done.

/Kent

User avatar
Robert E Morey
Posts: 2348
Joined: Wed Jul 18, 2007 12:59 am
Location: Seattle, WA USA
Has liked: 158 times
Been liked: 830 times

Post by Robert E Morey »

Had some fun today running the Panther in the backyard. Wow these things are fun to drive - they really tear up some turf! And powerful as well - in the last photo shows the tank sitting on a 40lb piece of concrete. The thing could push this heavy cement blob with no problem!

The tracks got really dirty. I added some cedar branches for some aerial camoflage. Looks pretty realistic from a distance. I took alot of video too, will hopefully have some edited soon. My yard is quite small so getting a photo without fense, house, or some other junk in the way is difficult -apologies there.

Image

Image

Image

Image

Image

Image

Image

Image

Image

User avatar
Adrian Harris
Posts: 5119
Joined: Thu Jul 12, 2007 10:46 pm
Location: Berkshire (UK)
Has liked: 1475 times
Been liked: 1674 times

Post by Adrian Harris »

That's one smart looking Panther :D

I love the battle damage and subtle wear and tear, though you'll be adding that for real now your driving it :wink:

Will you be weathering the Sherman in the same way ?

Adrian.
Last edited by Adrian Harris on Tue Aug 18, 2009 10:10 pm, edited 1 time in total.

Derek Attree
Posts: 1305
Joined: Thu Jul 12, 2007 12:44 pm
Location: london
Has liked: 219 times
Been liked: 199 times

Post by Derek Attree »

Hi Bob
Makes me want to drive mine again.
They run so well.

Derek
we must stop making stupid predictions

User avatar
Robert E Morey
Posts: 2348
Joined: Wed Jul 18, 2007 12:59 am
Location: Seattle, WA USA
Has liked: 158 times
Been liked: 830 times

Post by Robert E Morey »

Adrian,
Thanks for the compliment. I will weather the Sherman some, but no hits on the glassis plate for the Shermy. They weren't very good at deflecting those! :(

I've ran it hard now about 3 hours in grass, moss, dirt, small twigs, and rock. So far no issues other than scraping the paint off the wheels. They seem to be very robust - a nice change over their smaller Tamiya brothers. I also accidentally backed into the fense and hit the rear storage bin. No damage other than a small paint scrape. I think thin metal bins wouldn't have faired so well. :oops:

I'm impressed by the speed control too, they allow very subtle stick inputs just like a real tank.
Bob

Jim Slothower
Posts: 138
Joined: Wed Apr 02, 2008 7:39 pm
Location: (Afghanistan)-Camas, Wa. USA

Post by Jim Slothower »

Bob,

Looks awesome. Looks like next visit I will get to see it in motion. Keep the pics coming.

Jim

Tim McCarthy
Posts: 114
Joined: Wed Dec 12, 2007 6:18 am
Location: Gold Coast, Australia
Been liked: 31 times

Post by Tim McCarthy »

G'day Bob,
To quote a young 21 yr old lady "looks pretty good ay!"
The young lady works for me and noticed it when I was quickly scanning through the forum.
This is a fantastic comment considering a Panther Tank would not be of any interest to her. This shows the great job you have done on this model.
The only problem with this is she asked when will my Tiger look that good to which i replied This is the best explanation of the 'Ying and Yang theory' for everything that looks that good there has to be balance in the world so mine doesn't look that good. :wink:

Timbo

User avatar
Robert E Morey
Posts: 2348
Joined: Wed Jul 18, 2007 12:59 am
Location: Seattle, WA USA
Has liked: 158 times
Been liked: 830 times

Post by Robert E Morey »

Tim,
She must be a REALLY cool gal if she can appreciate tanks! :wink: Comments and admiration from the tank loving guys is great, but a nice comment like that is even better. :oops: Why can't all girls appreciate tanks like we do? :lol:

Just be patient with your build. I remember in the not so distant past ('07) when it looked like this....a pile of parts! My work bench was a lot cleaner back then...

Image

Image

Allan Richards
Posts: 743
Joined: Thu Jul 12, 2007 10:34 am
Location: Kent
Been liked: 10 times

Post by Allan Richards »

The Panther looks superb, you'll have to get a miniture fir tree to use for camo. Its good to see dirt on the tracks, and the dirt stuck on the wheel rims looks good.
Allan Richards

User avatar
Robert E Morey
Posts: 2348
Joined: Wed Jul 18, 2007 12:59 am
Location: Seattle, WA USA
Has liked: 158 times
Been liked: 830 times

Post by Robert E Morey »

Thanks Allan, its really great to have it finally rolling! Nice to chew up some grass with it. :roll:

User avatar
Robert E Morey
Posts: 2348
Joined: Wed Jul 18, 2007 12:59 am
Location: Seattle, WA USA
Has liked: 158 times
Been liked: 830 times

Post by Robert E Morey »

One detail missing from my Panther was the antenna. I finally got around to this yesterday. Its not 100% accurate, the original "spring" pivot was a rubber block. But this is a close enough representation for me. The Spectrum 2.4Ghz receiver does not seem to need an external antenna connection so this is not a functional antenna. It is just a faux mounting. It could be connected to a standard futaba type receiver wire quite easily.

Image

Image

Image

Image

Image

User avatar
Robert E Morey
Posts: 2348
Joined: Wed Jul 18, 2007 12:59 am
Location: Seattle, WA USA
Has liked: 158 times
Been liked: 830 times

Post by Robert E Morey »

Hi all,
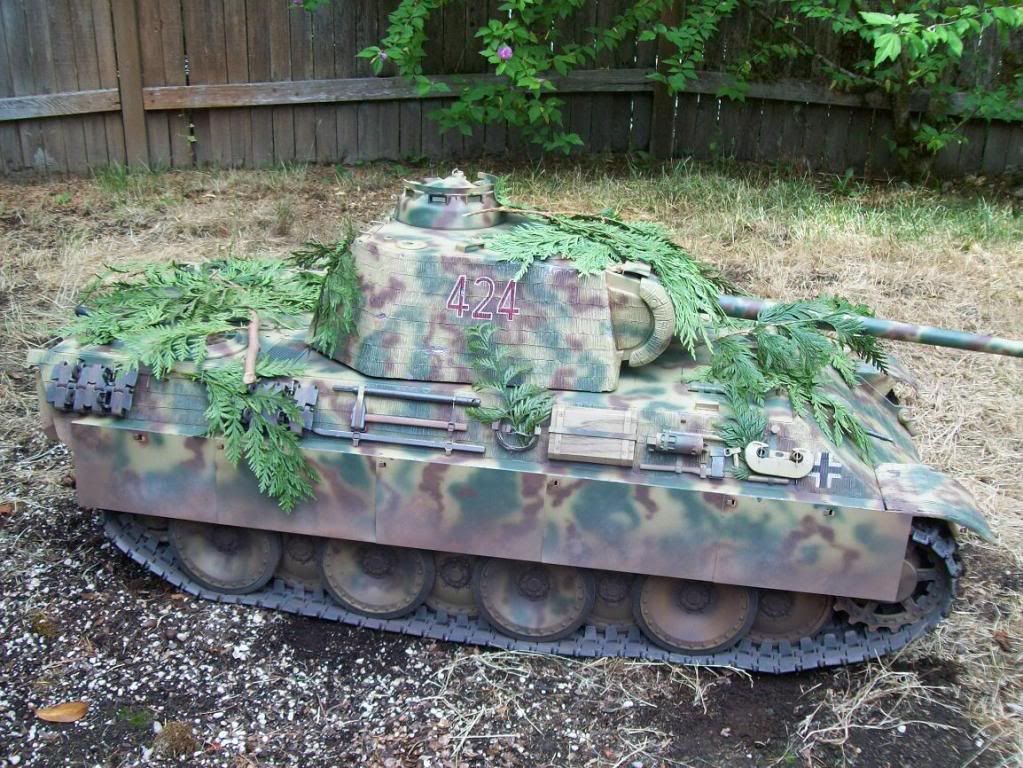
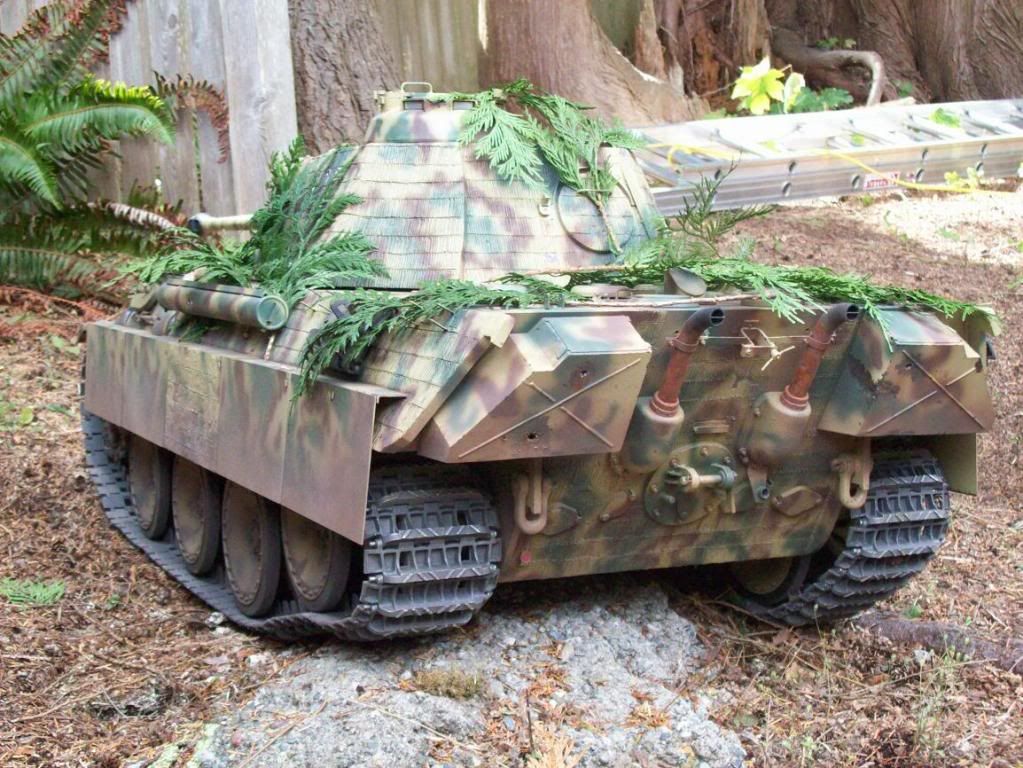
I recently experienced a not so fun thing while driving the Panther down in California. Which incidently, is over 900 miles from my workbench!

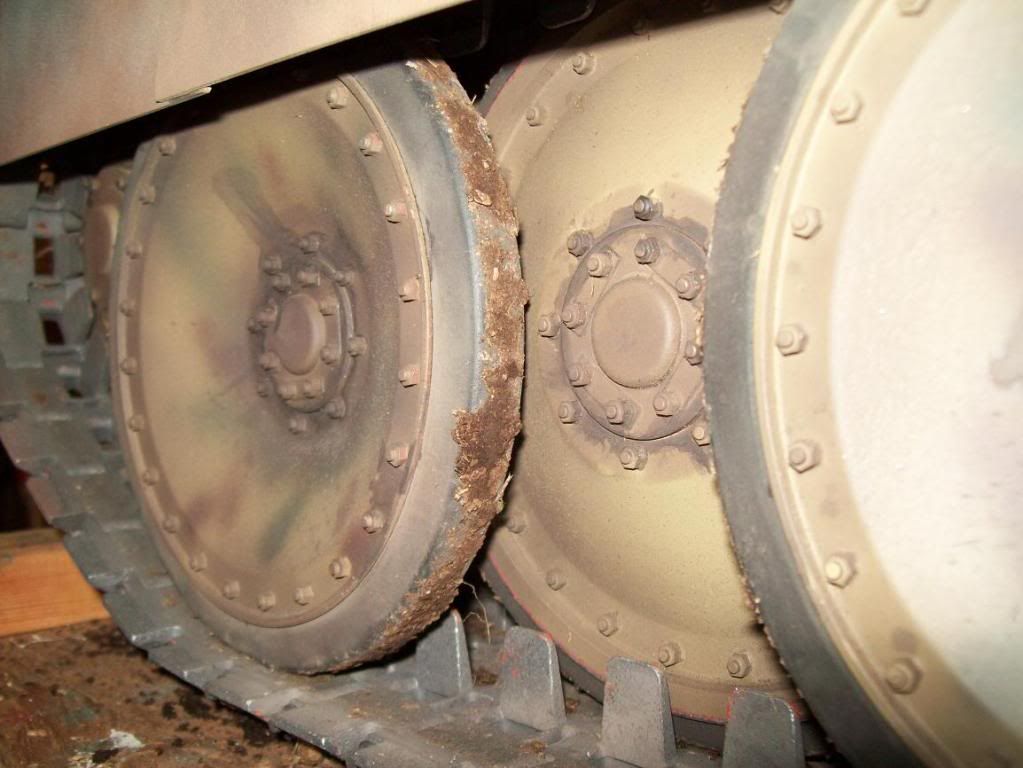
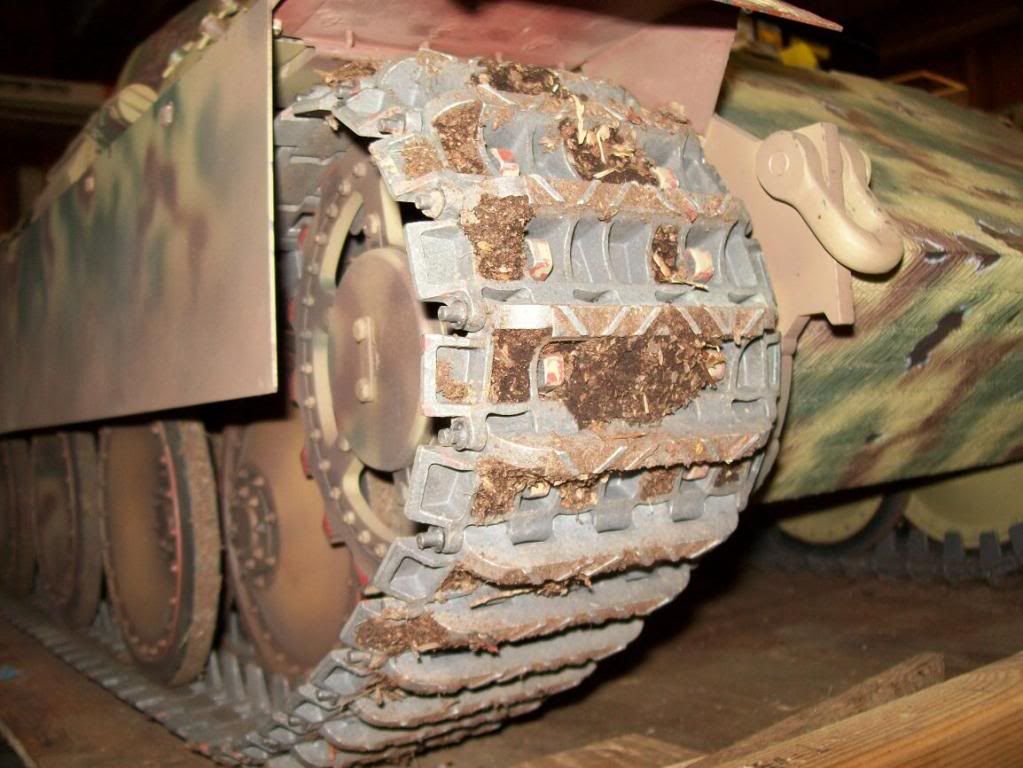
Several of the M4 screws holding the road wheels worked loose. The first indication something was very wrong was when the road wheels began to wobble significantly. I thought I had bent an axle or broken a torsion bar! :twisted: Both of which would be REALLY bad....shortly thereafter two road wheels just fell off and upon closer inspection another two were waiting to fall off!

Trying to reinstall the wheels led to the next issue. The little hub caps were stuck in the wheels something fierce. Trying to remove them "in the field" resulted in scratched paint, dinged up hub caps, busted knuckles, %^&$@@% swear words and other anomolies.

We got the wheels fixed after a fashion, but when I got home I made the following simple tool to help easily remove those little bugger :oops: hub caps when they are stuck on tight. It also helps prevent cross threading when putting them back on. I suggest all Panther/Jagdpanther owners make something similar to this tool and put it in your field tool box. Its a simple project with basic machine tools.

Image

You don't really need the holder body but it helps get a little more grip on the tool. The tool itself is made of delrin plastic to prevent damaging the hubcaps or the paint on them. The holder can be alum or PVC. The tool part is also intended to be reverseable -when one side gets bunged up, flip it around and use the other side.

The PDF drawing for my version is located in my Armortek gallery as follows:

Gallery-->Bob Morey-->Panther-->page 12, last item will say "no thumbnail"--> click "no thumbnail", then click "download document". This should open the PDF drawing. It is two pages. Save it or print it out.

Hope you find this useful. Have fun, happy tankin and keep all the wheels on...
Bob
Image

Allan Richards
Posts: 743
Joined: Thu Jul 12, 2007 10:34 am
Location: Kent
Been liked: 10 times

Post by Allan Richards »

If not got the Panther so I haven't come across this problem, but I certainly agree with the field repair box of tools. I have the early Tiger with the original unplated track pins, which have now become quite difficult to remove without some tools and a little heat. I once broke a track with the tank in a hollow, whilst out on my own in the local woods and I couldn't get the pins out to repair the track and I also couldn't man handle the stricken tank back to the car on my own. Eventually after about an hour I managed to fahion the track back together to get the tank back to the car, so I learn't two lessons.

1) Carry a good box of tools
2) Make sure you have some gear to recover the tank, especially if you are on your own
Allan Richards

Derek Attree
Posts: 1305
Joined: Thu Jul 12, 2007 12:44 pm
Location: london
Has liked: 219 times
Been liked: 199 times

Post by Derek Attree »

Hi Bob
I had the same problem during the build and I made a
tool to do the job, I thought I posted it here some time ago
but I did not, So I will load up the picture here .
Mine is turned and then milled from one piece of ally bar.
Image
Image
Image

Derek
we must stop making stupid predictions

User avatar
Robert E Morey
Posts: 2348
Joined: Wed Jul 18, 2007 12:59 am
Location: Seattle, WA USA
Has liked: 158 times
Been liked: 830 times

Post by Robert E Morey »

Good idea Derek, thanks for posting an alternative to mine.
Kind regards,
Bob

Post Reply