Page 2 of 3
008 makeover cont
Posted: Sat Feb 19, 2011 10:17 pm
by John Clarke
The final out come should look a little like this I hope. With a full complment of mud guards just off the proving ground as I don't do battle damage.

While reading "New Vanguards King Tiger" the colours of this particular tank and period, are decribed as base coat red primer, over painted with dark green and dark yellow with spots of varing colours wthin the stripes.
I particularly like the name for it, "Ambush" to simulate sunlight passing though foliage. Once sprayed with red oxide will paint the stripes by hand to get the hard edges right.
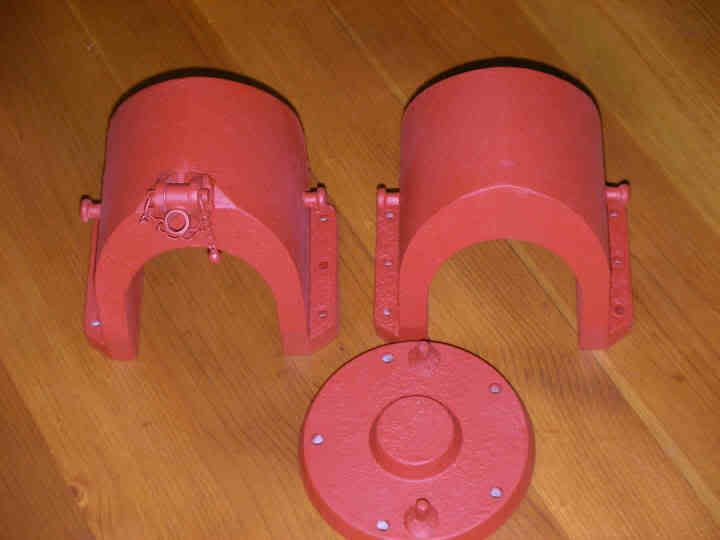
Exhaust and rear armour plates completed.
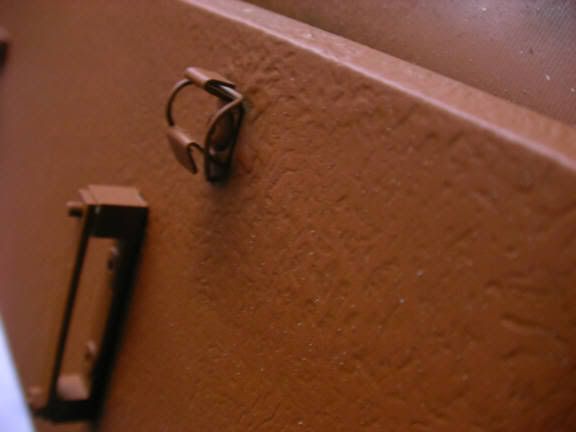
Rear deck sanded down with lowered forward air intake, deck hatch clamps fitted and armoured cover made and fitted..
008 cont
Posted: Sun Feb 20, 2011 9:41 pm
by John Clarke
Sanded down turret, ready for base coat, adding poison gas detector mounts and commanders cupola sights. Needing to just round off the edges of loaders periscope guard.
008 makeover painting
Posted: Thu Feb 24, 2011 4:36 pm
by John Clarke
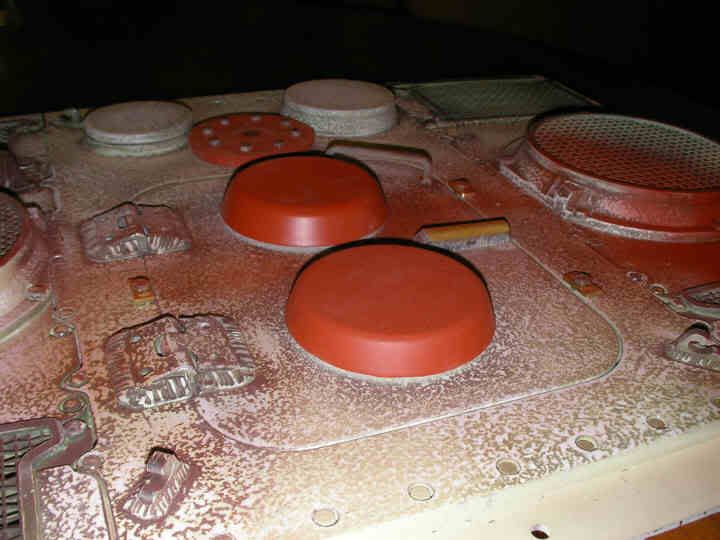
Have sanded down hull and turret and have painted Red Oxide, some work on the old rubbed down welds and edges needed. but I'm pleased with the surface finish. Camera flash can be a bit harsh, but its a bit dark in the garage and the weather outside recently has been a bit grim for photography.
008 makeover blank firer
Posted: Fri Feb 25, 2011 5:12 pm
by John Clarke
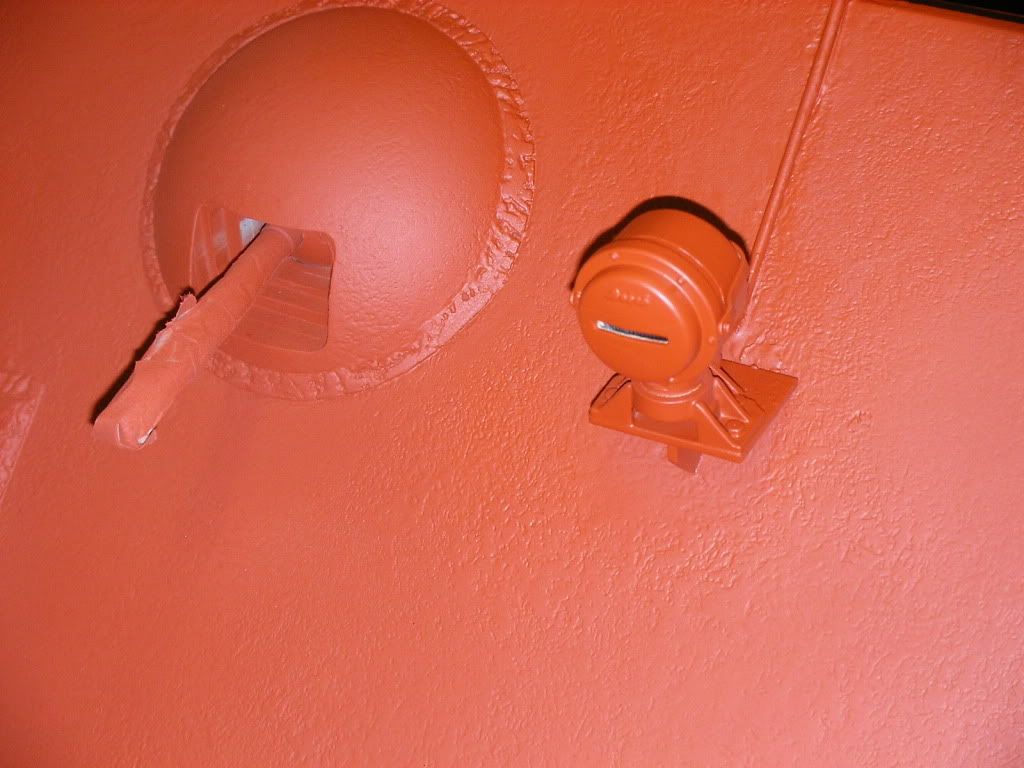
Most of the red oxide is completed, so while it's harding off have fitted the blank firer.

As I wrote early, I didn't want to drop it low as the norm for three reasons. First the main switch and fuse box sits just below; second it's easier to load and third I think it looks better, rarther like a mg 34 ammo can. Obviously I've had to limit the elevation and trimmed the end of the motor to stop it bonking the turrent roof plate.
The previous owner built the turret with a hinge on the turret roof plate which makes access fairly easy.


Posted: Fri Feb 25, 2011 8:45 pm
by Tony Thompson
Hi John
The refurbishment is coming on a treat, the blank firer looks good.. you have done a great job of cleaning it all up..
regards Tony.
008 9mm converion
Posted: Sat Feb 26, 2011 10:12 pm
by John Clarke
Hi Tony
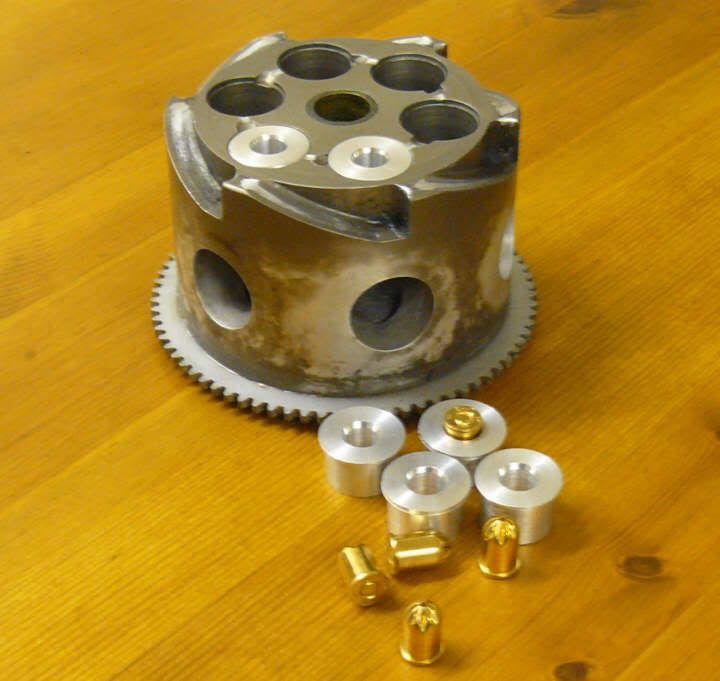
Thank's Tony, turned off a few 9mm converters.
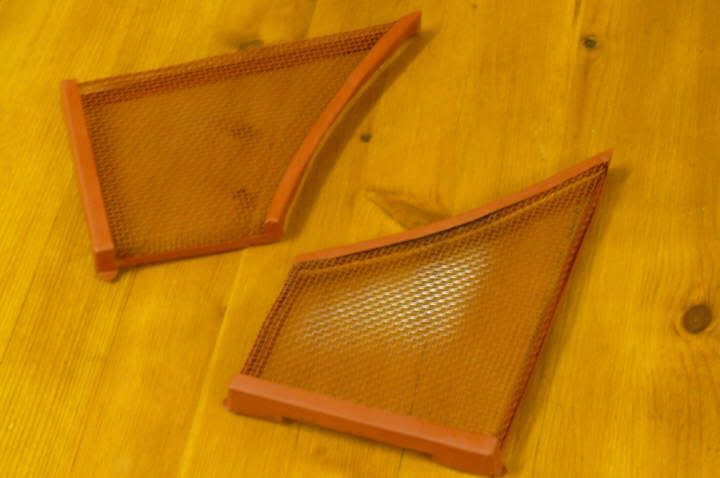
Just knocking up some Bussle vent guards, knocking being the word though a few dent won;t detract from them too much.

008 bussle guards
Posted: Mon Feb 28, 2011 9:58 pm
by John Clarke
The mesh guards have been made from light brass angle, flat strip and stainless mess silver soldered together, there a few dints from finger bending but think they look the part and fill in that gap below the bussle.
008 makeover painting
Posted: Fri Mar 04, 2011 2:50 pm
by John Clarke
Well this is the worst part for me, I must say I'm rubbish at painting.

but that's fun in modeling, start off with the basics and make it your own. Some things you can be good at and others you need practice so any tips would be gladly recieved.
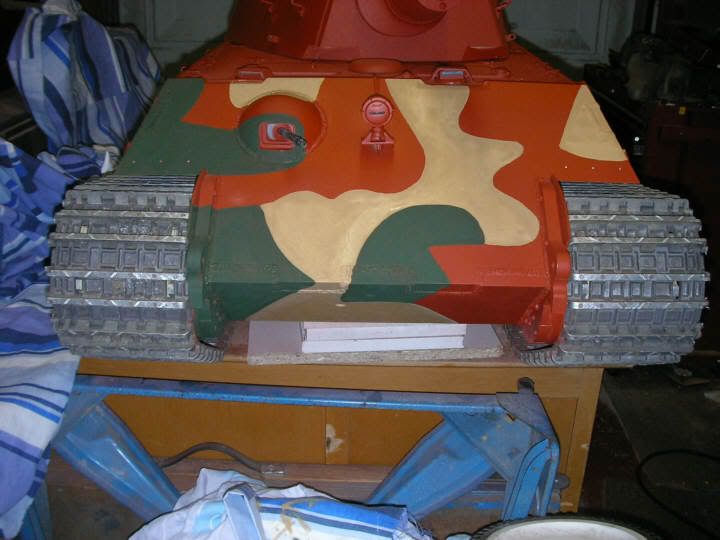
I know that 008 was hand painted or hand finshed using it's base coat red/lead or oxide, with dark green and dark yellow/sand hard edges.
It would have been a very bright look when completed. I've decided to use Tamiya acrylics because they ar easy to get hold of and will always be too. I also have never had any OH MY GAWD experiences either, I'm not into RAL colours believing if it looks good it usually is. Several coats will be needed to prevent the red burning though.
The Ambush camo chosen has under tones of modern art, so I believe there must have been a few drafted picasso's out there during this period at the Henschel factory. those dots will either make or break the effect me thinks.

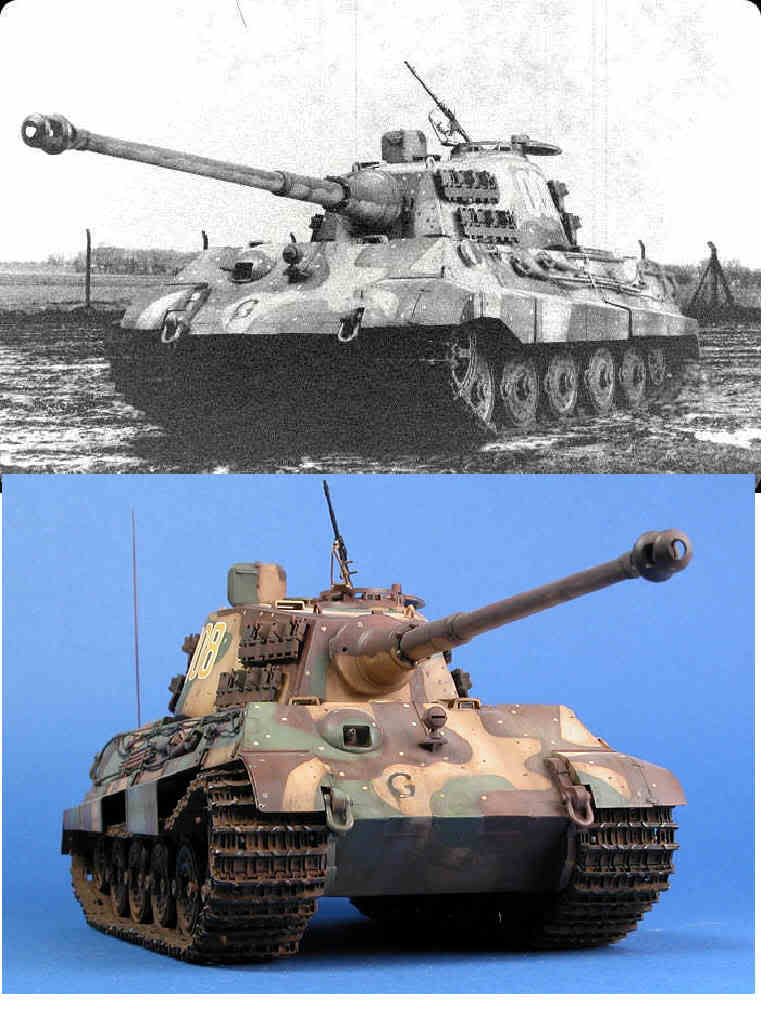
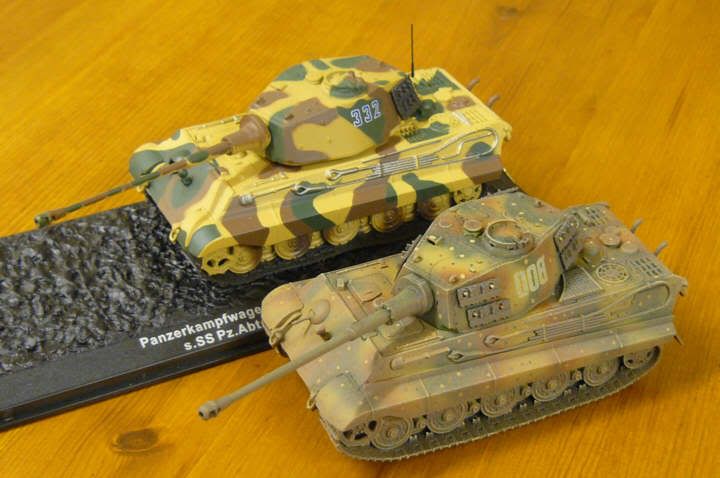
The two 1/72 models show the extreams of the camo with the top one being probably more correct with its hard edges and not fuzzed as with the bottom one.
My main problem will be to get the right amount of grimey look without blurring the hard edges, so any tips please post.

A slighty dusty, slighty rusty, nearly just out of the show room effect

To paint
Posted: Fri May 06, 2011 1:04 am
by John Clarke
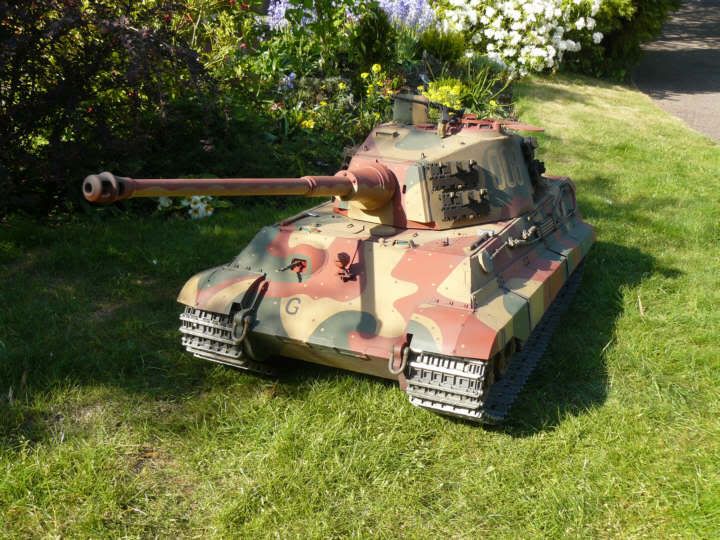
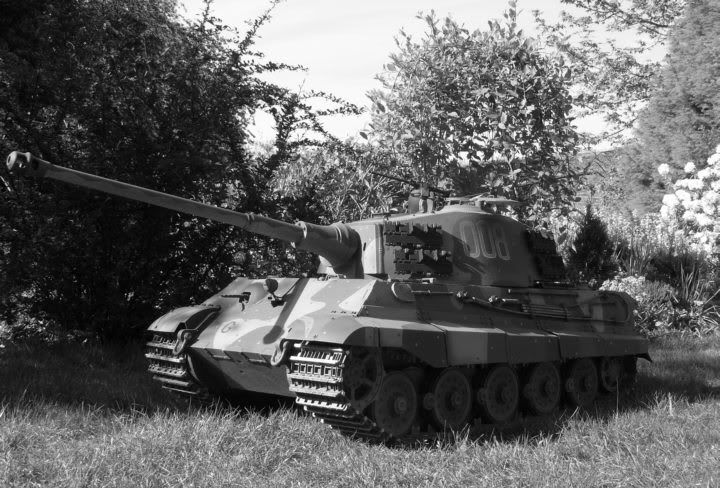
As I said at the begining painting is not my thing. But I've enjoyed doing it myself. I'm not into battle damage as I'm sure that will come with use and I like to show the model as complete as possible. I not keen on dirting up either, being from an R/C boat building background being a "no no" in the competitons stakes.
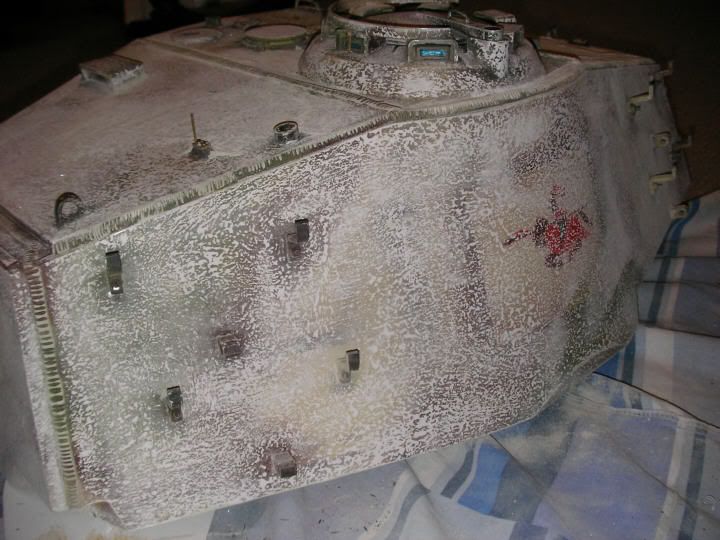
Still I had to dust/dirty the KT down a bit as it turned out a bit "bright". In the recent lovely weather, the pictures show the paint work to be bright even with the light dusting it's had.
I don't know what the crew's were thinking when they designed "ambush" but they must have had a chuckle to themselves when they finished the last coat. Maybe it was a excuse to take out the KT for a thrash to dirty it up. Who knows!
I have'nt shmuged the G but I have made the center 0 on the starboard side slightly taller than the other numbers as original. All painted by brush as original except the base coat and dust. The green and sand needed three coats as the base red oxide tended to burn though the first coat as can be seen from the first picture. The dimpling effect of the coating that took so long to rub down leaves a good rolled armour effect away from the flat aluminum plate of the model.
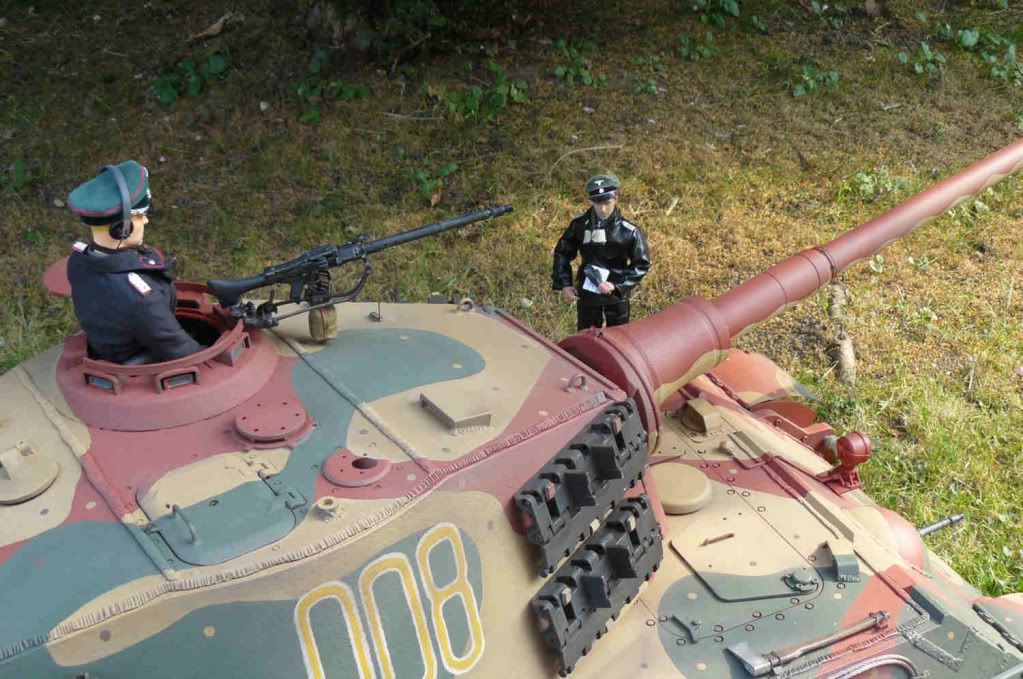
A 1/6 Peiper came up on ebay, even though he wasn't keen on the KT, too BIG, too HEAVY and drank all his GAS but he may have stood in/on 008, so he had to be brought. Quite a bland face though but his submariners leathers are just the ticket.
Once out of the garage and in day light, some mistakes came to light. But thats the beauty of this type of model, it can always be improved in some way.
Posted: Fri May 06, 2011 6:04 pm
by Steve Norris
Hi John.
Your KT has turned out realy nice.
The hard edged scheem does look quite stark but when you see original wartime shots thats how it looked.
The crews must of wondered what the painters had been drinking when they collected their KT,s from the factory.
Regards
Steve
Posted: Fri May 06, 2011 9:16 pm
by Antony Rowley
Hi John,
I think you're totally wrong
You've created a great KT in a superb camo scheme. The way you've toned it down is superb. You're right about battle damage too as alot of these KT's are relatively new and on the film showing them driving through Tondorf with all side skirts, tools etc perfectly intact.
Great job, well done

Thanks Antony
Posted: Fri May 06, 2011 11:56 pm
by Tim Bowman
Hi John
Very very nice!
Best regards
Tim
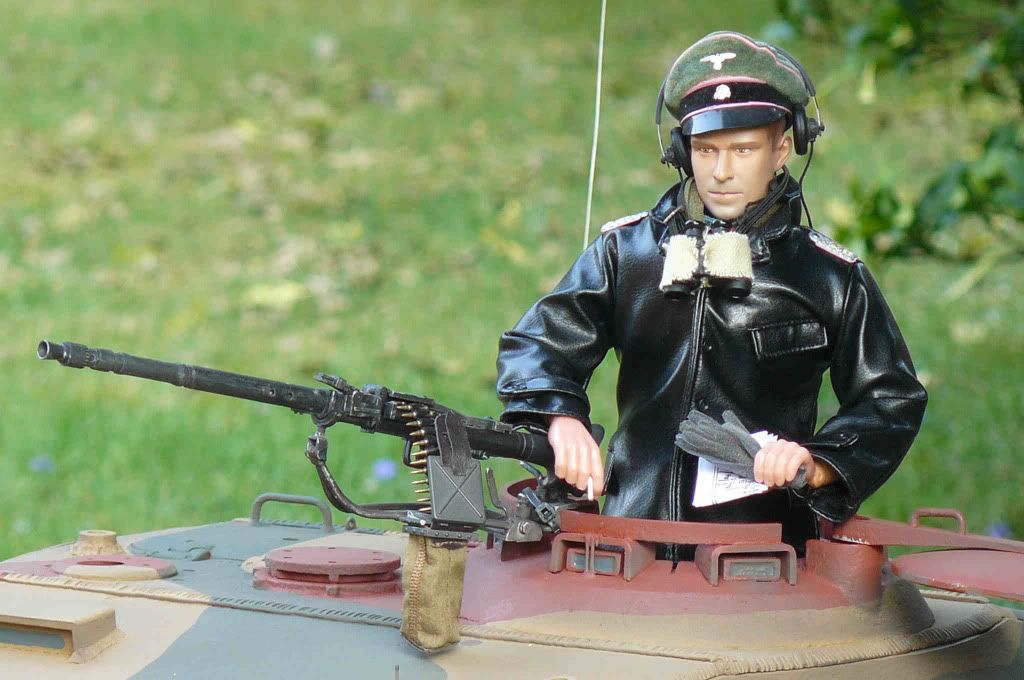
Turret MG and 45 blank amm.
Posted: Mon Aug 15, 2011 6:03 am
by Edward Earp, Jr.
Hi Clark ! I am having a tough time finding the proper MG for the turret.
Where did you get yours ? Also has anyone that you know of tried using
45 blanks in their firing mech. ? Would appreciate information ? Ammo of any type is no problem here in Texas and I am wondering about the 45.
If by chance I can be of any help to you it would be a pleasure. Ed
cupola MG gun
Posted: Mon Aug 15, 2011 7:35 am
by yves mouton
Hello Edward,
The MG from dragon 1/6 scale are looking very good,
i orderd one for myself.
regards Yves
Posted: Tue Aug 16, 2011 8:51 pm
by John Clarke
Hi Guys
I have to admit I used two MG's to make one. The barrel is plastic from the Dragon Bobby Woll set and the breach and stock are from a metal dragon MG34 these make up a proper looking tank MG34.
As for the 45's Ed, I see no problem as long a you make the blank converter about 5mm longer than the blank round used, as you could find the end of the blank will expand out and rivet itself round the outer edge of the converter making it difficult to remove.
The 45 blank as with the 9mm has a relative clean burn, there may be some smoke but may be no flash. On the positive side their cheap and cleaner and you get to use the blank firier with out the risk of mess the shot gun blank makes to the rest of the model. What ever people say, to me the blank firier is great and unique.
For indoors, I use an electronic flash unit in the muzzel break triggered by the sound unit built from a disposable camera circuit.
Please forgive Ed, but, great name, related to the great man himself?