Page 2 of 8
Posted: Sat Jan 09, 2010 10:59 pm
by Dave Dibb (Armorpax)
Hi All,
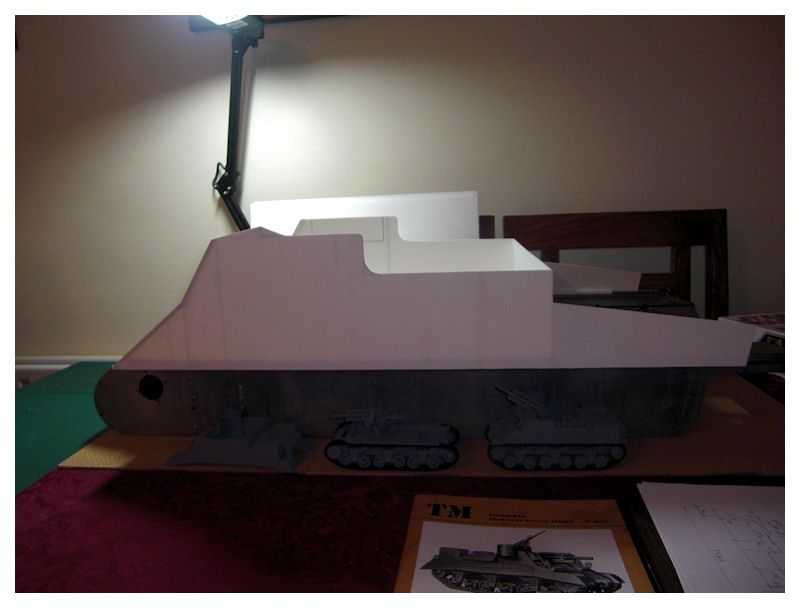
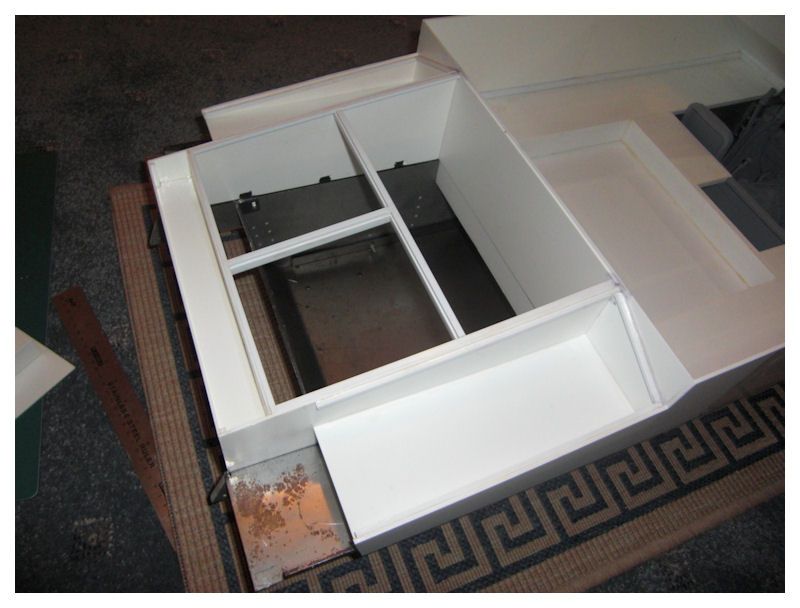
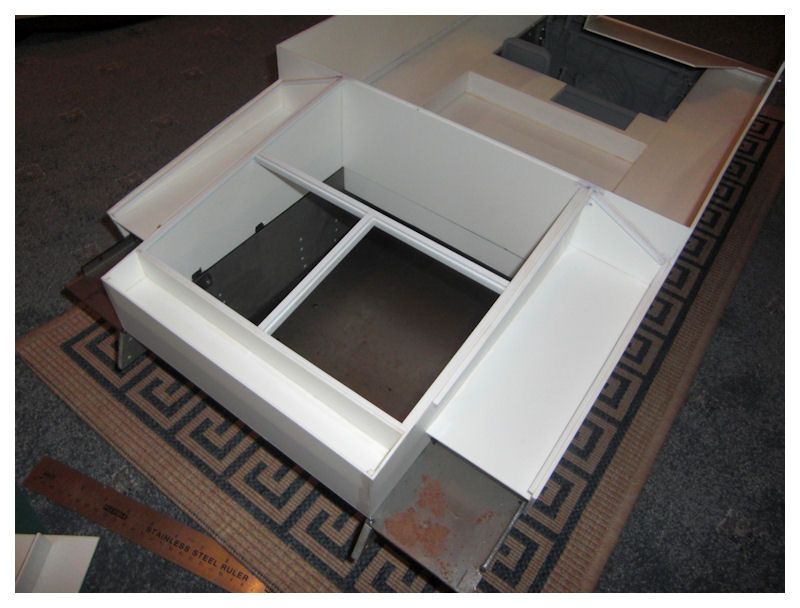
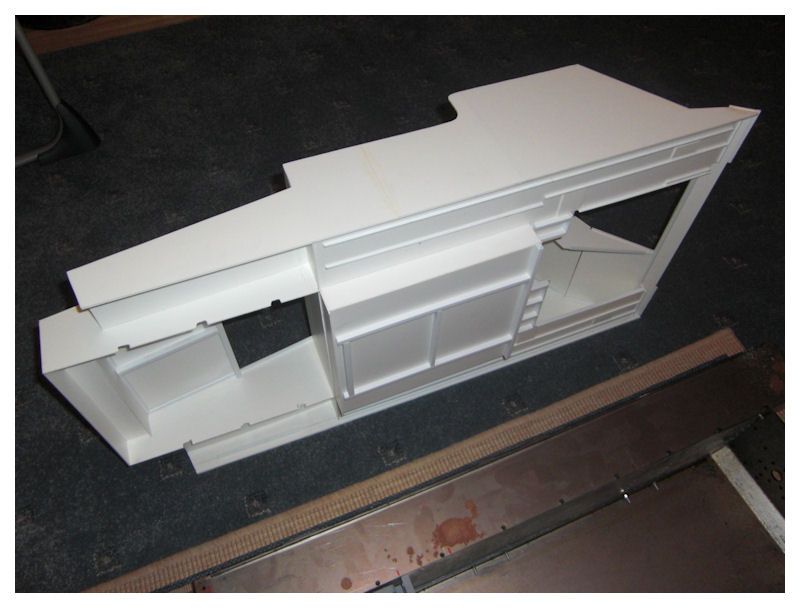
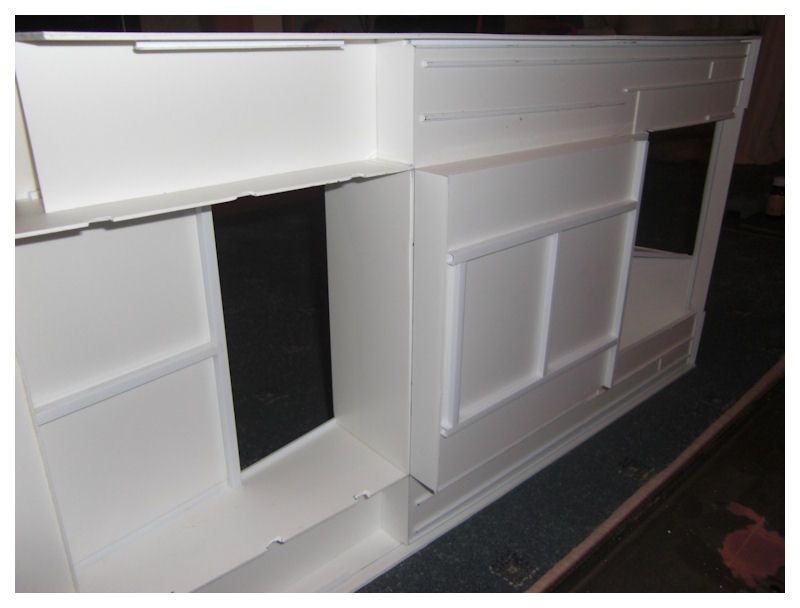
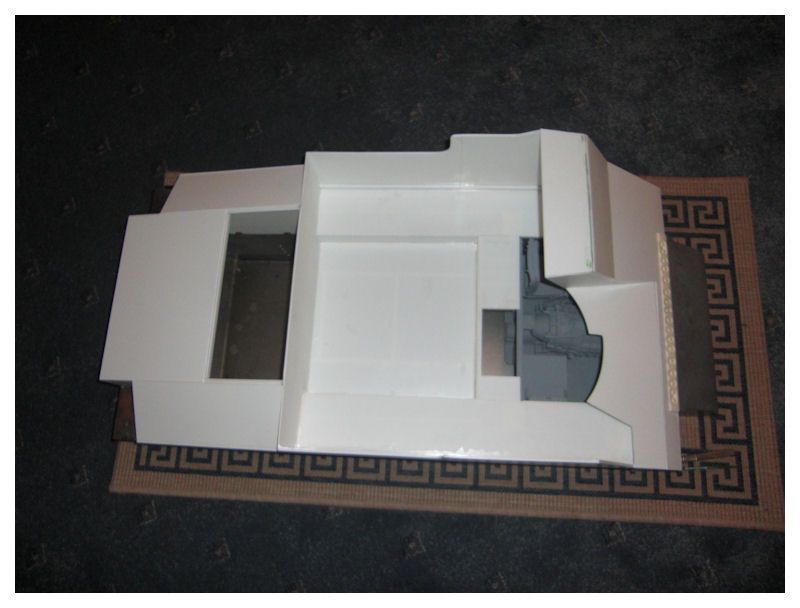
Got the basics in place to start building a shell around, a little more work on it tomorrow with luck.
Cheers
Dave
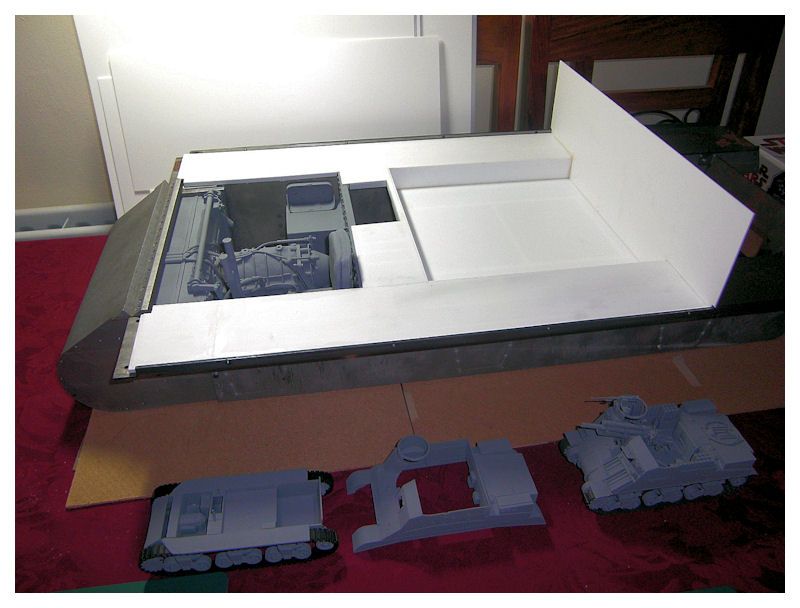
Posted: Sun Jan 10, 2010 9:22 pm
by Dave Dibb (Armorpax)
Posted: Sun Jan 10, 2010 11:51 pm
by Adrian Harris
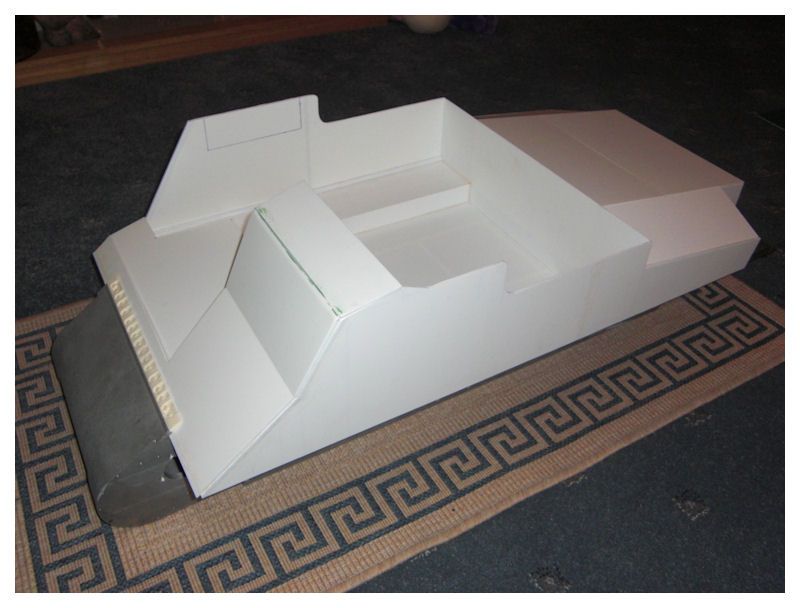
Starting to take shape

I hadn't realised there were so many different angles and curves on an M7.
Adrian.
Posted: Thu Jan 14, 2010 10:04 pm
by Dave Dibb (Armorpax)
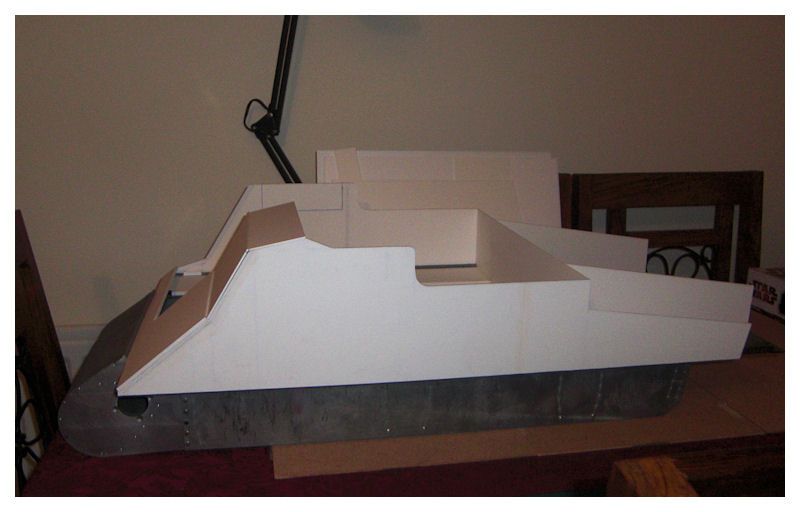
Hi All,
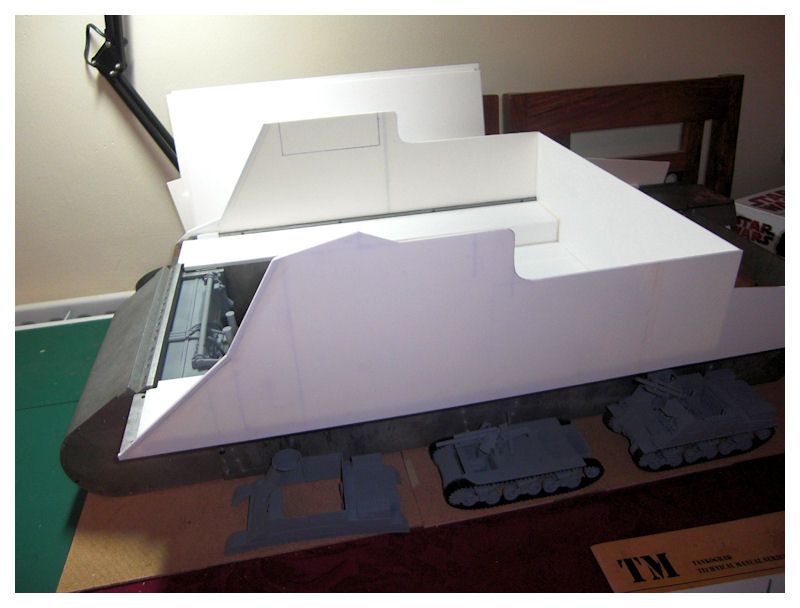
Just a little progress this week.
Cheers
Dave
Posted: Sun Jan 17, 2010 12:28 am
by Dave Dibb (Armorpax)
Posted: Sun Jan 17, 2010 10:37 pm
by Dave Dibb (Armorpax)
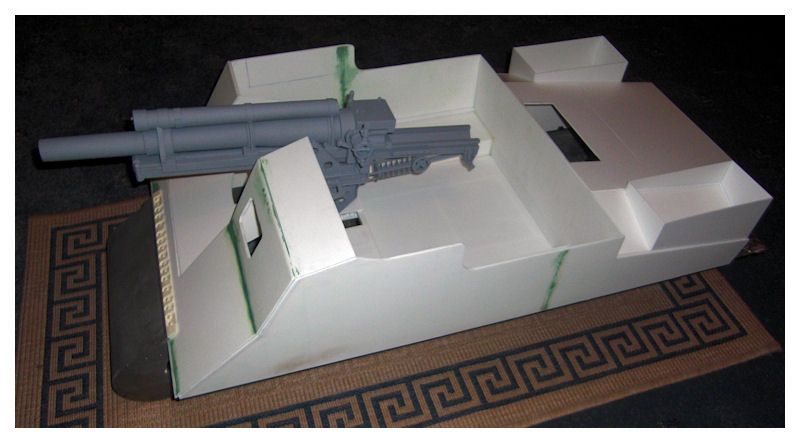
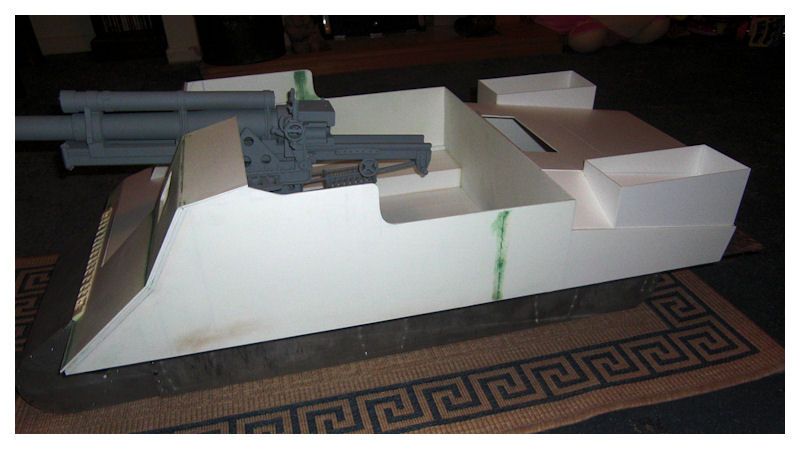
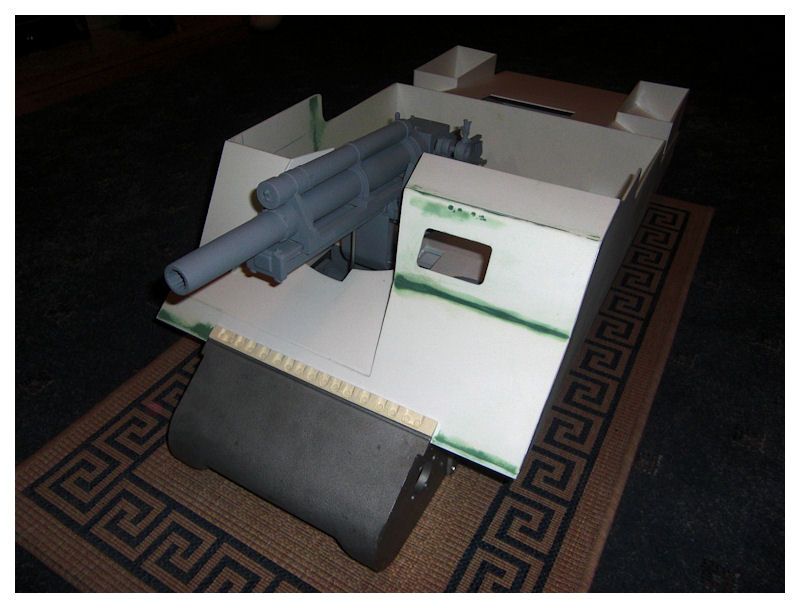
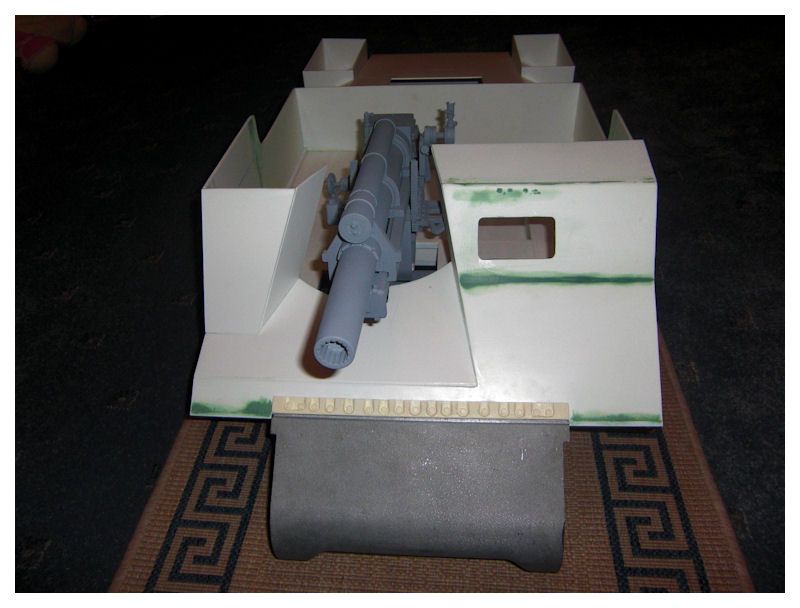
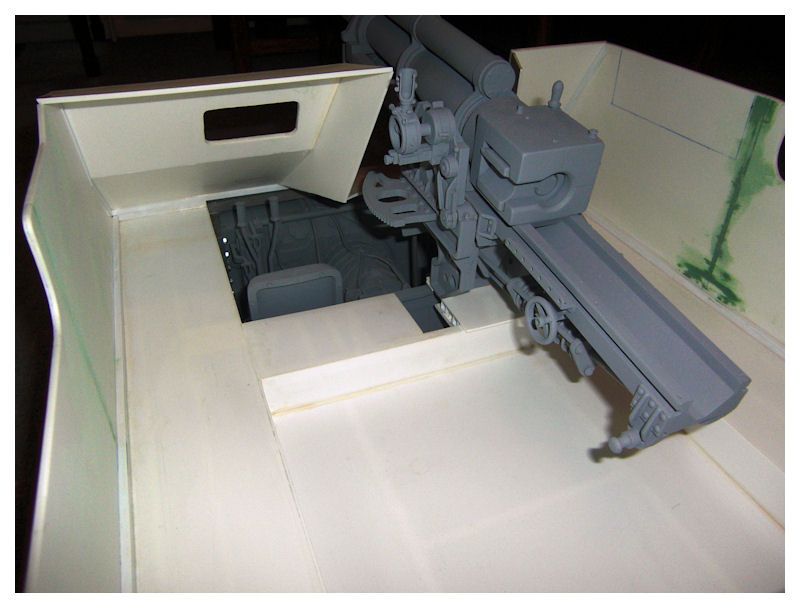
Hi All,
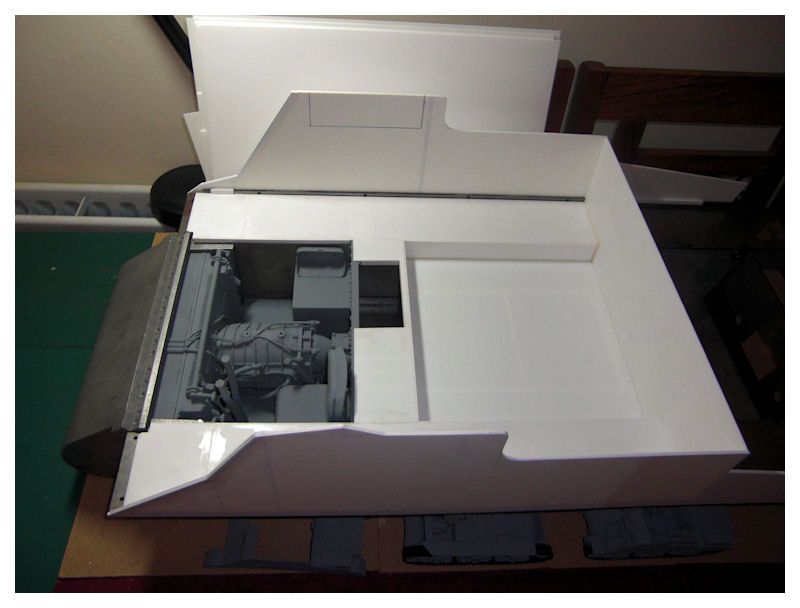
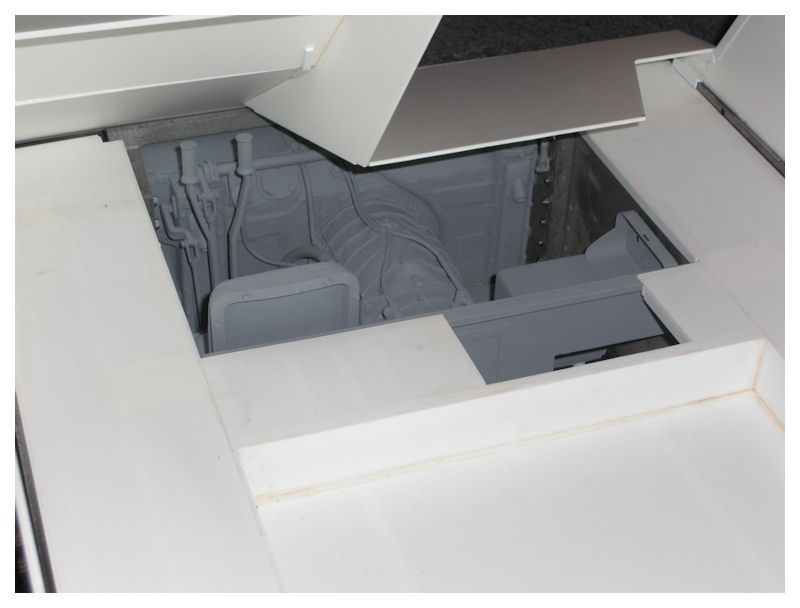
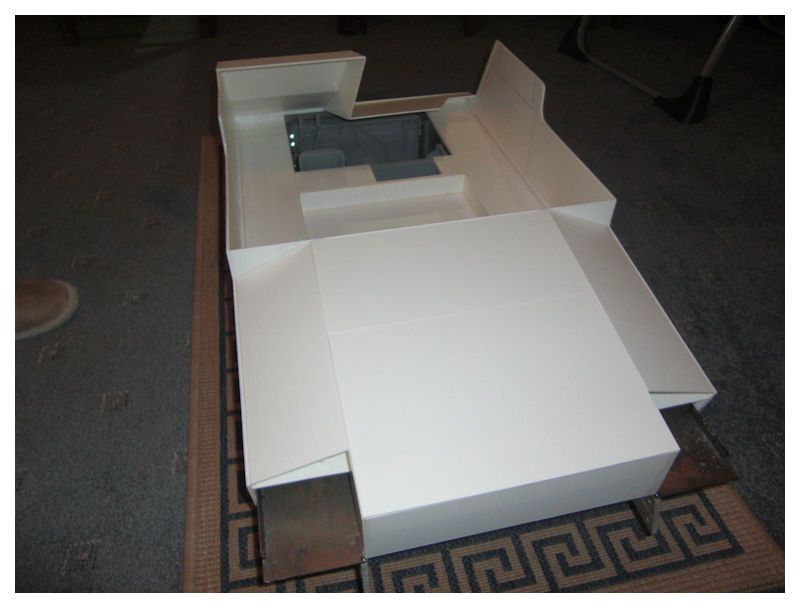
Basic structure now complete,
Cheers
Dave
Posted: Mon Jan 18, 2010 9:08 am
by Fredrik Jorgensen
Dave......i really enjoy seeing your work progress.
I have a question, how do you get all the detail on the gun to be so superb, and all of your other work aswell.
Im thrilled to see all the small things.
Is the material you use easy to work with or do you use clay or something. Im not familiar with the way of constructing things from resin and plastic.
Regards
Freddie
Posted: Mon Jan 18, 2010 7:58 pm
by Dave Dibb (Armorpax)
Hi Fredrik,
I have always worked with styrene (plasticard) and plastruct so find it a pretty easy medium to work with, I think however it is just down to what you are used to. I look at what some of you are doing in metal and what people like Mark and Tim Bowman do with 3d drawings and this probably has the same effect on me as my work in plastic has on you

Best regards
Dave
Posted: Sun Jan 31, 2010 8:48 pm
by Dave Dibb (Armorpax)
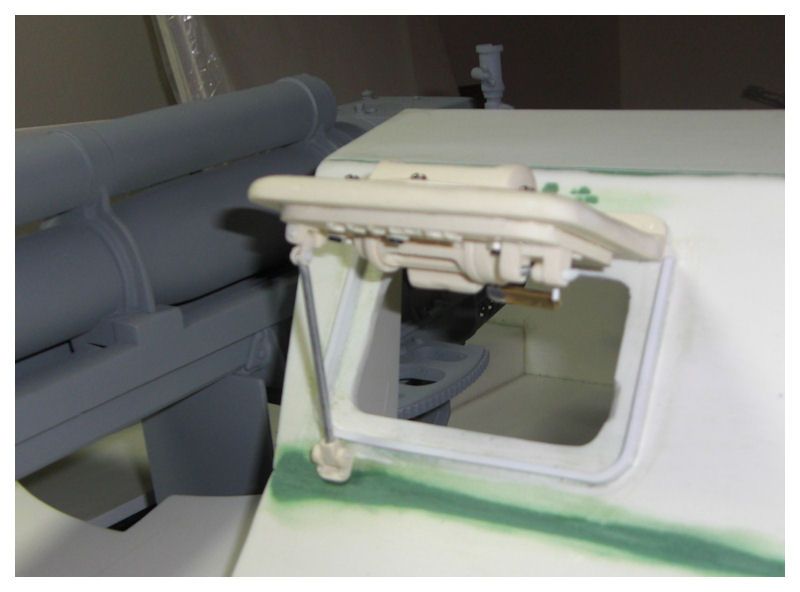
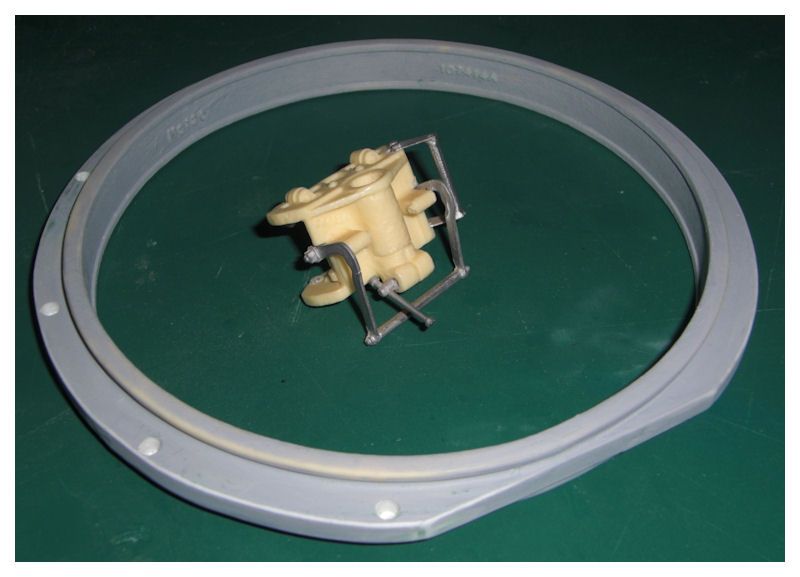
Hi All,
Got the ring mount made today and assembled and dry fitted East Coast Armoury's excellent drivers visor.
Cheers
Dave
Posted: Sun Jan 31, 2010 10:14 pm
by Derek Attree
Hi Dave
Cool project. Looking real good.
Derek
Posted: Sun Feb 21, 2010 8:39 pm
by Dave Dibb (Armorpax)
Hi All,
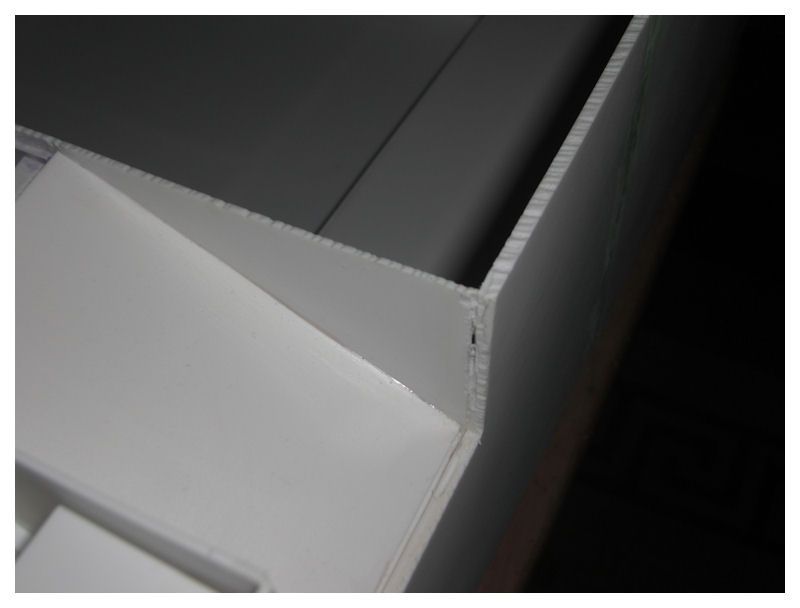
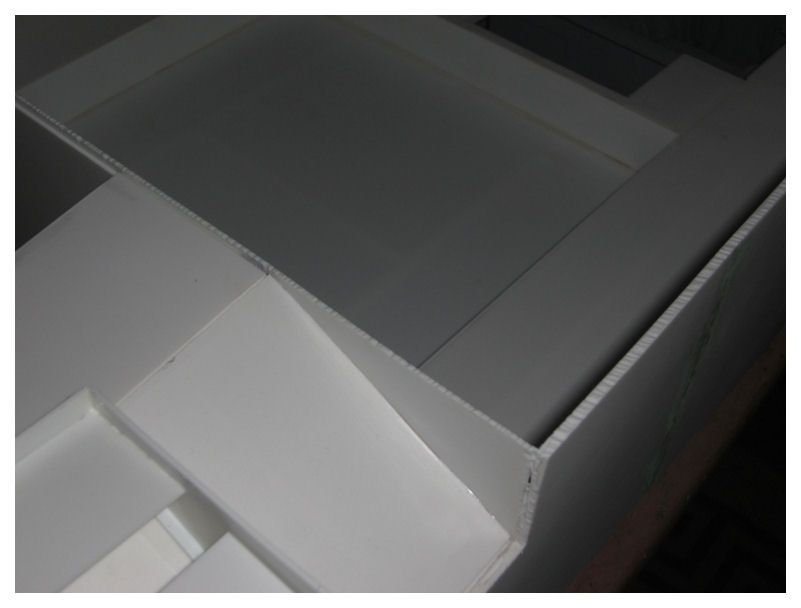
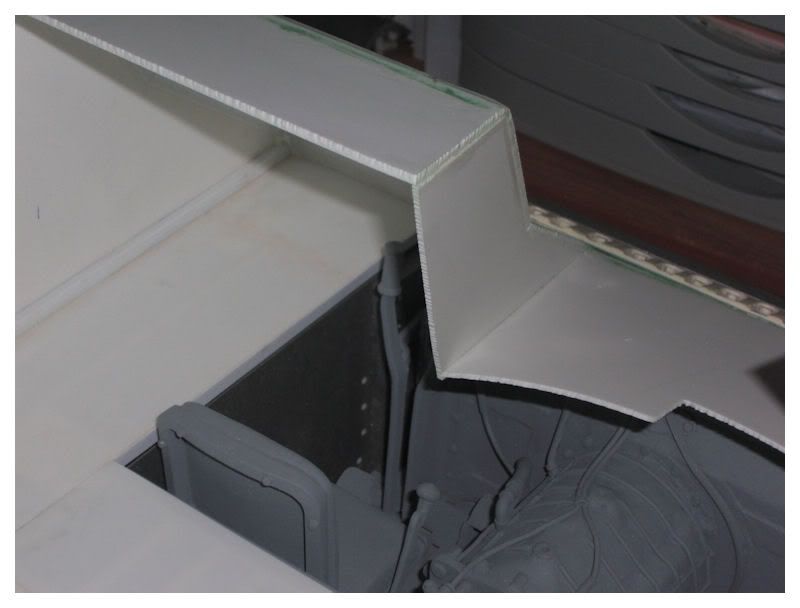
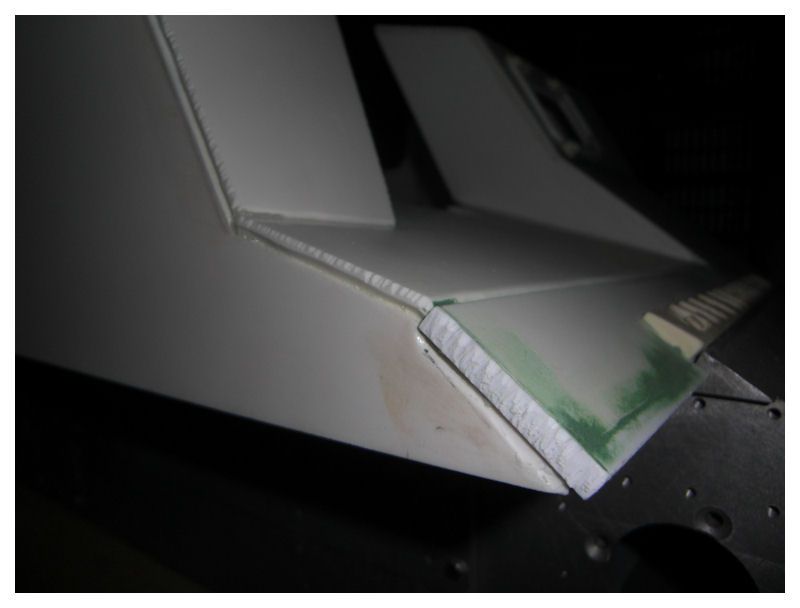
I've been catching up on master making so havn't done much to the M7 recently. Having cleared some of the outstanding pieces I needed to do I have spent a little while on it today cutting in the torched edges of the steel.
Cheers
Dave
Posted: Sun Apr 25, 2010 9:36 pm
by Dave Dibb (Armorpax)
Hi All,
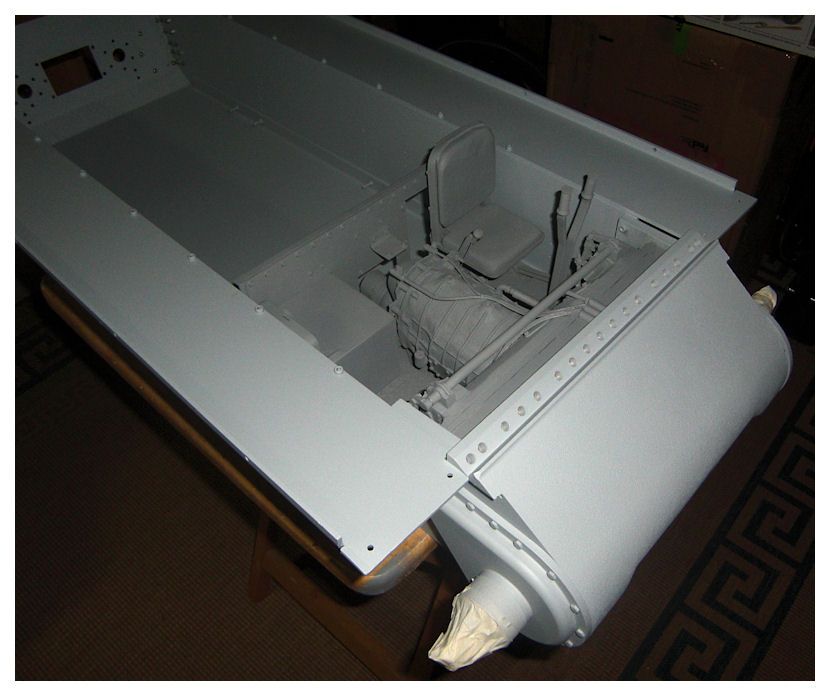
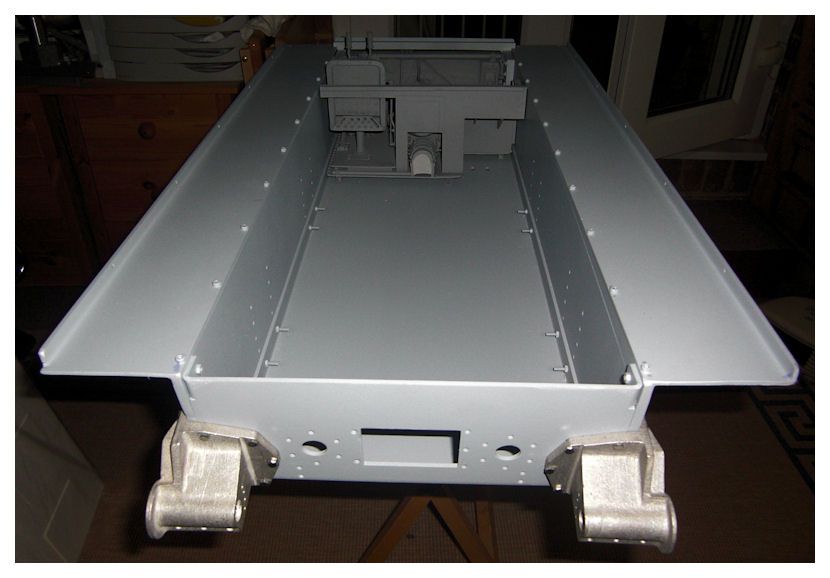
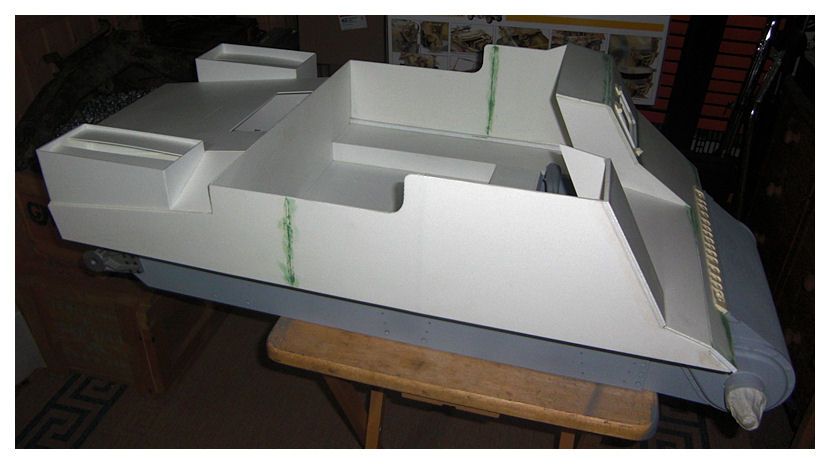
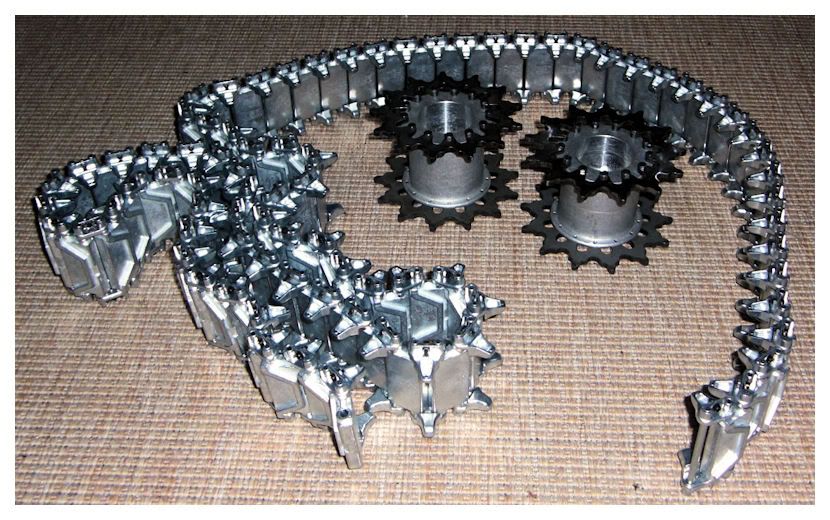
With work on the Comet parts and now the Quad again not much is happening with the M7. I did take the opportunity whilst on hols the other week to get one section of track built and with the good weather this weekend fitted the sprocket and idler housings and finally got a coat of Etch primer on the lower hull.
Cheers
Dave
Posted: Mon Apr 26, 2010 7:13 am
by Brian Leach
Dave,
Nice job!
What are the tracks made of, they are really clean

Brian
Posted: Mon Apr 26, 2010 7:53 pm
by Dave Dibb (Armorpax)
Hi Brian,
Tracks courtesy of Armortek, I think Aluminium but Mark and Gill can probably confirm.
Cheers
Dave
Posted: Mon May 03, 2010 6:04 pm
by Dave Dibb (Armorpax)
Hi All,
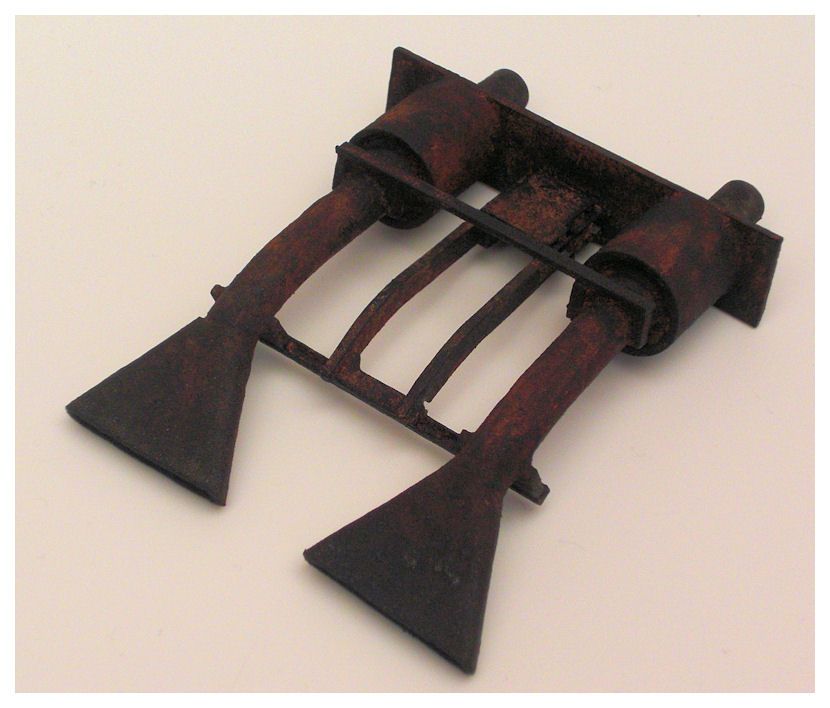
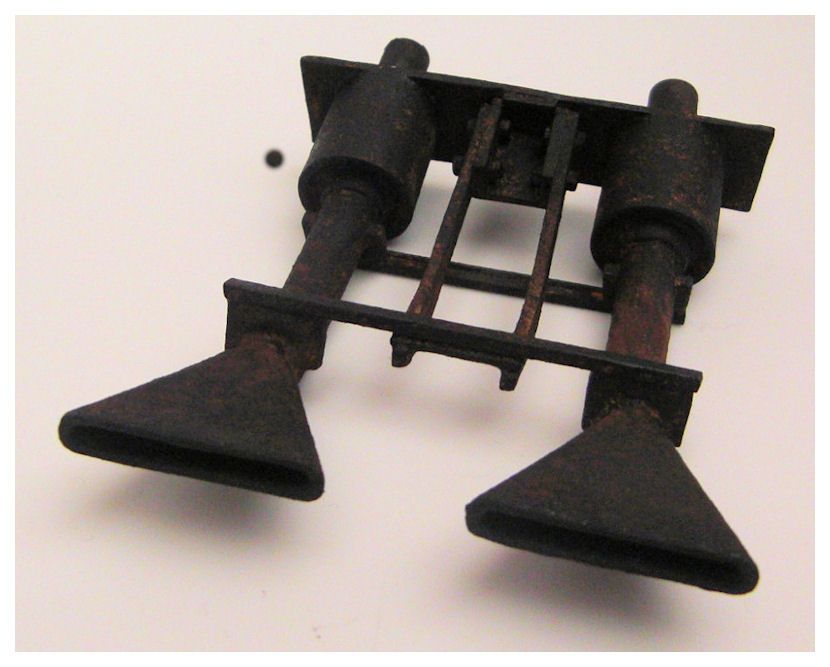
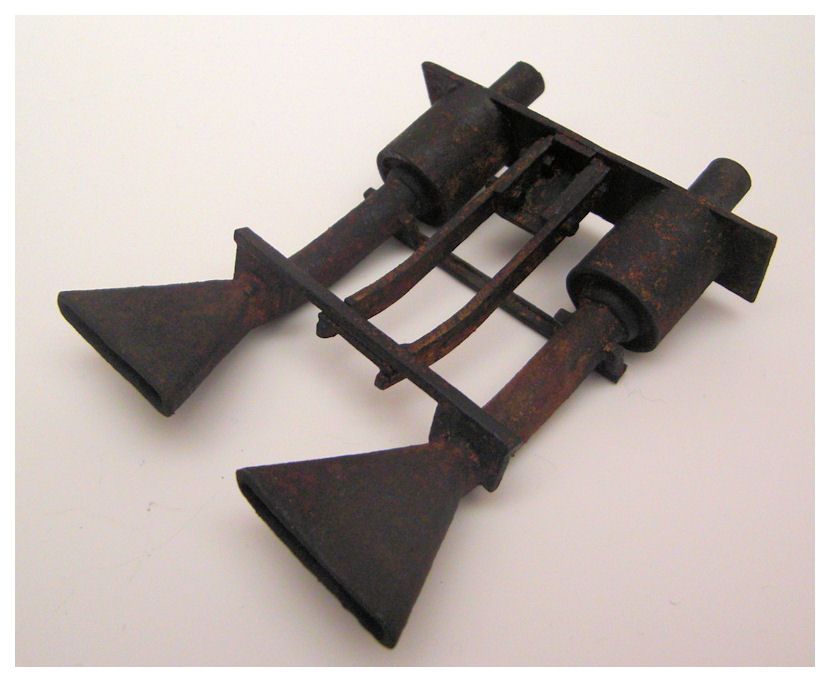
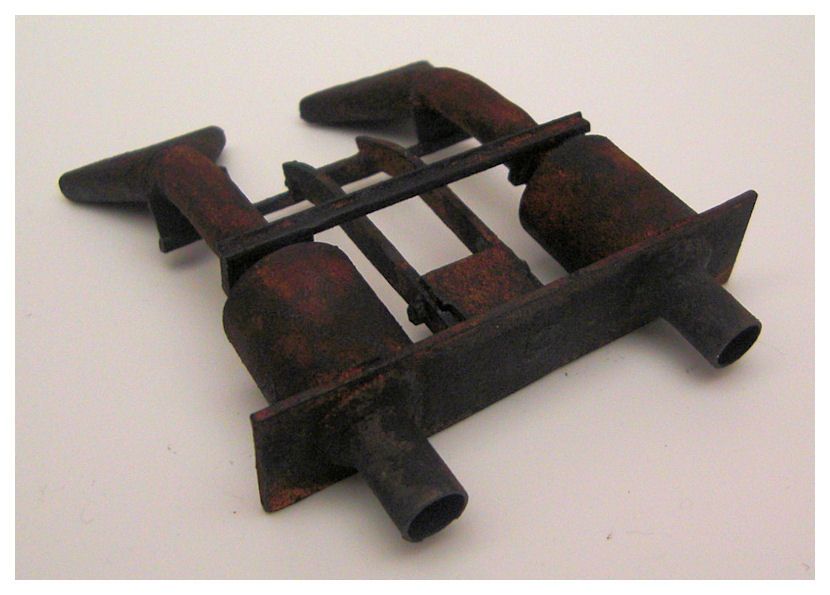
I've hollowed out the exhausts from East Coast Armoury so I can use them with a smoker and added the first rust treatment. I will add this to the M7 one I get the back end done.
Full rust treatment and weathering will be done when I eventually get as far as painting the model.
Cheers
Dave
