Page 2 of 17
Posted: Sun Feb 22, 2009 2:04 pm
by Derek Attree
Hi Guys
Thanks for the kind words I am going to take pictures of the form tool
tomorrow and I will also show the mandril I made to hold the wheels in place.
I am planing to add small lengths of brass tube to make the raised welds
round the small holes.
But that will be done much later in the build.
Regards
Derek

Posted: Mon Feb 23, 2009 8:03 pm
by Derek Attree
Hi Guys
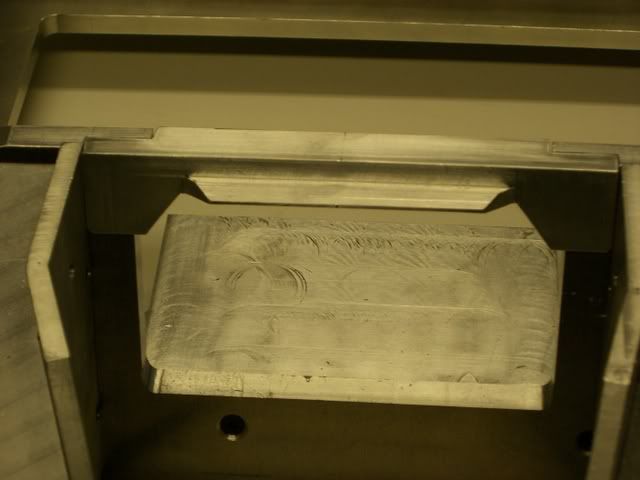
As promised some pictures of the wheel tooling.
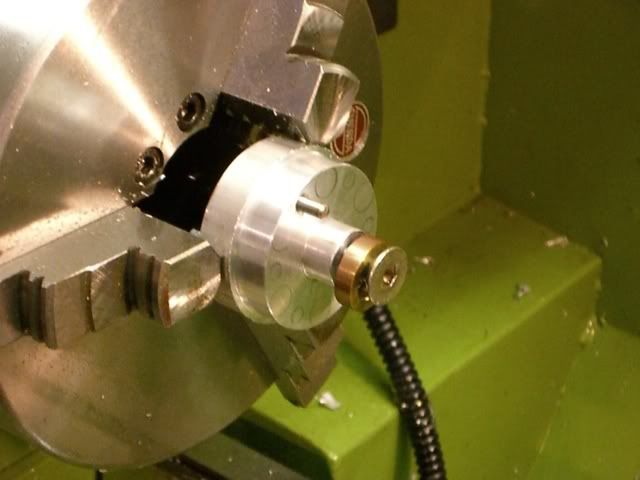
This is a picture of the holder I made to hold the wheels it has a 4 mm pin
to drive the wheel by one of small holes in the wheel.
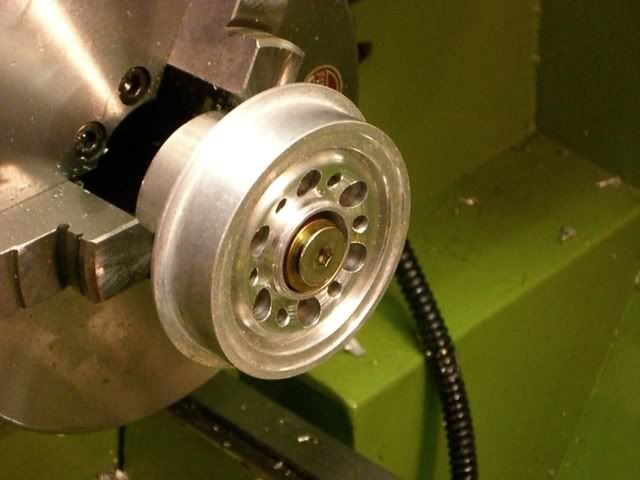
This is a picture of the wheel mounted.
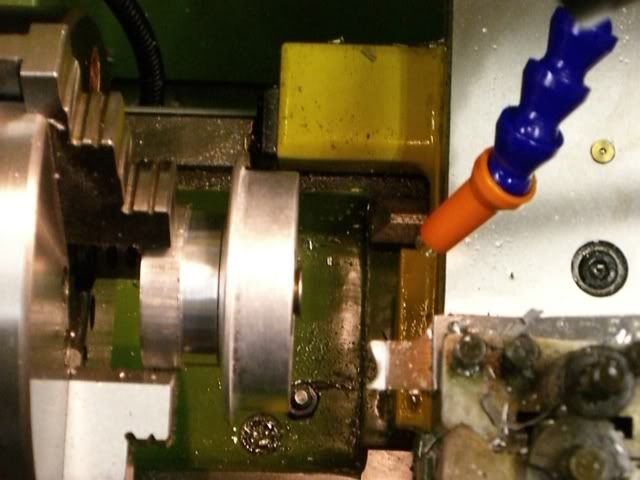
This is a top view showing the tool.
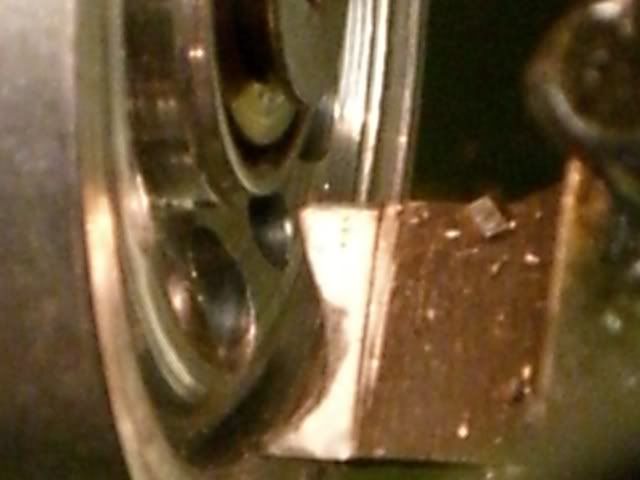
This is a view showing the cut shape and tool
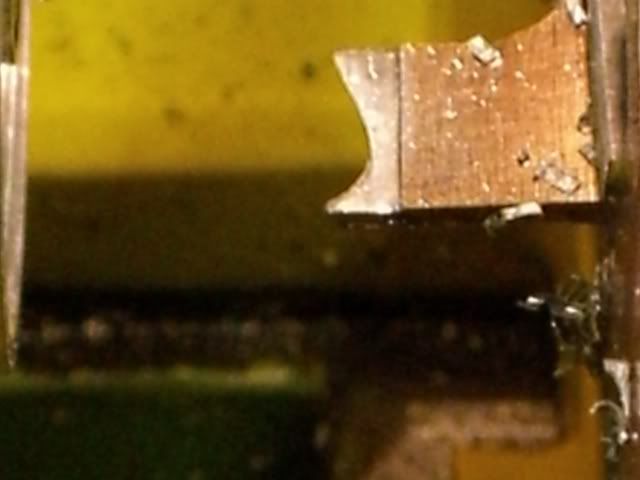
This is a close up of the tool.
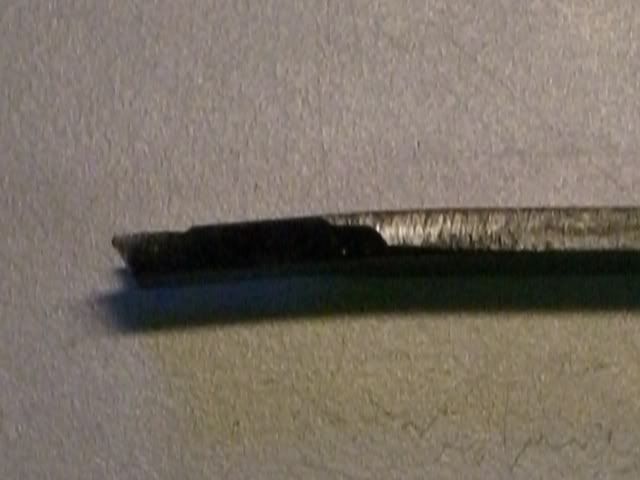
The tool took a hammering and has bent as I did not harden it fully but it did what it had to,and that is all that matters.This does however show the top and front rake on the tool.
I hope this is of interest

I will now get back to the plate work

Regards
Derek
Posted: Mon Feb 23, 2009 9:48 pm
by Pierluigi Patri
Derek,
I think it is interesting to see how you contrived in makeing the tools that fit in your needs.
Posted: Tue Feb 24, 2009 3:24 am
by Robert E Morey
Derek,
I was surprised to see how thin the tool is. I thought it would chatter like crazy being that thin. But if it got the job done then thats all that matters. The wheels look great, your holding tool is perfect.
Looking forward to seeing the wheels completed. Keep up the good work.
Bob
Posted: Tue Feb 24, 2009 4:12 am
by Dale jordan
Hi Derek ... This is real good info thank you ... I will do the same to my wheels . What speed did you turn them ? , slow , med or fast ... Is there still a lot of meat around where the bearing sits ??? . I wonder if one of you guys are going to re-shape the spokes on the idlers so they taper towards the top edge .?? Dale
Posted: Tue Feb 24, 2009 9:47 am
by Derek Attree
Hi Dale
I ran the lathe at 70 rpm and used a lot of cutting oil.
Nice and slow does it.
The depth in total in to the bottom of the radius is just 3.0mm.
I used a 10mm dia. end mill for the radius and then blended it in with a file.
So that leaves plenty of meat .
Bob
The tool was a bit of 1/8" guage plate and it was hardened by getting it hot to a bright red and then quenching it quickly it was then cleaned up and then tempered slowly to straw colour.
Regards
Derek
Posted: Thu Feb 26, 2009 7:04 pm
by Derek Attree
Hi Guys
Well I have been working on the front extensions to the fighting compartment.
These have proved to be a difficut object to make.

However I decided in the end to make them a stand alone units and bolt them to the front face rather than trying to build them on the front face which is at an angle.
The thick plate in the middle is the back plate for the welded mantlet.
I have yet to cut the hole for the gun mounting through the front plate.
the bent side bits were cut half way through and then bent and welded up and then ground smoth again.

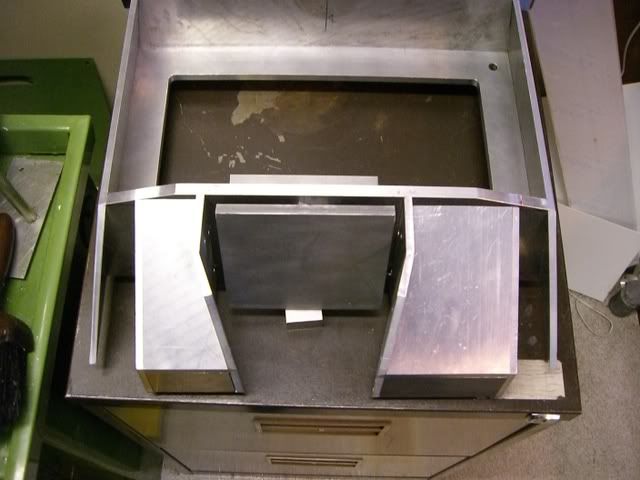
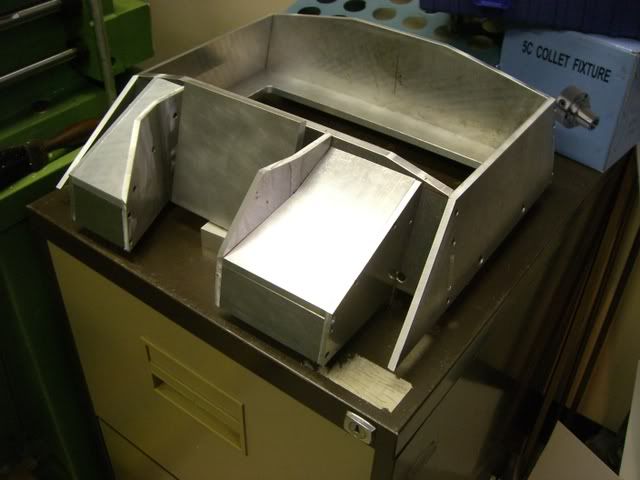
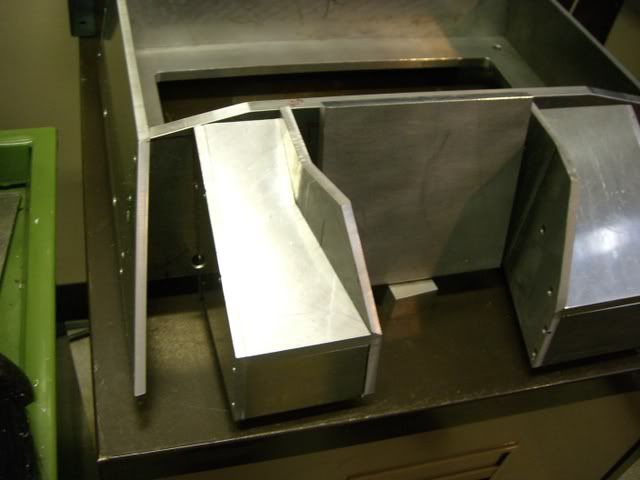
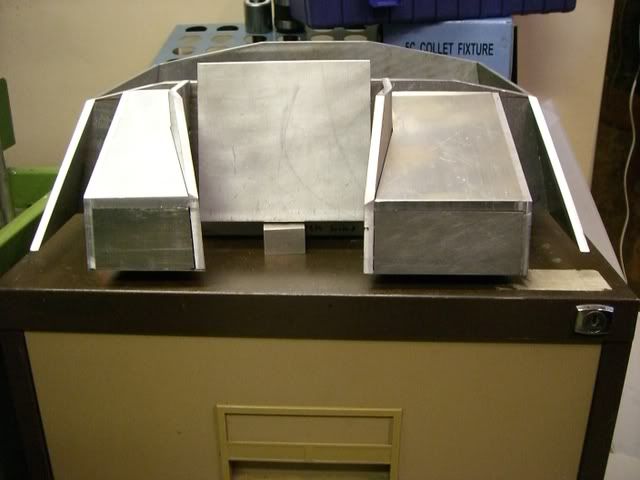
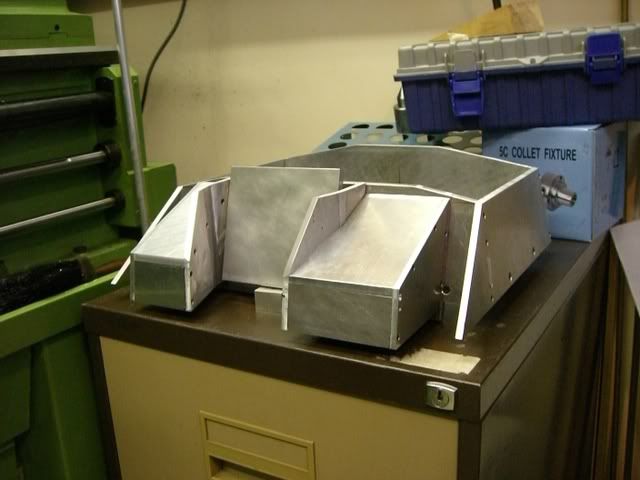
There are front armour plates to add to the front of the pods but I will leave them till later when I have the roof done.
I hope you like..
Derek
Posted: Wed Mar 04, 2009 8:24 pm
by Derek Attree
Hi Guys
I have done some more machine work.
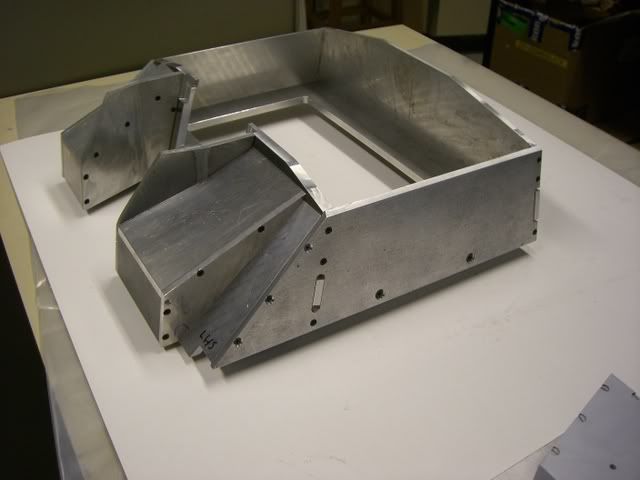
Work on the front panel infills and the welded style mantlet.
These 2 pictures show the infill panels either side of the front extensions also the hole for the gun.
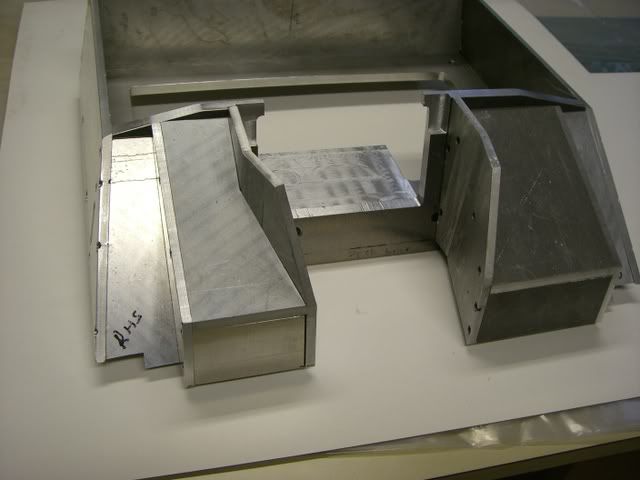
These 2 pictures show the hole bridge piece.
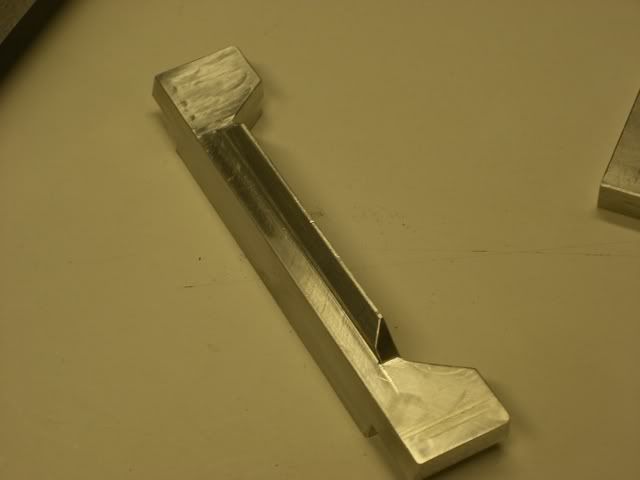
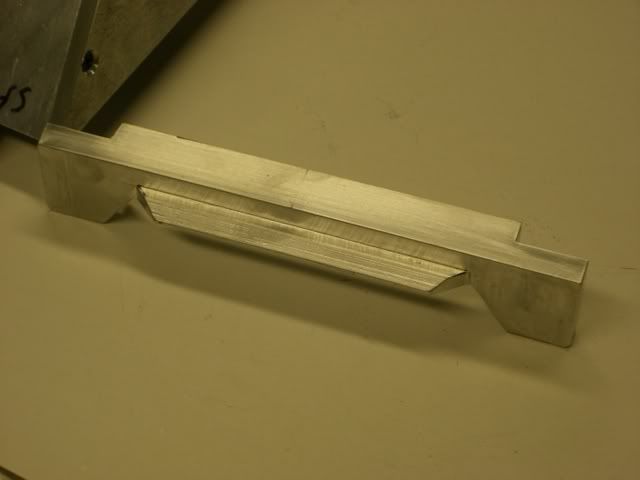
These 2 pictures show the mantlet.
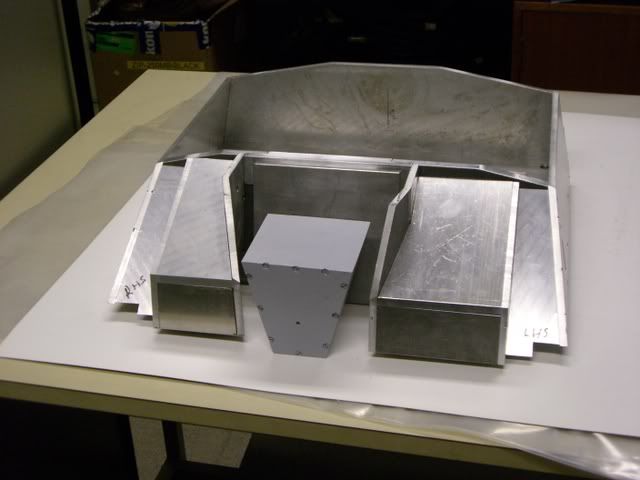
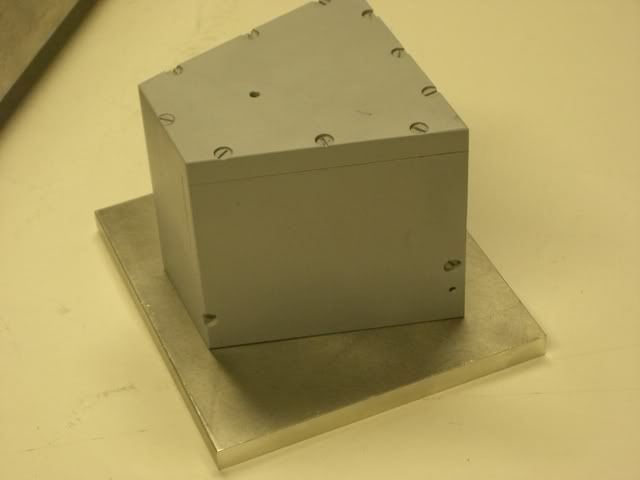
This shows the bridge peice in place.
Hope you like
Derek

Posted: Wed Mar 04, 2009 9:07 pm
by Pierluigi Patri
I like it, Derek.

I like it very much


Posted: Wed Mar 04, 2009 9:28 pm
by Tim Bowman
Outstanding! Looking very good Derek. Thanks for posting the pictures.
Tim
Posted: Wed Mar 04, 2009 10:26 pm
by Dale jordan
Hi Derek . This is real nice . How about offering this as a after market part . Now that you have the setting and the workshop . I'm sure you would get a lot of interest in them . I would be ... Dale
Posted: Thu Mar 05, 2009 8:00 am
by Derek Attree
Hi Dale
Sorry its a strictly one off so far some 50 hours of machine time.
I am sorry to say its all been done on manual machines so no program's.

It has been a real interesting project and has really got the grey matter working as there are loads of compound angles to set up and machine


In the truth I like having something unique.


Regards
Derek
Machining
Posted: Thu Mar 05, 2009 10:22 am
by Graham Ord
A man after my own heart. I also machined my own P4 from scratch all on a Colchester Student lathe (no digital control) . As you say parts like the front drive wheels really tested the old grey matter.
Posted: Thu Mar 05, 2009 11:34 am
by Allan Richards
Derek,
Outstanding work, I know what you mean about one off builds. I am the same as I don't have any programmable machines and have to ask friends and rrealatives if I canuse their machines.
Posted: Thu Mar 05, 2009 12:44 pm
by Derek Attree
Hi Guys
Thanks for the kind words I am thinking about the
gun travel as I want the side to side movement as well as elevation
that is what the square in the base plate is for.
In the meantime I am going to start on the roof next I was going to
use steel 2mm thick but I am now going with 2mm alloy I have made card templates and fitted them to the shape.
I think I have managed to get away with 2 parts folded and tack welded.
When I have it sorted I will post pictures.
Regards
Derek


