Page 2 of 3
Re: Pauls 2014 #4 Mid Tiger 1
Posted: Wed Jun 12, 2024 1:04 pm
by Chris.Marshall
That's a 'Fair dinkum mate!' from the UK

Re: Pauls 2014 #4 Mid Tiger 1
Posted: Tue Jun 18, 2024 3:54 am
by Paul McMartin
I got to do a bit on my tank Sunday. I did some experimenting on creating texture, I realize that I will have to use Mr. Surfacer eventually, but it was good trying different methods on some of the scrap pieces I acquired. I found that pressing very lightly on the wire buff wheel of my bench grinder works best. Even after etch priming, red oxide and 2 coats of Dunkle Gelb the patina still comes through.
Re: Pauls 2014 #4 Mid Tiger 1
Posted: Thu Jun 20, 2024 3:33 am
by Paul McMartin
So, I am achieving small progress, though it is not as much as I would like.
Drilled and tapped hull for bottom of final drive guard.
Painted lower hull and suspension arms.
Cutting & glueing of half-moons.
Attempting weld beads with Milliputt while it's easy to do on its side.
I know I will look back at these one day and think, these are not to scale (what were you doing)

But we all have to start somewhere and I'm sure I will learn better techniques as I go.
Still playing with creating texture, the wire buff did not work on the brass but the needle gun with the compressor pressure reduced to 40psi and then a light buff wheel worked well. I went back and gave the final drive housing a light needle gun and I am pretty happy with the results. It will be interesting how they turn out after painting.
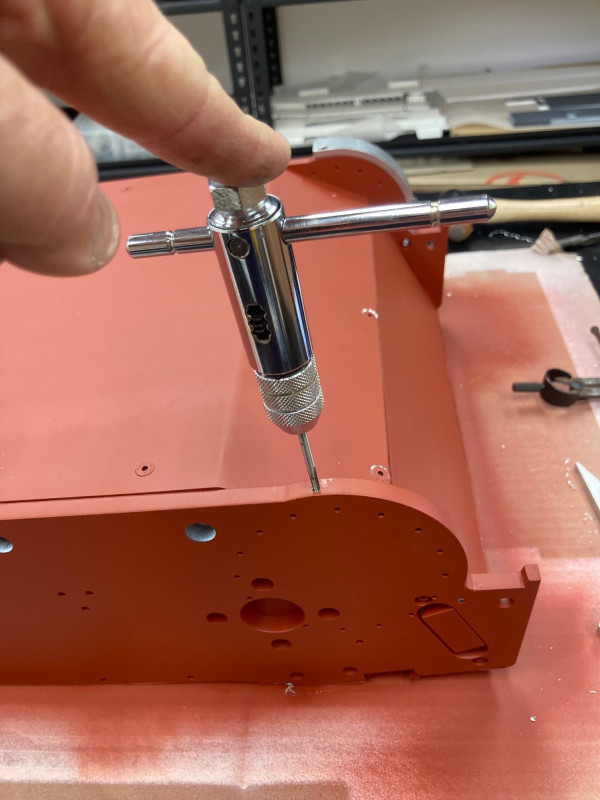
- Drill & tapped hull
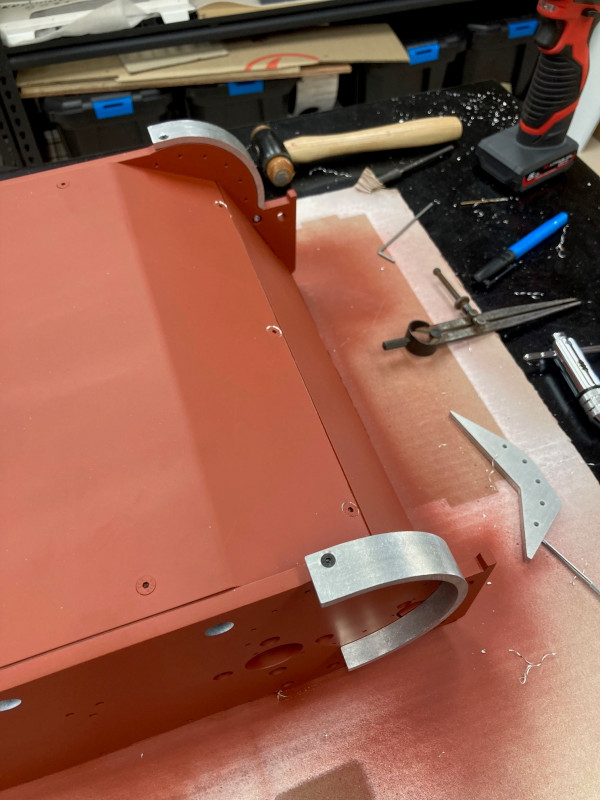
- Drill & counter sink final drive guards
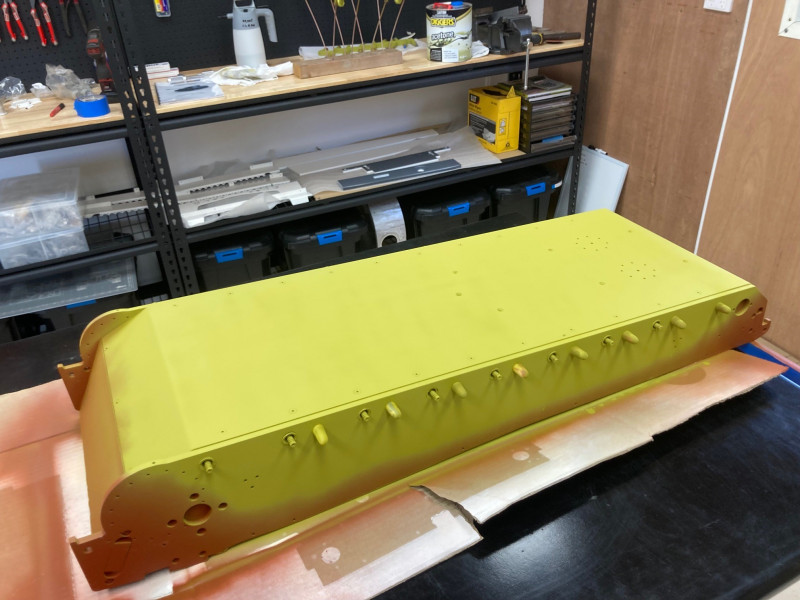
- Painted lower hull & suspension arms
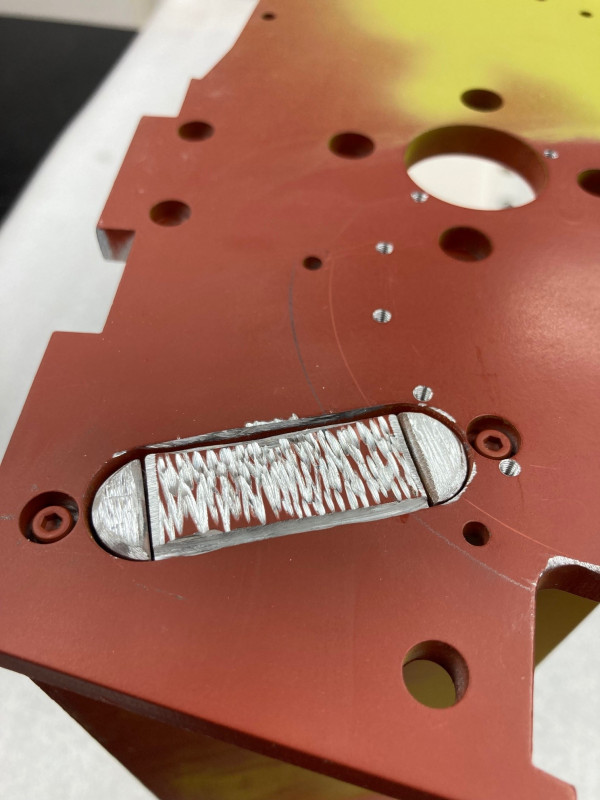
- Cut, sanded & glued in half moons
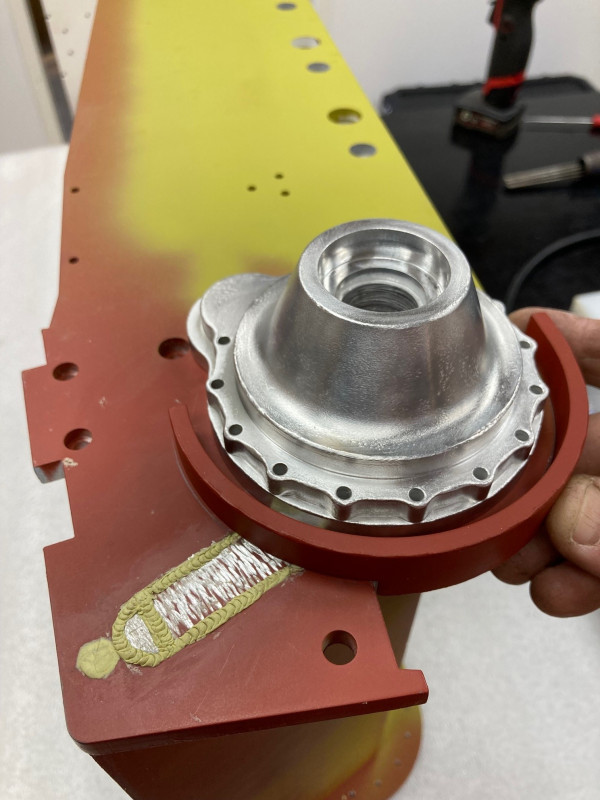
- Attempted weld beads with Milliputt
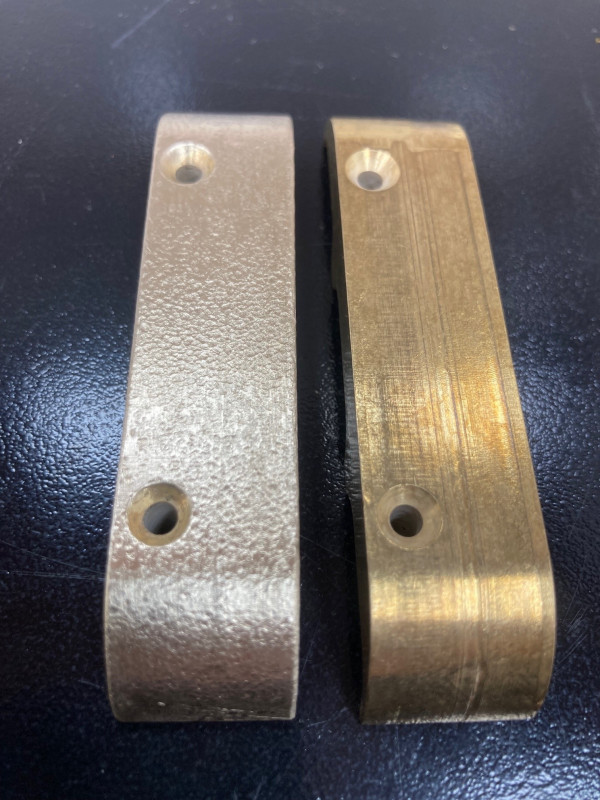
- Needle gun on brass worked well
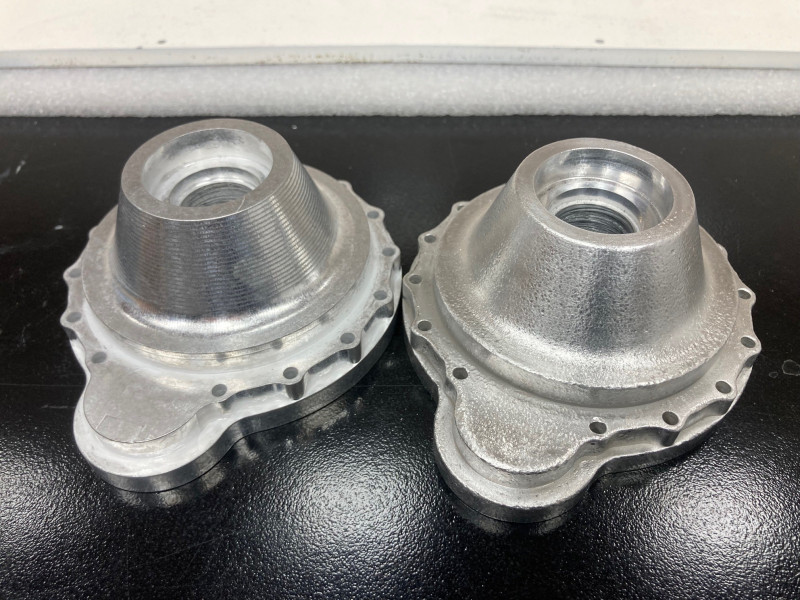
- more texture on final drive housing
Re: Pauls 2014 #4 Mid Tiger 1
Posted: Tue Jul 02, 2024 3:56 am
by Paul McMartin
More progress made over the last couple of weeks.
Needle gun worked well on the idler adjusters.
Weld bead details on track guides & final drive guard
Torsion bars fitted & angle set, my manual says 35' but the new ones are 30'
I chose 31' to allow for a little sag over time.
Next some big bits

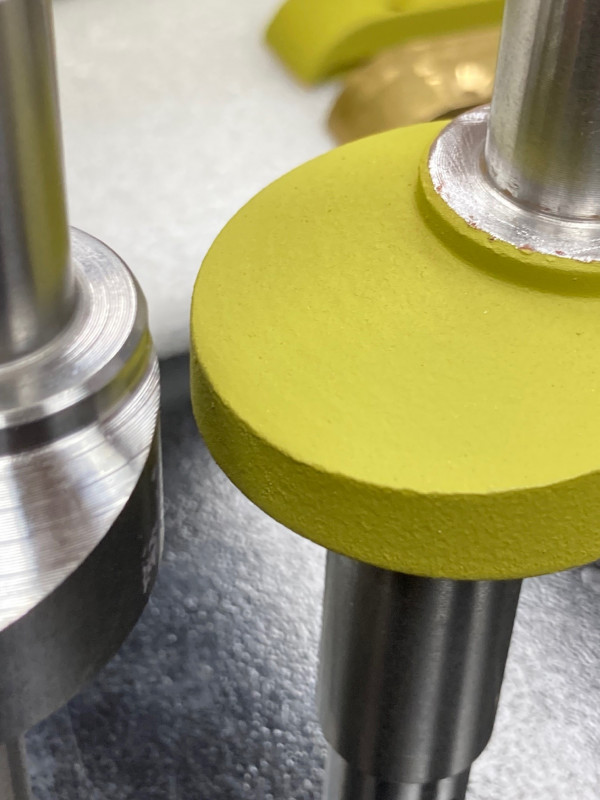
- Needle gun used on adjusters
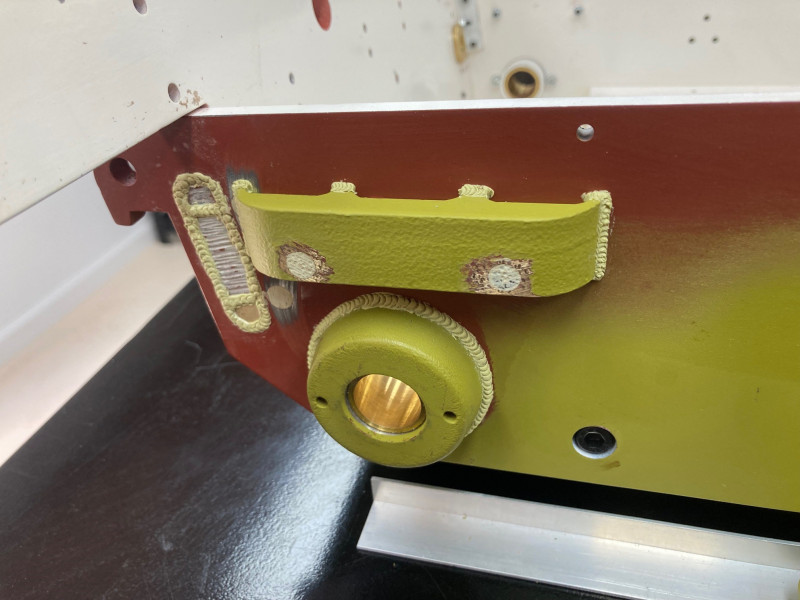
- Weld bead detail
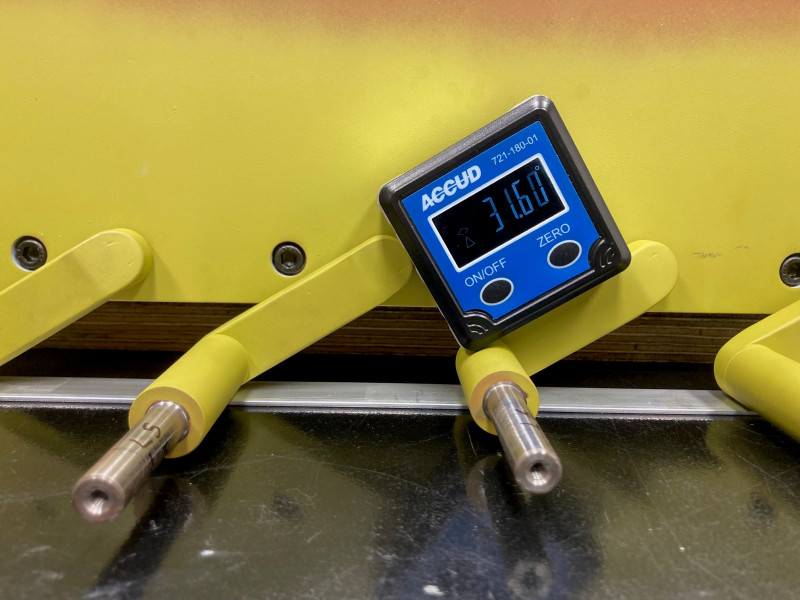
- Angle set
Re: Pauls 2014 #4 Mid Tiger 1
Posted: Tue Jul 02, 2024 9:22 am
by Andrew Gaze
Hi Paul, looking good.
I also did the final drive mod after seeing it in one of Oddball’s videos.
I was concerned that the bar might get hung up on the terrain going in reverse.
Keep up the good work and posting your progress.
Cheers
Gazey.
Re: Pauls 2014 #4 Mid Tiger 1
Posted: Tue Jul 02, 2024 8:04 pm
by Paul McMartin
Yes, I also saw John's video and thought it made sense.
I bolted it on first and could flex the bottom with my finger and thought I would end up bending it for sure.
I've been doing a video log of my build and maybe one day I'll get around to editing and uploading it.
Cheers Paul
Re: Pauls 2014 #4 Mid Tiger 1
Posted: Mon Jul 15, 2024 11:47 am
by Paul McMartin
Some more small progress made.
Idlers cleaned up with Dremel burr tips & stone.
After etch priming I used a wrinkle paint for texture, it can't be seen very well in the picture with the Dunkel Gelb paint, but I think it will show with weathering. Fitted the upper hull and idlers & adjusters.
I received 2 pretty cool packages this week.
4 of Liams, awesome metal 3D printed prototype bump stops (who knew they can 3D print with steel) and no I don't think he is going to start producing them, these were more of a one off.
And my new toy, Optimum BF20L Mill now all I have to do is watch some YouTube movies to learn how to use it

The stand for it is on back order so the bench will do for now, after reading a few comments I decided to go the next size up from the one I thought I would need.

- Cleaned up with Dremel

- Primed & wrinkle paint used

- finished product

- Liams prototype 3D steel printed bump stops

- My new toy
Re: Pauls 2014 #4 Mid Tiger 1
Posted: Wed Jul 17, 2024 8:39 am
by John Fitzsimons
Tiger coming along nicely. Looks like similar mill to mine but under different branding. Have fun with it. Adding motor to my X axis.
Re: Pauls 2014 #4 Mid Tiger 1
Posted: Sun Aug 04, 2024 10:46 am
by Paul McMartin
Well not much done on the tank this weekend, but I did assemble & paint one of Liams awesome rotisseries that I picked up when I was down there last weekend. Honestly, I can turn the tank with one finger

. I did get his 3D metal printed bump stops fitted. Just when I thought that I probably never use a 3mm spanner, bam I needed it

Re: Pauls 2014 #4 Mid Tiger 1
Posted: Sun Aug 04, 2024 12:23 pm
by Robert Tanzer
Following your fine build with great interest
Re: Pauls 2014 #4 Mid Tiger 1
Posted: Tue Aug 06, 2024 10:07 pm
by Chang
Paul McMartin wrote: ↑Sun Aug 04, 2024 10:46 am
... Liams awesome rotisseries...
Hi Paul,
Like it very much. It's very useful.
Best regards,
Lerh Chang (in Sydney)
Re: Pauls 2014 #4 Mid Tiger 1
Posted: Sun Aug 11, 2024 10:02 am
by Paul McMartin
Small progress made this weekend, I drilled & tapped a 6mm holes in the rear hull to allow for 3mm studs on the idler adjuster caps.
I threader and tapped some 1/4" brass rod to make the inserts and Loctited them in, I have cut down some 3 x 40mm bolts to make the studs. I got to try out my new Mill to make the idler adjuster bolt retainer.
Re: Pauls 2014 #4 Mid Tiger 1
Posted: Fri Aug 23, 2024 4:54 am
by Paul McMartin
I fitted the original top vision block, and I wasn't happy with it. I looked in the forum and see that the newer models are greatly improved and more photo typical. I was very apprehensive but decided to give my new mill and nonexistent milling skills to the test. So, after some more YouTube tutorials and looking at pics of real vision blocks, I had a go at it. Honestly my head hurt trying to work out all the angles and how to hold it, but I got there in the end. The saying (all the gear and no idea

) kept going through my head. The more hours I put into it, the more I worried that I would mess it up. I'd say it took me around 12 hours.
My question to all- has anyone made the upper vision block on a Tiger 1 raise and lower on a servo before?

- Original

- Finished product

- started with 25mm square bar
Re: Pauls 2014 #4 Mid Tiger 1
Posted: Wed Nov 27, 2024 8:25 pm
by Paul McMartin
It's been a while since I posted, as I've been busy helping my son renovate his house. Finally getting back to working in my tank.
When I was down at Liams he showed me, a modification had done on the inside final drive plate which I liked so I decided to do the same.
I used a counted bore drill in the plate for the nuts to sit in and went down 1.5mm.
I drilled a 3.5mm hole a few mill down on 4 of the mounting holes with the Dremel but I couldn't drill or tap the top one so it's just glued in.
I tapped a 4mm down a few threads and screwed the grub screws in from the back side.
The 4 nuts actually hold the plate on, I'm pretty happy with end result.
Re: Pauls 2014 #4 Mid Tiger 1
Posted: Tue Dec 10, 2024 1:53 am
by Paul McMartin
A little more achieved last week, I now know what everyone is talking about when discussing the how long the wheel assemblies take

.
I was originally going to just sand blast the outside tyre mounting surfaces but after but after sanding one it was quicker to blast them. I worked it out to be around 20 minutes each wheel by the time it was blasted, cleaned, masked, primed, painted, demasked, cleaned and tyre glued on. 20min x 48 wheels = 16hrs

. With the wheel assemblies put together and fitted, it was time to take it off the rotisserie. Its finally starting to take shape. Oh, I also decided to do a colour change, the Dunkelgelb just wasn't doing it for me, so I have changed to a Tamiya TS-3 dark yellow which I like a lot better. I even got to try my hand at air brushing some grease streaks on the inside road wheels where no one will see. I will continue to practice on parts unseen so hopefully when the time arrives, I will have some sort of idea of what I'm doing, when it comes time to do the camo and weathering.
