T34/85 25th Guards Brigade No 234a
-
- Posts: 2020
- Joined: Sat Dec 12, 2009 3:38 pm
- Location: Sambourne uk
- Been liked: 223 times
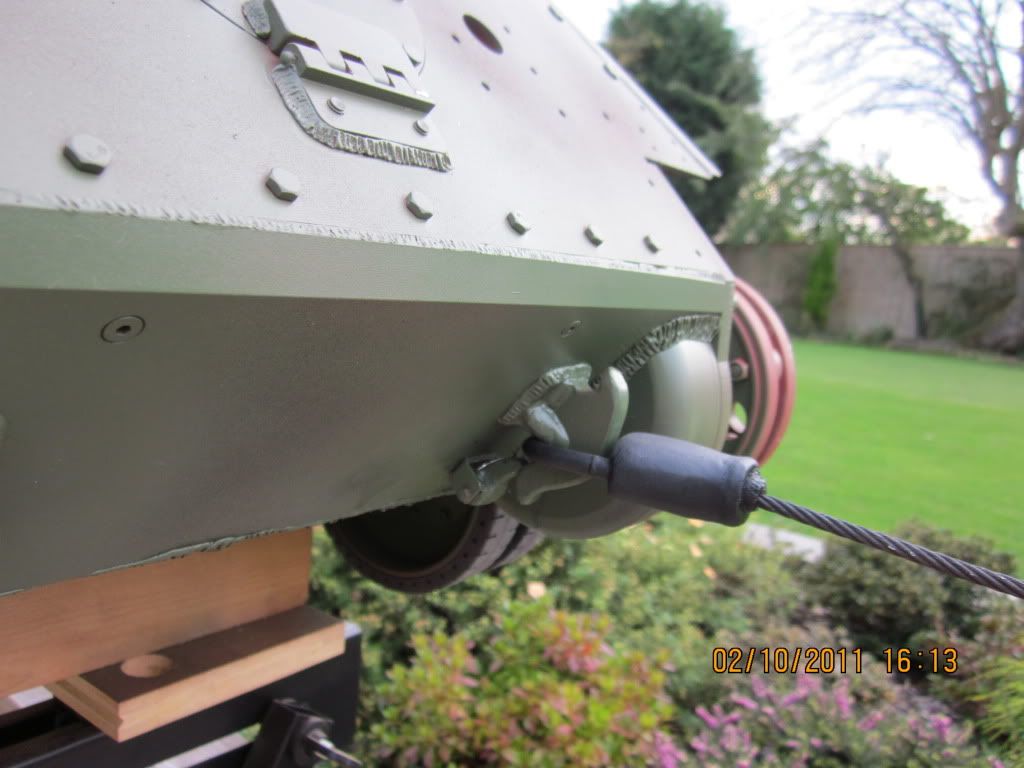
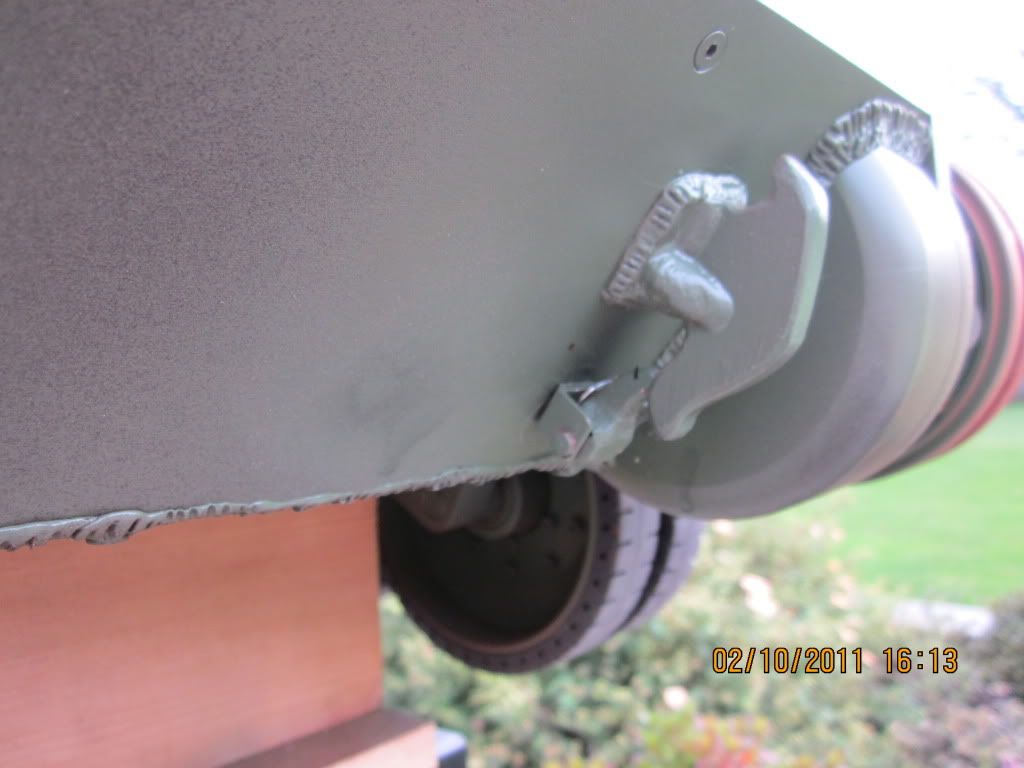
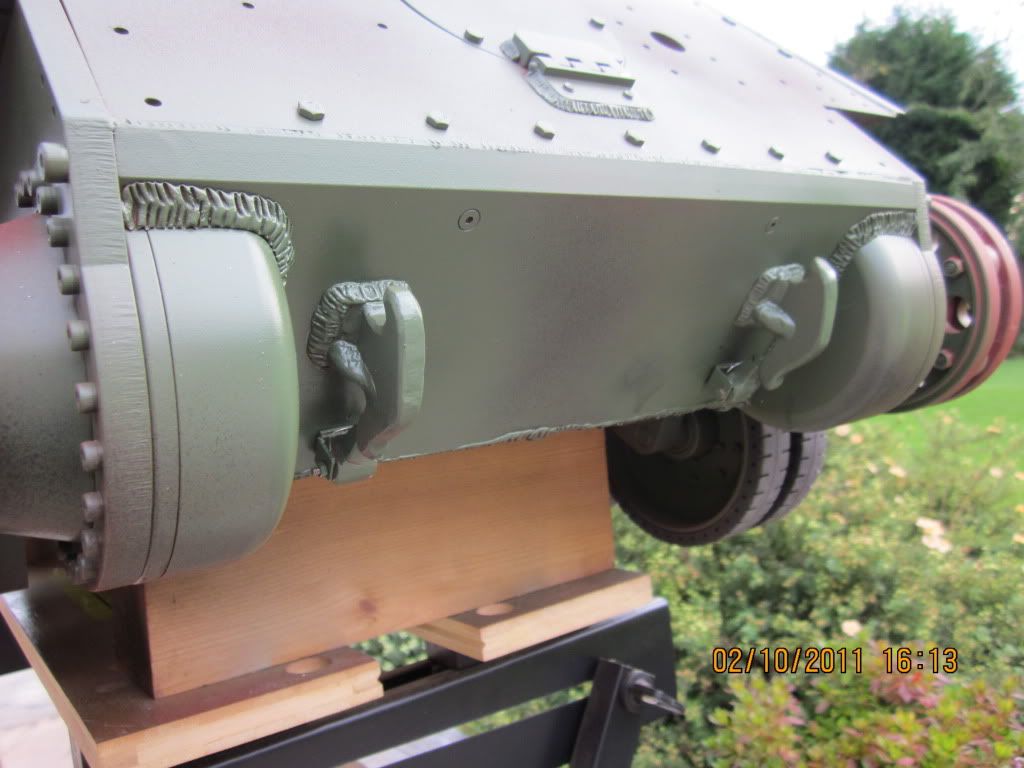
Finnished the other part for my Tow Hooks
Finished and fitted my sprung Tow Hook retainer
Where is the ******** mudguard Comrade Tovarich
-
- Posts: 2020
- Joined: Sat Dec 12, 2009 3:38 pm
- Location: Sambourne uk
- Been liked: 223 times
-
- Posts: 2020
- Joined: Sat Dec 12, 2009 3:38 pm
- Location: Sambourne uk
- Been liked: 223 times
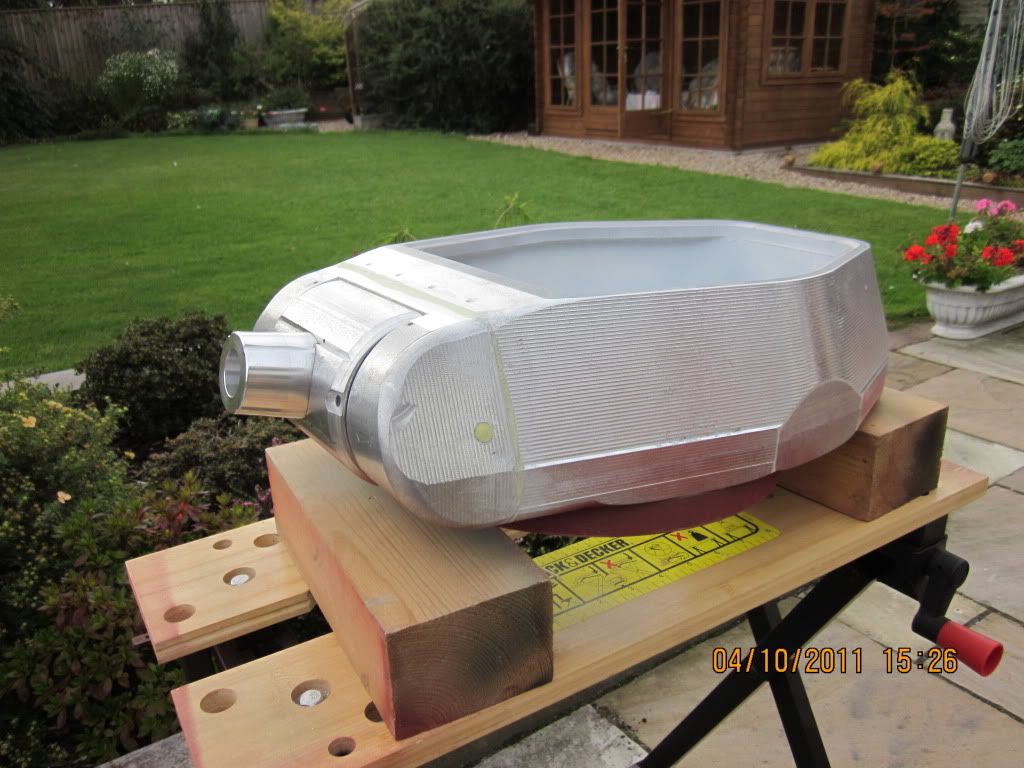
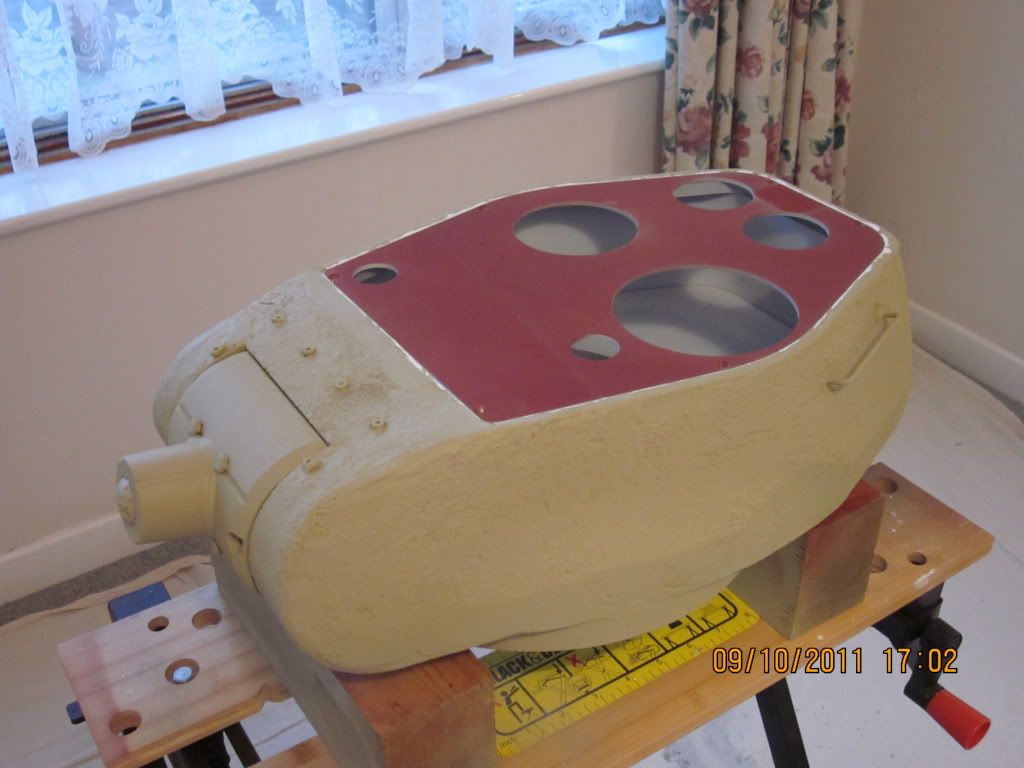
Turret
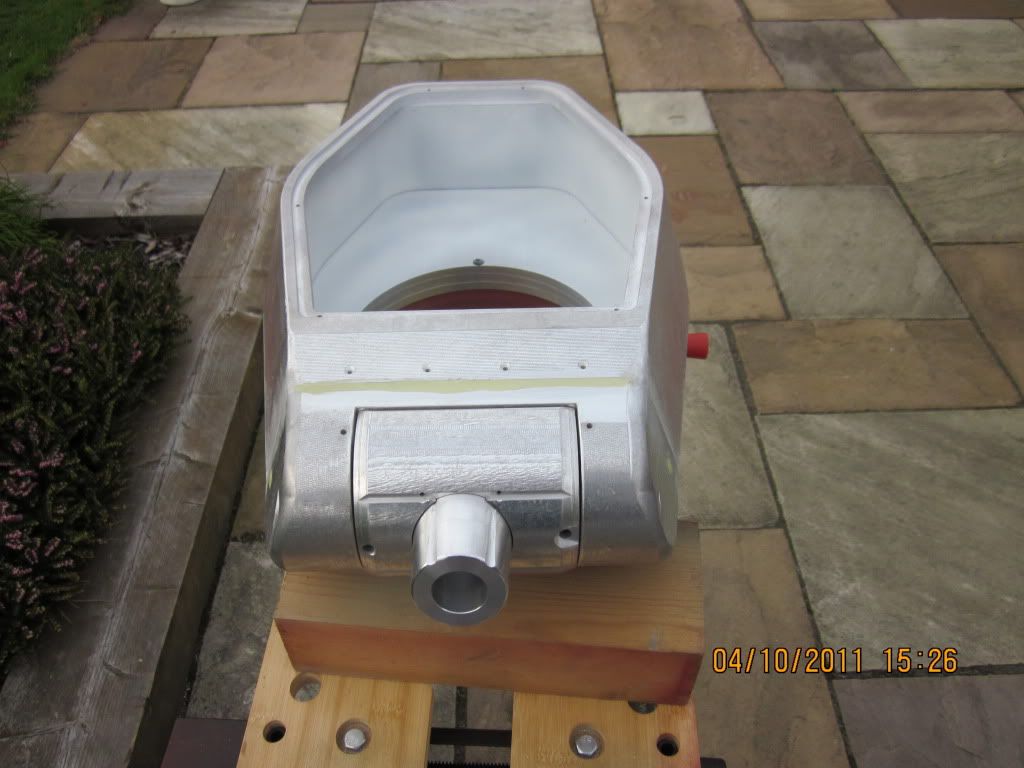
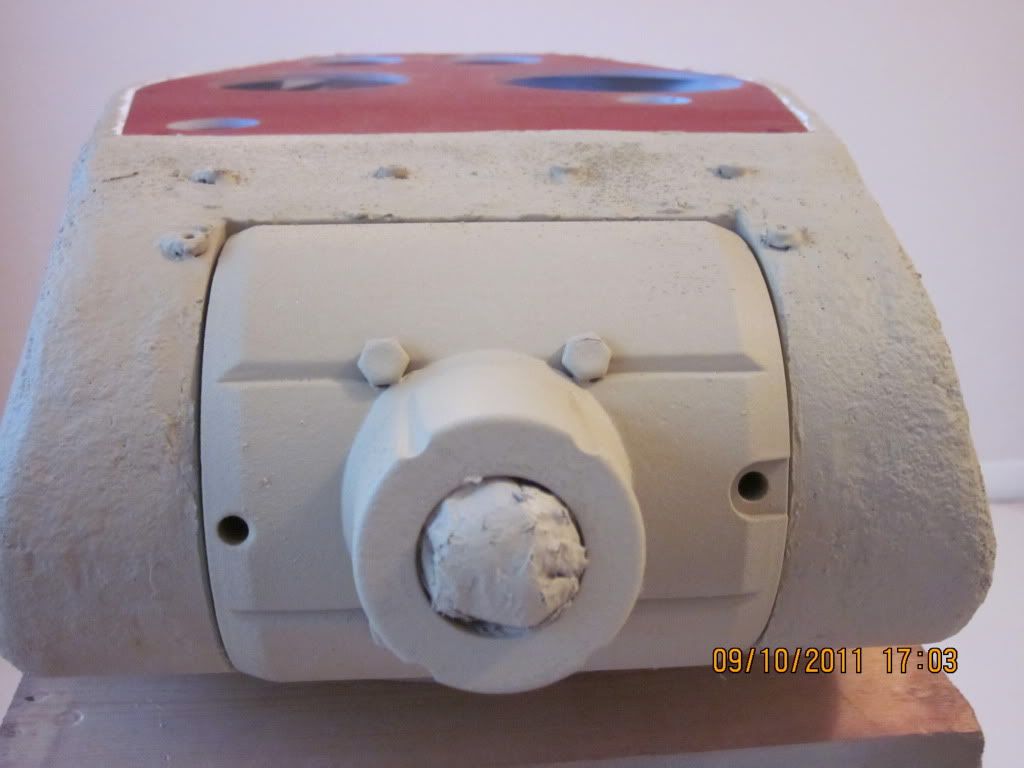
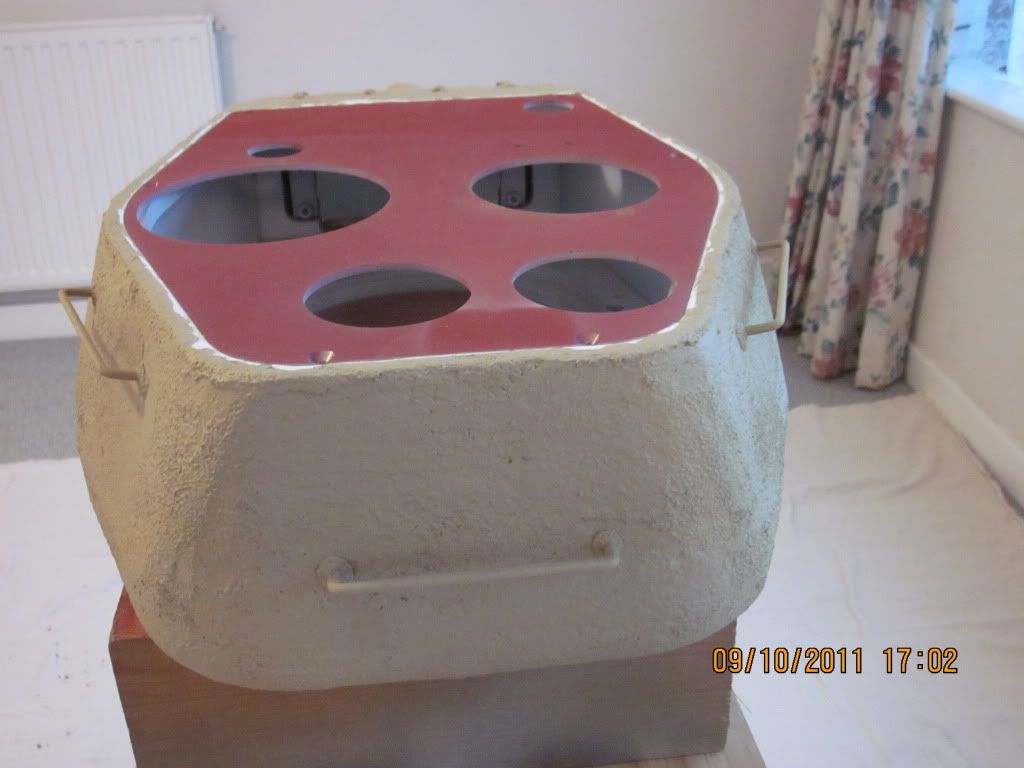
Made a start on my Turret with a bit of grinding filing and some filling
I just did a bit of grinding to smooth out the top of the Turret to the front and all the
sharp edges and filled the joint between the Turret front.
The hole I drilled to assemble my mantlet,I plugged with a 10mm grub screw and filled flush,
with BlueTack first and then a bit of Milliput,so it will be easy enough to poke out if I have to.
-
- Posts: 2020
- Joined: Sat Dec 12, 2009 3:38 pm
- Location: Sambourne uk
- Been liked: 223 times
-
- Posts: 2020
- Joined: Sat Dec 12, 2009 3:38 pm
- Location: Sambourne uk
- Been liked: 223 times
Turret and Gun
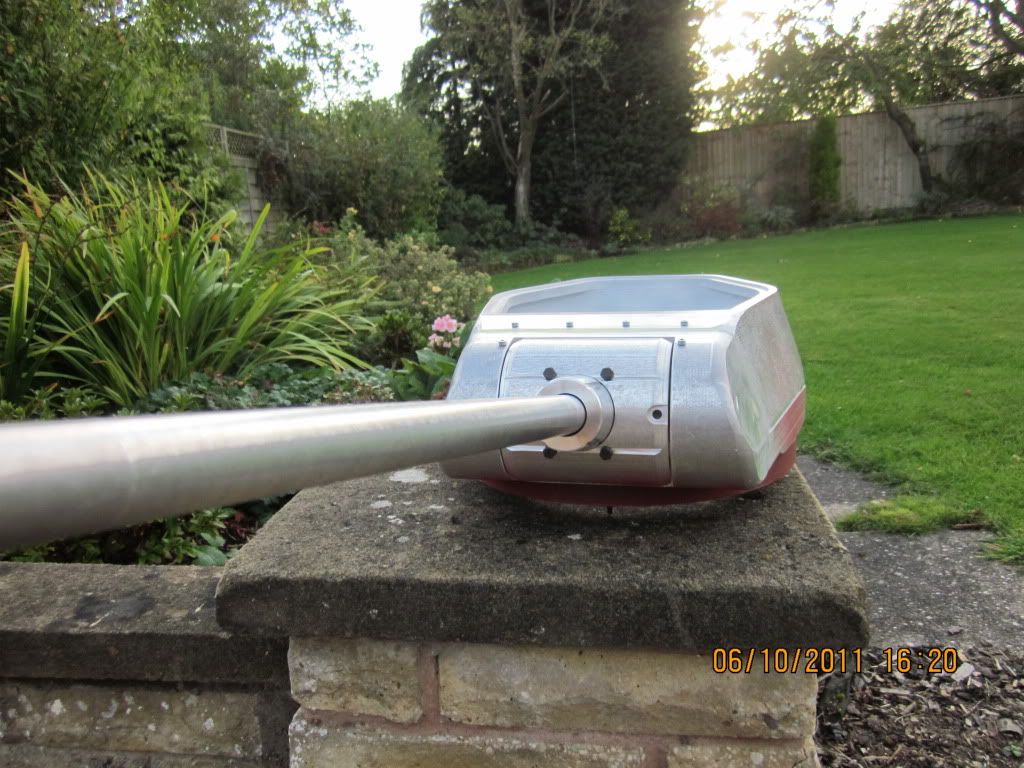
Making sure my Gun slides nice in the bush before I fix the Gun Base to the Mantlet
prior to starting on my Turret texture
-
- Posts: 2020
- Joined: Sat Dec 12, 2009 3:38 pm
- Location: Sambourne uk
- Been liked: 223 times
-
- Posts: 26
- Joined: Thu Mar 31, 2011 1:07 am
- Location: Lake Worth, Florida, USA
Re: T34/85 25th Guards Brigade No 234a
Hi Phil
I have the same issue you had with a small gap between the front deck and rear deck, also rear deck lid overhangs upper rear plate by about 3 to 4 mm. I saw that you moved rear deck forward until deck lid was flush with upper rear plate. Did you have enough room to drill and tap new 3mm holes or is there some other way that you did this? Did the turrent clear the rear deck / deck bolts with this mod.
Any info would be appreciated
Thank you
William Lewis
-
- Posts: 2020
- Joined: Sat Dec 12, 2009 3:38 pm
- Location: Sambourne uk
- Been liked: 223 times
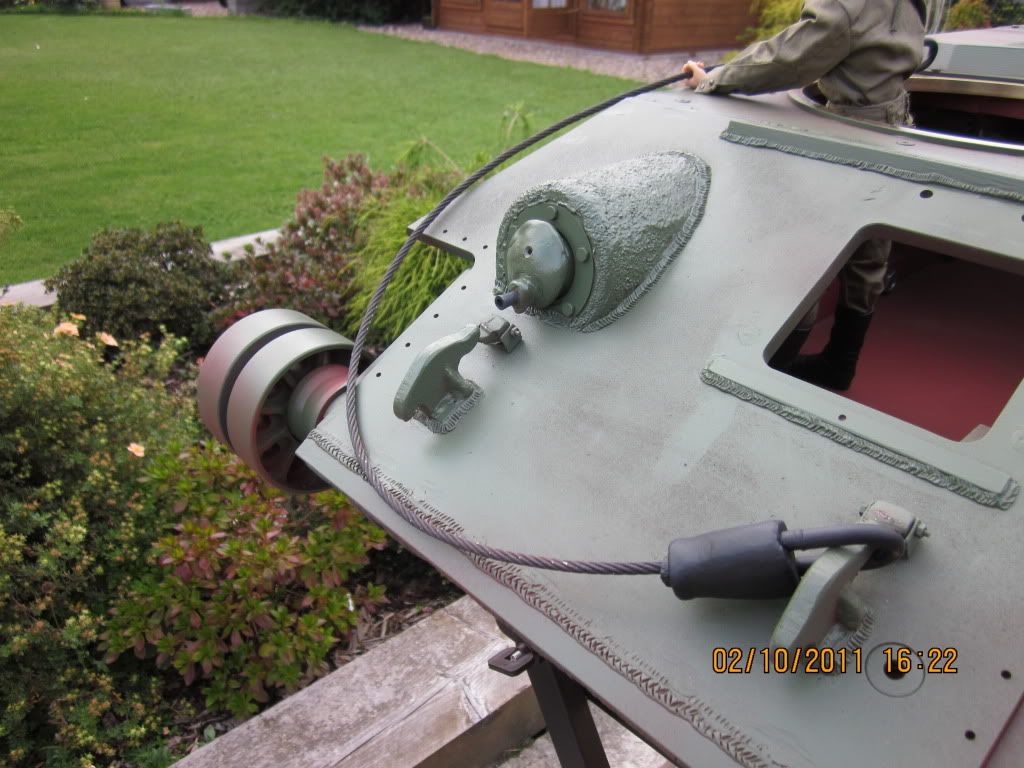
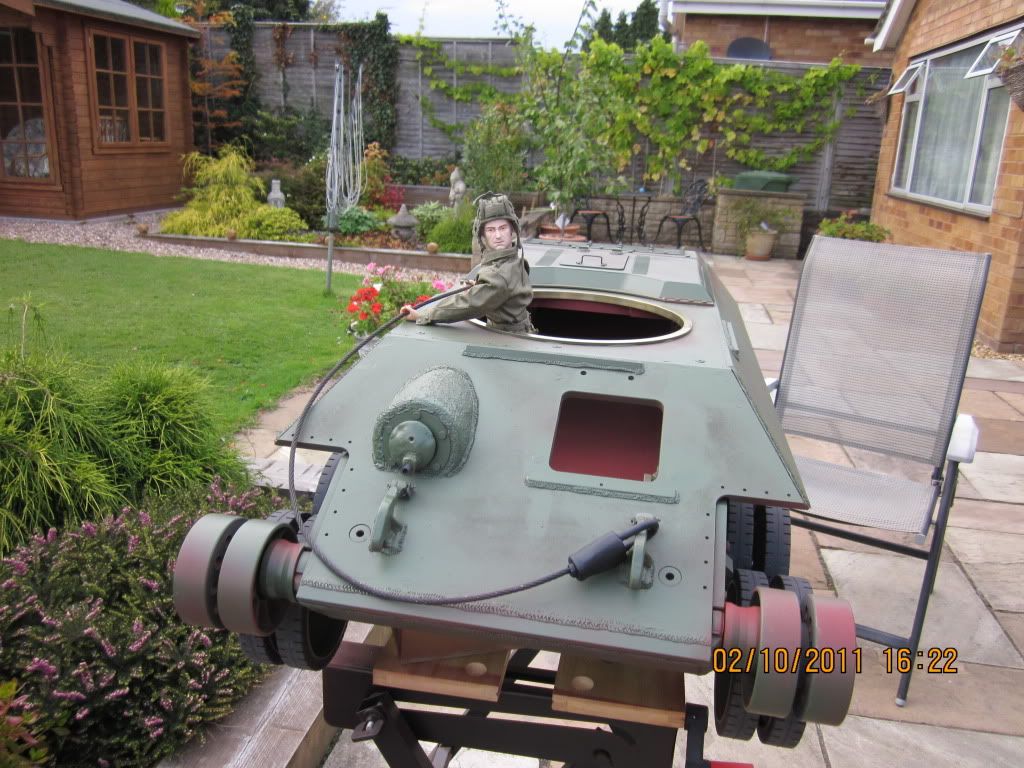
Rear Deck
Hi William
Yes there was enough room to drill and tap for all of the new holes.
If you look at my pic's on page 8 of the rear deek after fitting,you will see from the front
it just overlaps the front deck screws just enough to cover the little gap and be nice
and flush at the back.
You will notice the 2 inner hex head screws have there flats facing the base ring,
and I rounded the bottom of the base ring a bit,which looks better anyway and there is
about 1mm clearance with those 2 screws,the others are no problem.
I did the 2 front outer edge screws first after marking for them,then the 2 outer back ones,
taking the deck off each time to see where I was drilling.
I wanted it nice and flush at the back of the rear deck lid so I could fit the hinge type latch
that you can see on the board in the previouse picture,I have fitted them now and they work
fine after a fiddle about
Cheers
Phil
-
- Posts: 2020
- Joined: Sat Dec 12, 2009 3:38 pm
- Location: Sambourne uk
- Been liked: 223 times
- Adrian Harris
- Posts: 5060
- Joined: Thu Jul 12, 2007 10:46 pm
- Location: Berkshire (UK)
- Has liked: 1365 times
- Been liked: 1564 times
Re: T34/85 25th Guards Brigade No 234a
Nice to see your T34 coming together so smoothly Phil
Work and family are keeping me too distracted to get to the workshop, so it's nice to sit down and follow this thread and see the progress in each posting.
Adrian.
Work and family are keeping me too distracted to get to the workshop, so it's nice to sit down and follow this thread and see the progress in each posting.
Adrian.
Contact me at sales@armortekaddict.uk for details of my smoker fan control module
-
- Posts: 26
- Joined: Thu Mar 31, 2011 1:07 am
- Location: Lake Worth, Florida, USA
Re: T34/85 25th Guards Brigade No 234a
Hi Phil
Thanks for the details on the rear deck mod, your pictures and info have been a great help.
Thanks again
William
Thanks for the details on the rear deck mod, your pictures and info have been a great help.
Thanks again
William
-
- Posts: 2020
- Joined: Sat Dec 12, 2009 3:38 pm
- Location: Sambourne uk
- Been liked: 223 times
Re: T34/85 25th Guards Brigade No 234a
Hi Adrian,
Sorry to hear you cant get to your Tanks
Yes its another great Tank to build with a handfull of little challenges thrown in
The decent weather has helped and I've done most of it outside on the patio,on
the evenings and weak ends.
I've been having a go at the cast finish on the Turret and doing other bits in between
while it dries.
Will post some pics soon
Cheers
Phil
-
- Posts: 2020
- Joined: Sat Dec 12, 2009 3:38 pm
- Location: Sambourne uk
- Been liked: 223 times
Turret Casting
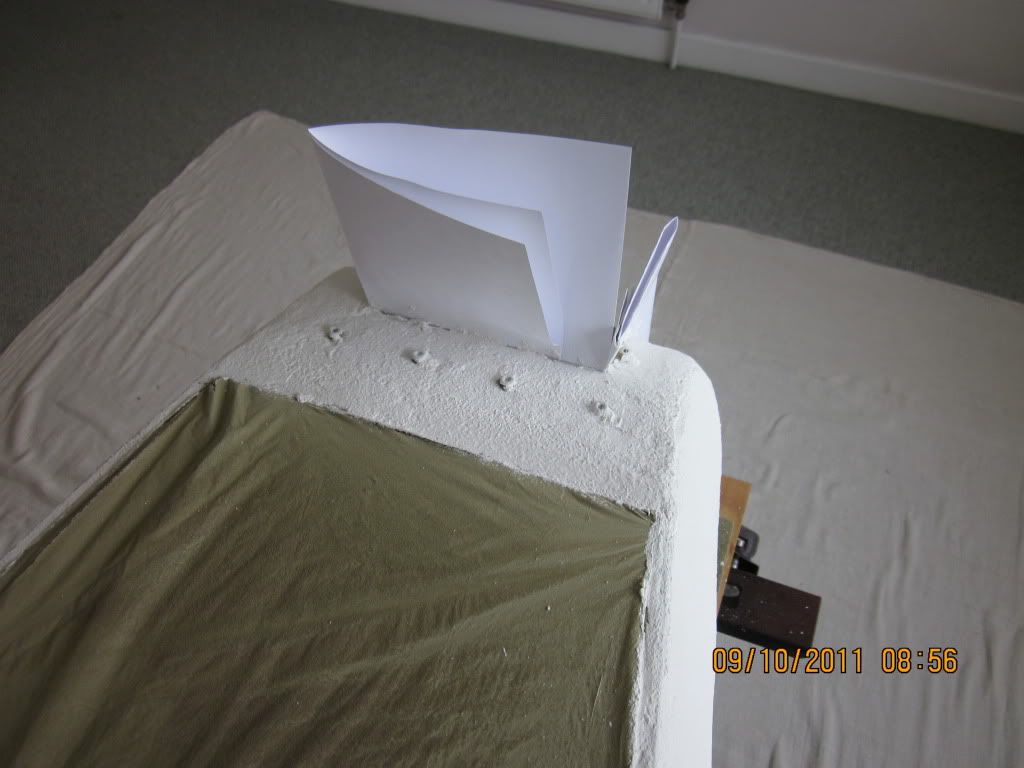
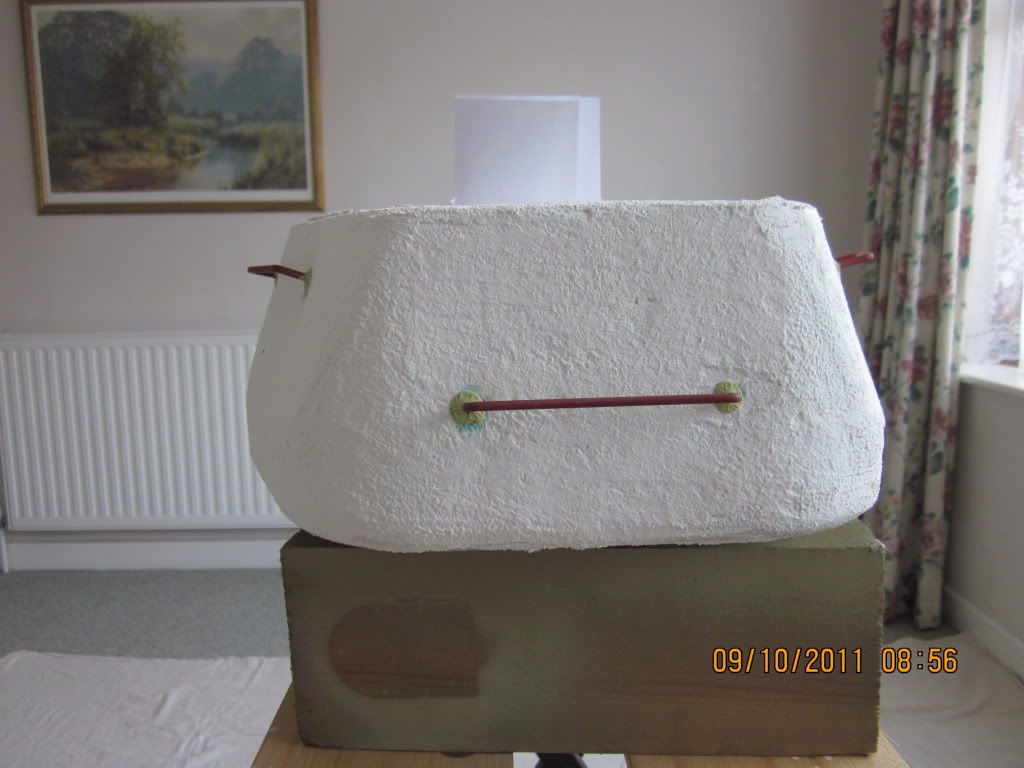
Started on my Turret Casting.
Ground off the sharp edges and 4 coats of the spray filler,before
2 thin coats of polly filler,so far
Will be using the spray filler on the bottom because of the limited clearance and the mantlet,and
some more spray filler over the polly filler to seal it all and play with it untill I'm happy.
Ground off the sharp edges and 4 coats of the spray filler,before
2 thin coats of polly filler,so far
Will be using the spray filler on the bottom because of the limited clearance and the mantlet,and
some more spray filler over the polly filler to seal it all and play with it untill I'm happy.
-
- Posts: 2020
- Joined: Sat Dec 12, 2009 3:38 pm
- Location: Sambourne uk
- Been liked: 223 times
-
- Posts: 2020
- Joined: Sat Dec 12, 2009 3:38 pm
- Location: Sambourne uk
- Been liked: 223 times
Turret Casting
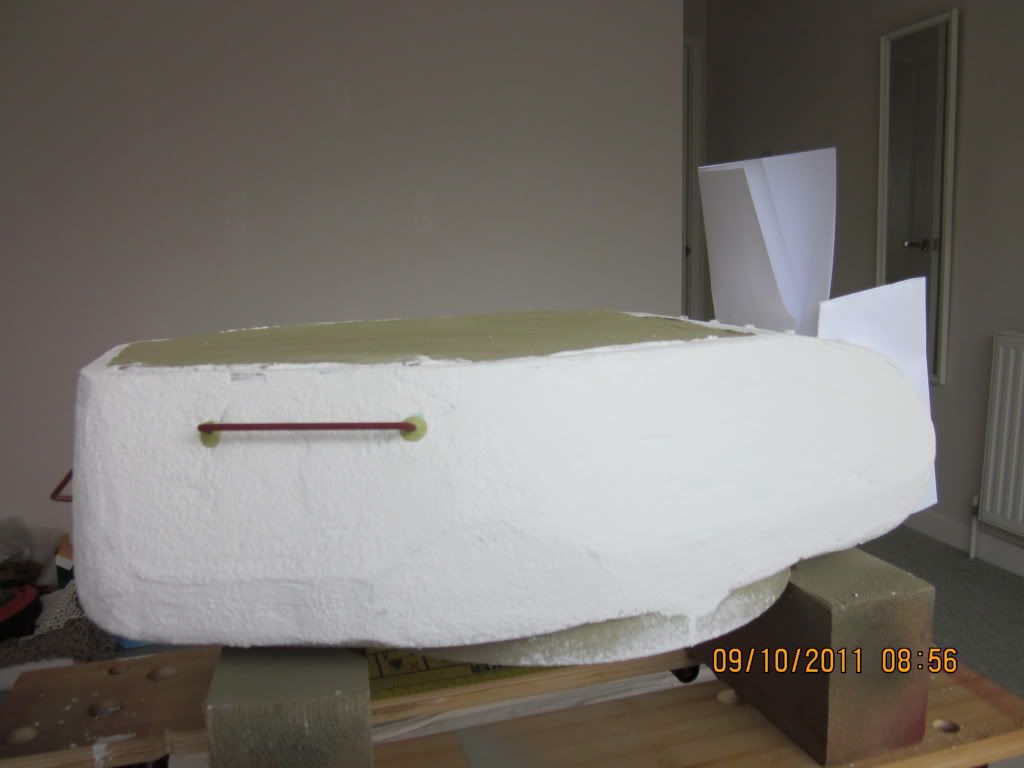
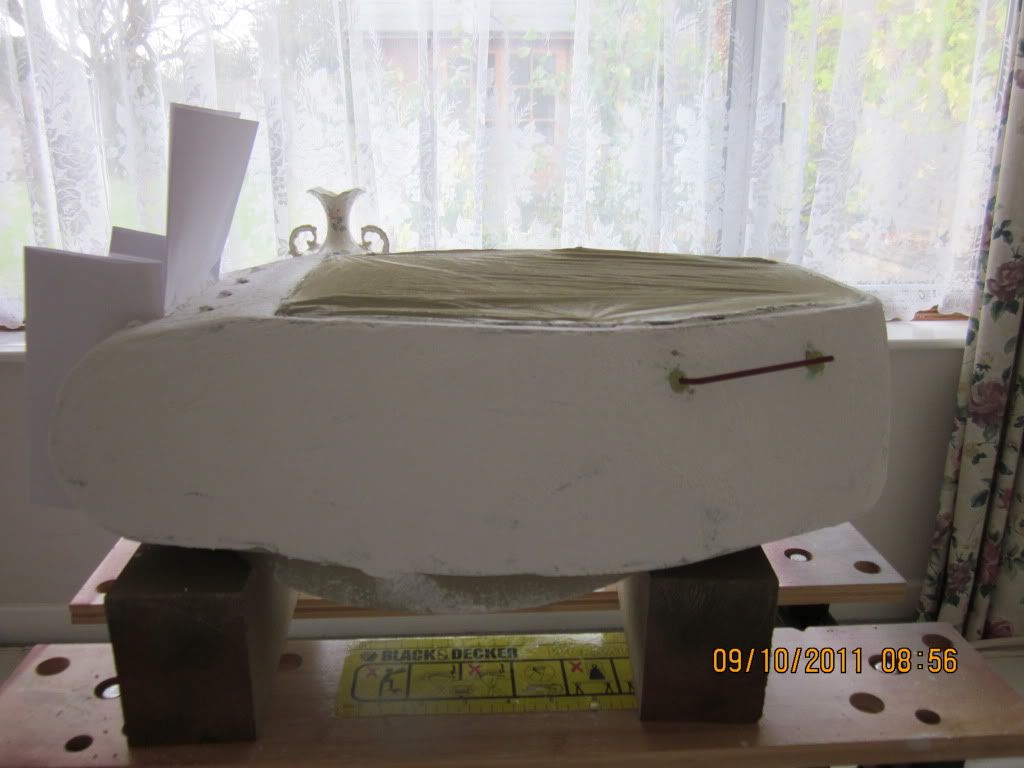
Bit more work on my Turret Casting,a few coats of the spray filler,if I slip
and spray too much, I just stipple it a bit more
I used cling film over my Turret Top to keep the joint and inside clean.
The Mantlet and Gun Base is slowly improving.
and spray too much, I just stipple it a bit more
I used cling film over my Turret Top to keep the joint and inside clean.
The Mantlet and Gun Base is slowly improving.