My Stug conversion
-
Derek Attree
- Posts: 1305
- Joined: Thu Jul 12, 2007 12:44 pm
- Location: london
- Has liked: 219 times
- Been liked: 199 times
Hi Guys
I have been doing some detail parts including
the rear vent cover the angle between the fighting
compartment and the fenders.
I am also making the tubes for the small holes in the wheels
and the doing the welds on the whels too I will post some
pictures in the next couple of days.
Regards
Derek
I have been doing some detail parts including
the rear vent cover the angle between the fighting
compartment and the fenders.
I am also making the tubes for the small holes in the wheels
and the doing the welds on the whels too I will post some
pictures in the next couple of days.
Regards
Derek
we must stop making stupid predictions
-
Derek Attree
- Posts: 1305
- Joined: Thu Jul 12, 2007 12:44 pm
- Location: london
- Has liked: 219 times
- Been liked: 199 times
Hi Guys
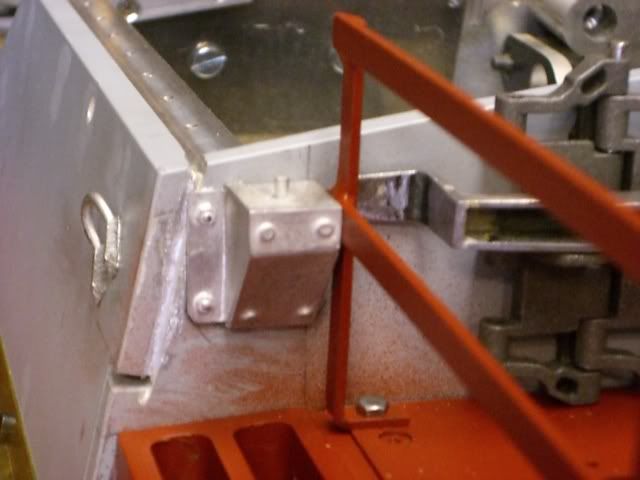
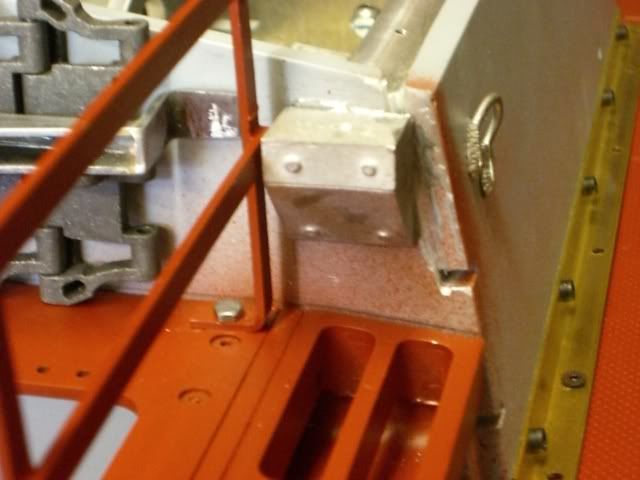
Pictures as promised
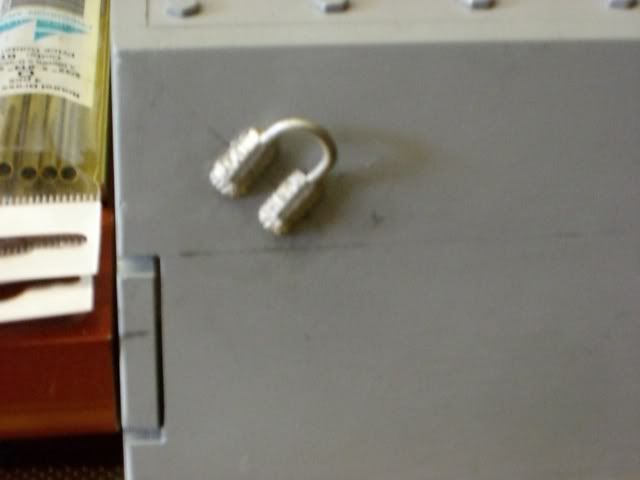
Lifting hook detail
fighting compartment angle
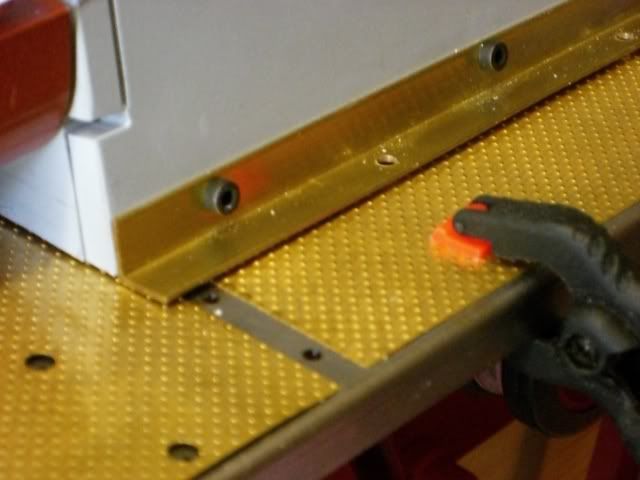
rear vent detail
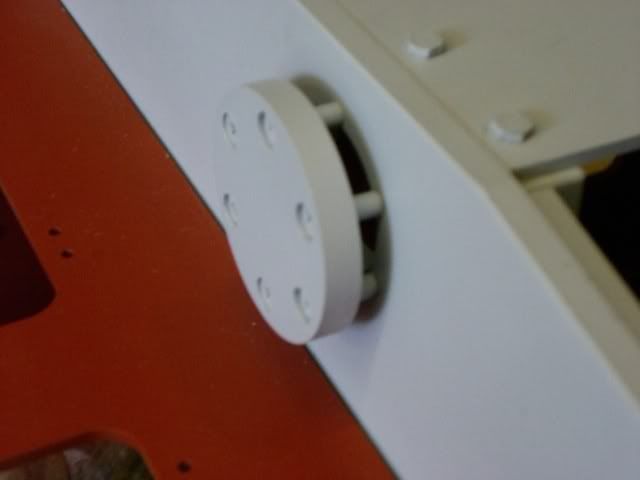
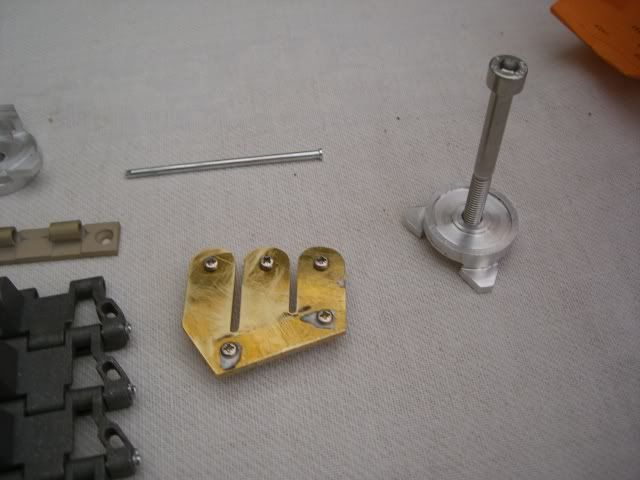
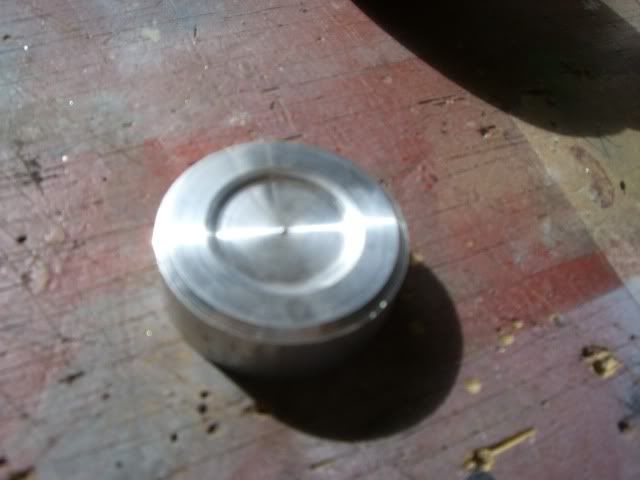
Wheel tube depth jig
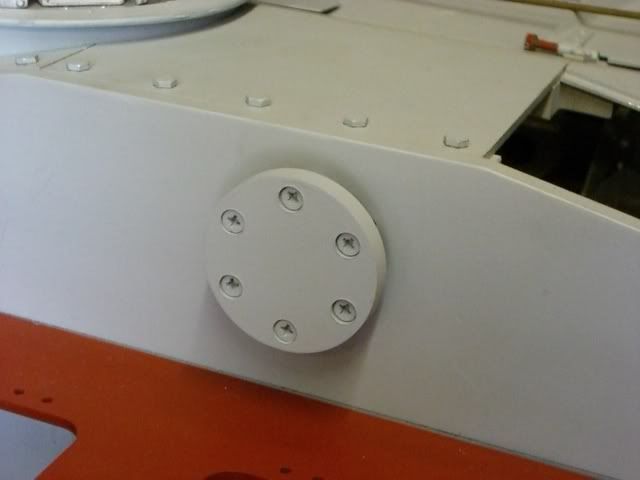
Wheel tubes fitted
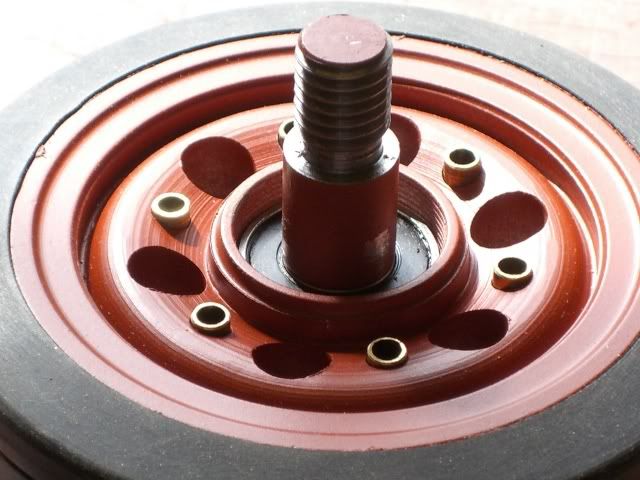
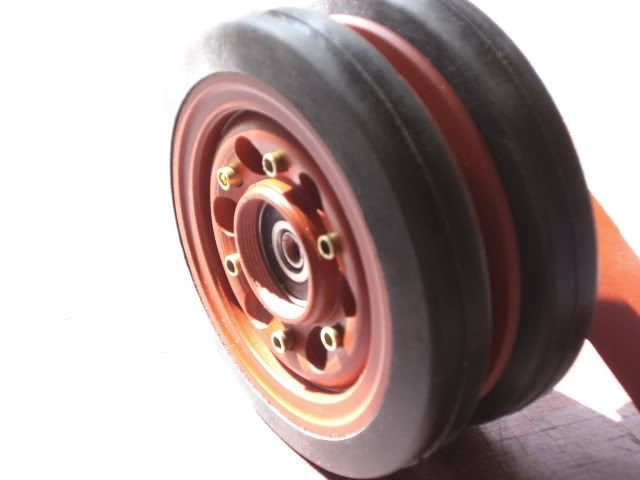
The tubes are glued in one wheel only so I can still get them apart they are aligned with the use of the axel.
I have used brass tube from K&S metal centers 5/32" Dia.
The lifting hooks are from Dave Dibbs at Armorpax.
The vent is made by me.
It is good to get some stuff done again after a long break post op.
Derek
Pictures as promised
Lifting hook detail

fighting compartment angle

rear vent detail


Wheel tube depth jig

Wheel tubes fitted


The tubes are glued in one wheel only so I can still get them apart they are aligned with the use of the axel.
I have used brass tube from K&S metal centers 5/32" Dia.
The lifting hooks are from Dave Dibbs at Armorpax.
The vent is made by me.
It is good to get some stuff done again after a long break post op.
Derek
we must stop making stupid predictions
-
Tim Bowman
- Posts: 1762
- Joined: Fri Jul 13, 2007 4:53 am
- Location: Northern California
- Been liked: 177 times
- Contact:
- Robert E Morey
- Posts: 2347
- Joined: Wed Jul 18, 2007 12:59 am
- Location: Seattle, WA USA
- Has liked: 155 times
- Been liked: 827 times
-
stuart holden
- Posts: 70
- Joined: Thu Jun 26, 2008 7:40 am
- Location: taunton somerset
-
Derek Attree
- Posts: 1305
- Joined: Thu Jul 12, 2007 12:44 pm
- Location: london
- Has liked: 219 times
- Been liked: 199 times
Hi Guys
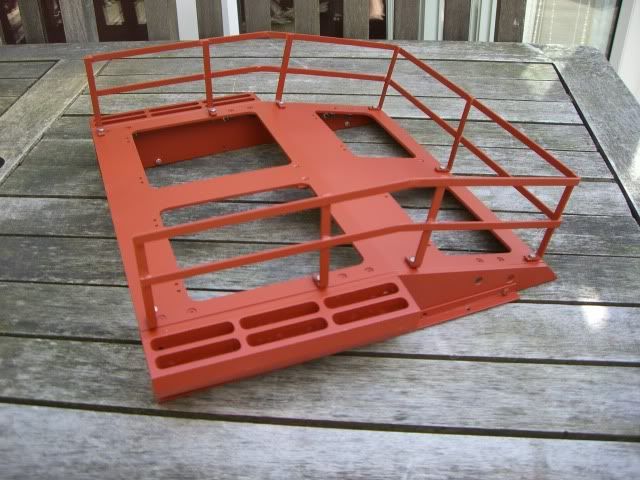
some pictures of a little something that I knocked up today.
This is the frame for the rear deck stowage.
It is made from 6mm x 2mm steel strip silver soldered together.
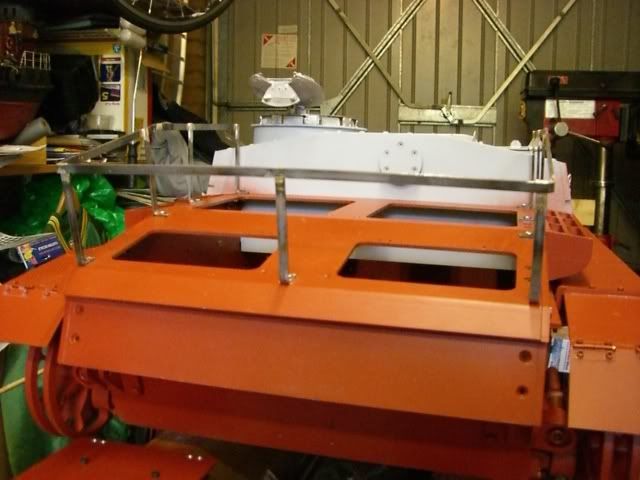
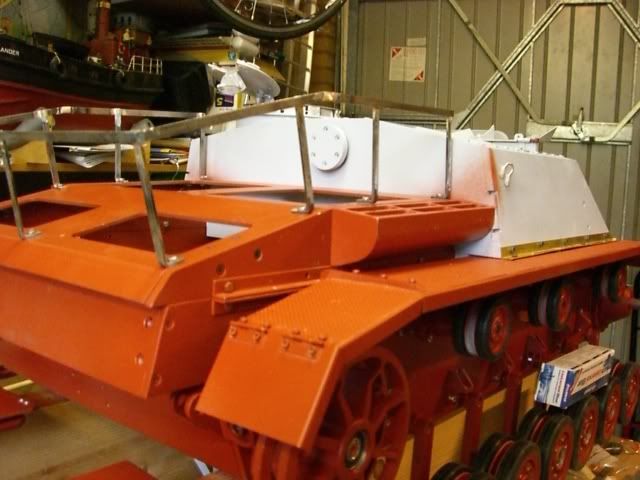
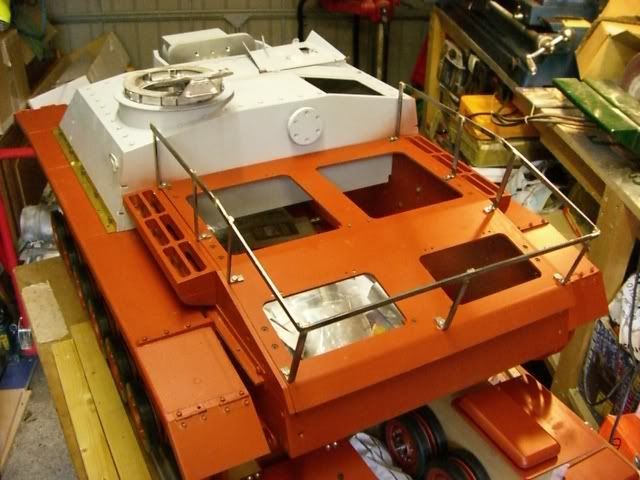

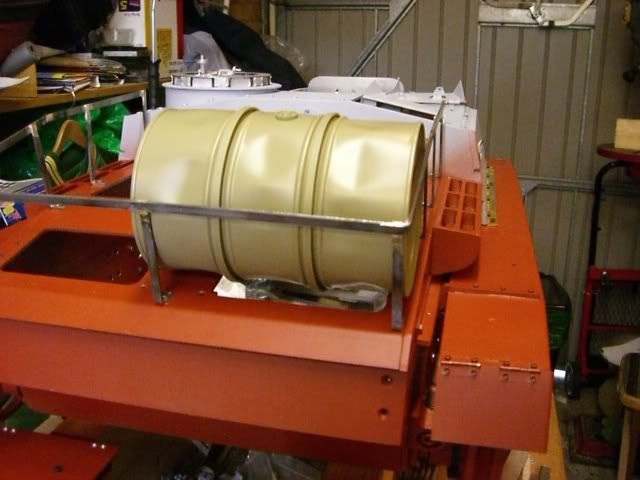
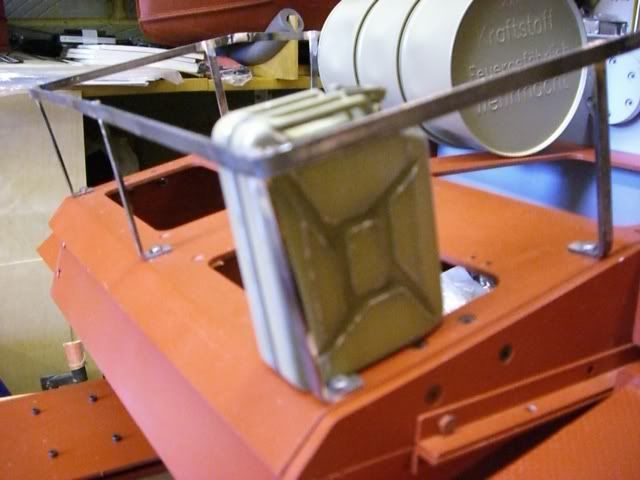
The jerry can and oil drum are Dragon items and there to give scale.
The hight of the frame has been taken from the stug at Bovington....
I hope you like.
Derek
some pictures of a little something that I knocked up today.
This is the frame for the rear deck stowage.
It is made from 6mm x 2mm steel strip silver soldered together.


The jerry can and oil drum are Dragon items and there to give scale.
The hight of the frame has been taken from the stug at Bovington....
I hope you like.
Derek
Last edited by Derek Attree on Thu Aug 13, 2009 10:17 pm, edited 1 time in total.
we must stop making stupid predictions
-
Derek Attree
- Posts: 1305
- Joined: Thu Jul 12, 2007 12:44 pm
- Location: london
- Has liked: 219 times
- Been liked: 199 times
Hi Guys
You may also have noticed that I have added the tread plate to the fenders and painted them in primmer.
I am waiting fro a set of Steve Winston fender brackets and I have to make the ones by the fighting compartment as these are different on the stug that I am making.
I have also started the process of changing the rear hull plate to get a better step (overhang) under the rear deck plate this will involve a new rear plate being made at some time to go on top of the relocated kit part.
regards
Derek
we must stop making stupid predictions
-
Derek Attree
- Posts: 1305
- Joined: Thu Jul 12, 2007 12:44 pm
- Location: london
- Has liked: 219 times
- Been liked: 199 times
- Robert E Morey
- Posts: 2347
- Joined: Wed Jul 18, 2007 12:59 am
- Location: Seattle, WA USA
- Has liked: 155 times
- Been liked: 827 times
- Adrian Harris
- Posts: 5115
- Joined: Thu Jul 12, 2007 10:46 pm
- Location: Berkshire (UK)
- Has liked: 1473 times
- Been liked: 1667 times
Great looking parts Derek - I love the fact you'll have a traversing gun in there.
I think we need toget you on the payroll and helping Mark make the next Pz III run a Stug III instead
BTW, would you be able to edit your posting from Monday and add the missing ] from the end of the link for the photo above the one with the oil drum - it's not showing up properly on the forum
Adrian
-
Derek Attree
- Posts: 1305
- Joined: Thu Jul 12, 2007 12:44 pm
- Location: london
- Has liked: 219 times
- Been liked: 199 times
Hi Adrian
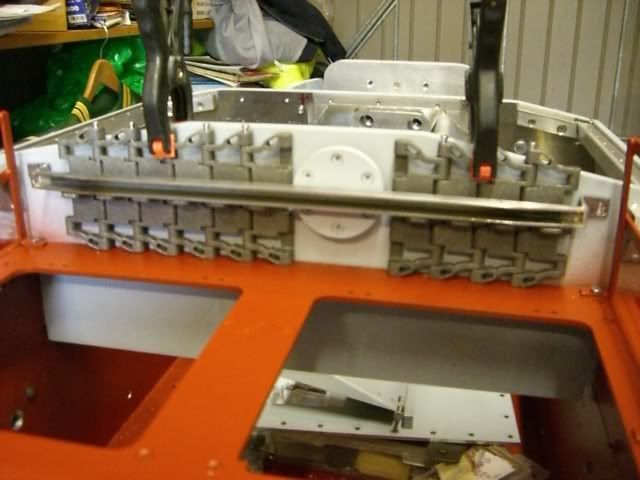
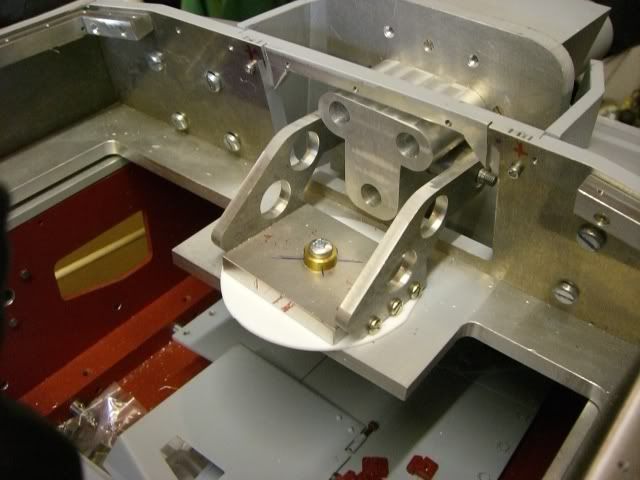
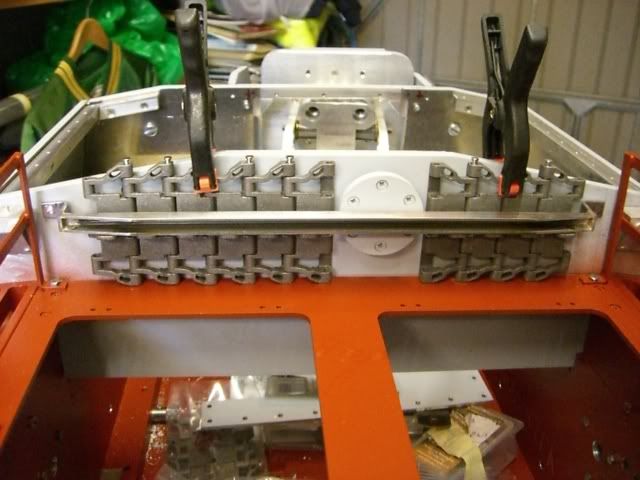
Done and heres a couple more.
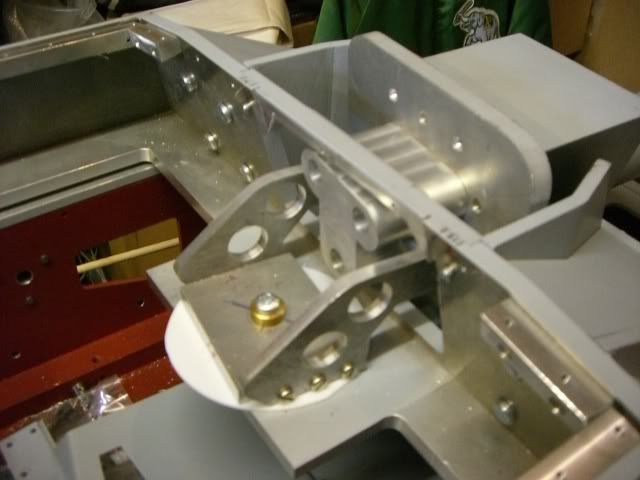
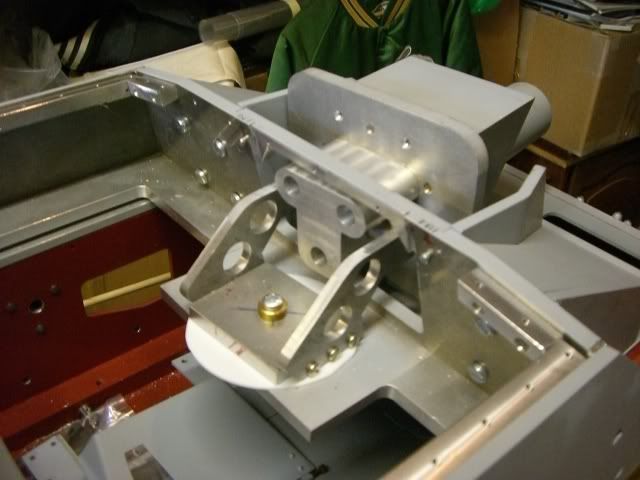
I Hope this shows the traverse left and right.
I have used a bit of 1.5 mm PTFE sheet as a bearing I have used a 6 mm
bolt for now.
I will machine a brass fitting for the pivot when I get the material.
Derek
Done and heres a couple more.


I Hope this shows the traverse left and right.
I have used a bit of 1.5 mm PTFE sheet as a bearing I have used a 6 mm
bolt for now.
I will machine a brass fitting for the pivot when I get the material.
Derek
Last edited by Derek Attree on Thu Aug 13, 2009 10:53 pm, edited 1 time in total.
we must stop making stupid predictions
-
stuart holden
- Posts: 70
- Joined: Thu Jun 26, 2008 7:40 am
- Location: taunton somerset
-
Derek Attree
- Posts: 1305
- Joined: Thu Jul 12, 2007 12:44 pm
- Location: london
- Has liked: 219 times
- Been liked: 199 times
Hi Guys
Does anyone have details of the Pz III ausf M deep swimming exhaust.
This exhaust has 2 pipes from under the back panel that go to a cylinder
to the left side of the upper back panel.
Thanks
Derek
Does anyone have details of the Pz III ausf M deep swimming exhaust.
This exhaust has 2 pipes from under the back panel that go to a cylinder
to the left side of the upper back panel.
Thanks
Derek
Last edited by Derek Attree on Sat Oct 24, 2009 4:53 pm, edited 1 time in total.
we must stop making stupid predictions
-
Stephen White
- Site Admin
- Posts: 3114
- Joined: Sat Oct 11, 2008 7:05 pm
- Location: Dorset
- Has liked: 1037 times
- Been liked: 2111 times
- Contact:
Derek - best bet is to get hold of a copy of the Jenz and Doyle Panzertracks Vol 3-3. It's got accurate 3D drawings. The Panzer Museum in Munsterlager has an Ausf M so if you Google Panzer III Munster, you'll get a stack of photos.
I don't know if the Stug also had the Ausf M covers over the engine air intakes. There are some drawings in the Trojca book.
Otherwise, there's a few drawings and photos in the Kagero and Achtung Panzer books.
Regards
Stephen
I don't know if the Stug also had the Ausf M covers over the engine air intakes. There are some drawings in the Trojca book.
Otherwise, there's a few drawings and photos in the Kagero and Achtung Panzer books.
Regards
Stephen
-
Derek Attree
- Posts: 1305
- Joined: Thu Jul 12, 2007 12:44 pm
- Location: london
- Has liked: 219 times
- Been liked: 199 times

