Late Production Tiger Project
Nice and accurate work all done with remarkable speed.
This one will be all made before summer
Looking at your pic I spotted something I hadn’t notice before.
The 2 round steel covers at the rear bottom of the hull was only for the first 250 produced hulls made for the Maybach HL 210 engine.
Later Tigers equipped with the stronger HL 230 engine had one of the covers done bigger and was square in shape
http://tiger1.info/EN/EngineAccessPanels.html
Nothing to bother about unless one is a hardcore rivetcounter...
Keep the photos comming
Kent
-
- Posts: 1762
- Joined: Fri Jul 13, 2007 4:53 am
- Location: Northern California
- Been liked: 177 times
- Contact:
Hi Jeff
Yes I will be recessing and concealing those fasteners as well. I don't have enough replacement fasteners at the moment so when I pick more up I'll take care of those before I flip it right side up.
Hi Kent
Yep, I noticed that too in a drawing in one of the books I have. Trying to decide if I should bother or not. I'm not quite as much of a "rivet counter" as others.
Regards
Tim
"So long as one isn't carrying one's head under one's arm, things aren't too bad." – Erwin Rommel
-
- Posts: 2024
- Joined: Fri Nov 02, 2007 8:51 pm
- Location: new forest,hampshire,u.k.
- Been liked: 1633 times
-
- Posts: 1225
- Joined: Thu Jul 12, 2007 11:42 am
- Location: Manchester
- Has liked: 8 times
- Been liked: 688 times
-
- Posts: 1762
- Joined: Fri Jul 13, 2007 4:53 am
- Location: Northern California
- Been liked: 177 times
- Contact:
Hi Steve
Yes, I simply fabricated the other side of the bracket and ran a fillet of epoxy-putty so they look like one piece. It looks like on the early and mid versions of the kit, it was one piece like the real thing.
Simon, hopefully it holds up to wear and tear. This is one area I skipped on the Panther and it bugs me every time I happen to look under the pannier and see no welds. Fortunately, it's not too often.
regards
Tim
"So long as one isn't carrying one's head under one's arm, things aren't too bad." – Erwin Rommel
- Robert E Morey
- Posts: 2298
- Joined: Wed Jul 18, 2007 12:59 am
- Location: Seattle, WA USA
- Has liked: 125 times
- Been liked: 755 times
-
- Posts: 1762
- Joined: Fri Jul 13, 2007 4:53 am
- Location: Northern California
- Been liked: 177 times
- Contact:
- Robert E Morey
- Posts: 2298
- Joined: Wed Jul 18, 2007 12:59 am
- Location: Seattle, WA USA
- Has liked: 125 times
- Been liked: 755 times
-
- Posts: 1762
- Joined: Fri Jul 13, 2007 4:53 am
- Location: Northern California
- Been liked: 177 times
- Contact:
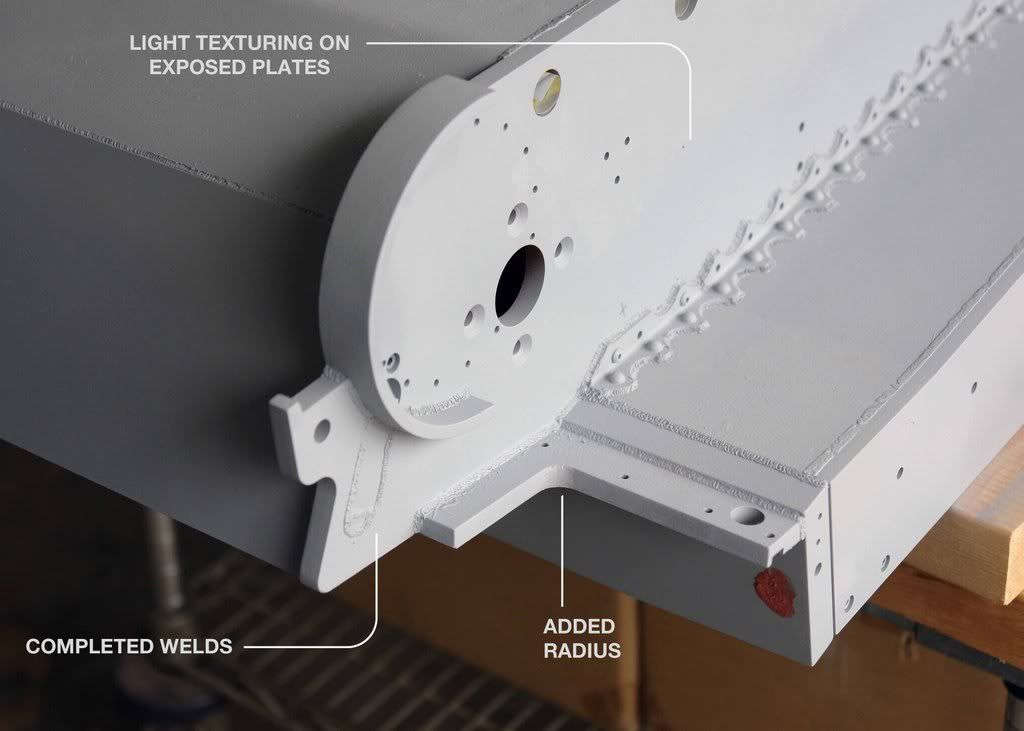
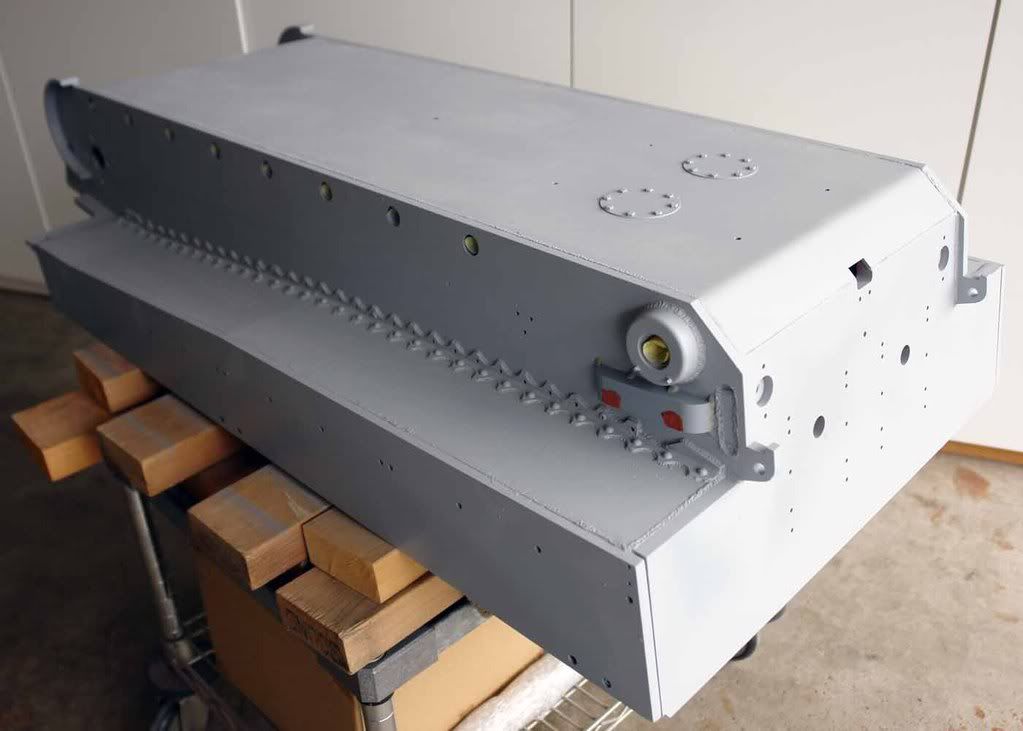
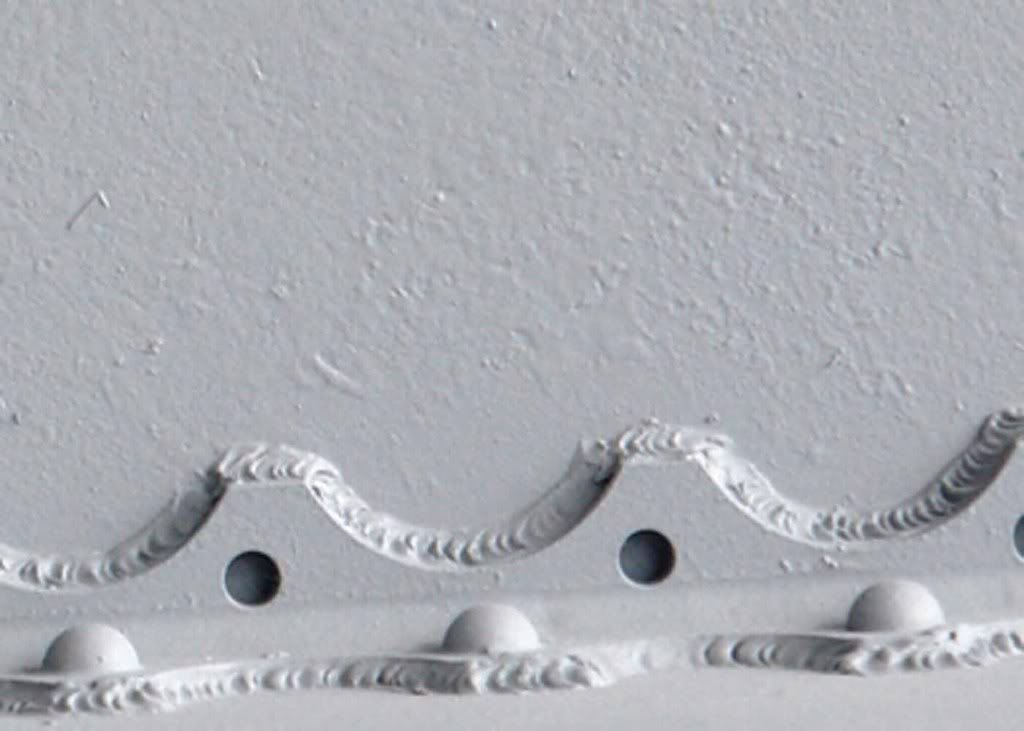
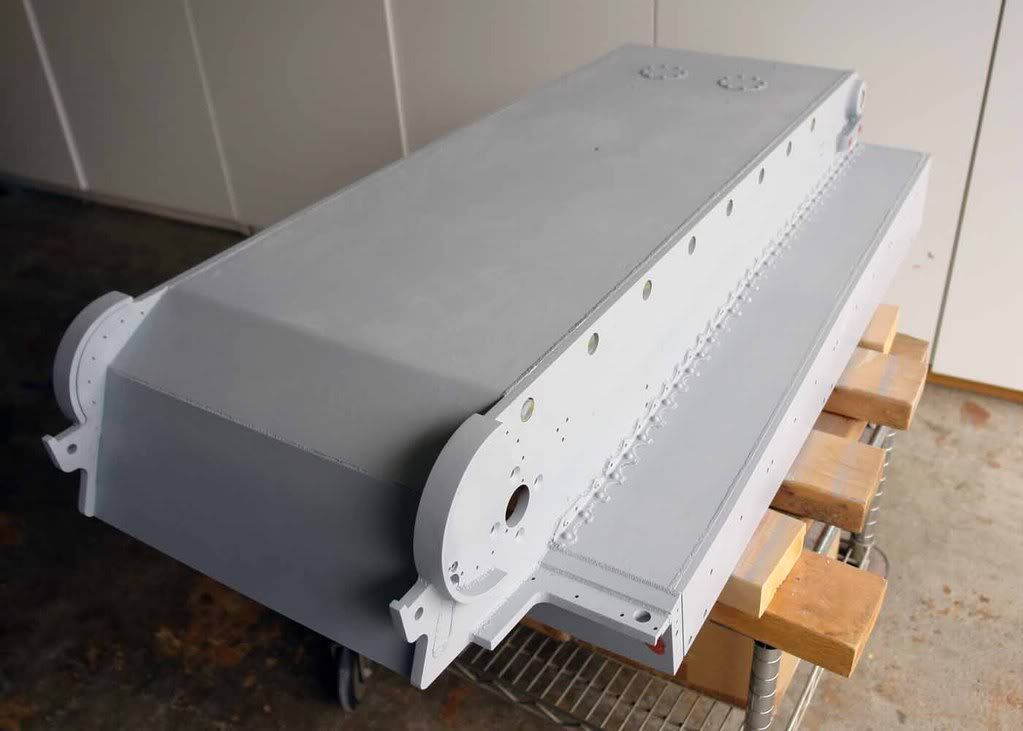
More progress. Completed all the welds on the lower hull(I think) and added a light texturing to all exposed, non-zimmerit plates.
Also changed the angle of the track pin deflector. I have the shock mounts made and just need to attach them before moving on to suspension. I almost added the rectangular engine access plate but didn't.
Light texture
regards
Tim
Also changed the angle of the track pin deflector. I have the shock mounts made and just need to attach them before moving on to suspension. I almost added the rectangular engine access plate but didn't.
Light texture
regards
Tim
"So long as one isn't carrying one's head under one's arm, things aren't too bad." – Erwin Rommel
-
- Posts: 1428
- Joined: Fri Jul 13, 2007 1:10 am
- Location: Port Macquarie Australia
- Been liked: 429 times
- Contact:
Hi Tim ... This is good . Like you ! Now that we have both built armortek models we can do things right the first time around . As you have done so far on your tiger . Where as with our first builds we would have move forward to far then pull everything apart two or three time to get it right . I will do the same as you with my king tiger . Tim you could nearly put a base coat on from the panniers down then you could do the running gear only once as well ... Dale
-
- Posts: 743
- Joined: Thu Jul 12, 2007 10:34 am
- Location: Kent
- Been liked: 10 times
- Robert E Morey
- Posts: 2298
- Joined: Wed Jul 18, 2007 12:59 am
- Location: Seattle, WA USA
- Has liked: 125 times
- Been liked: 755 times
-
- Posts: 1762
- Joined: Fri Jul 13, 2007 4:53 am
- Location: Northern California
- Been liked: 177 times
- Contact:
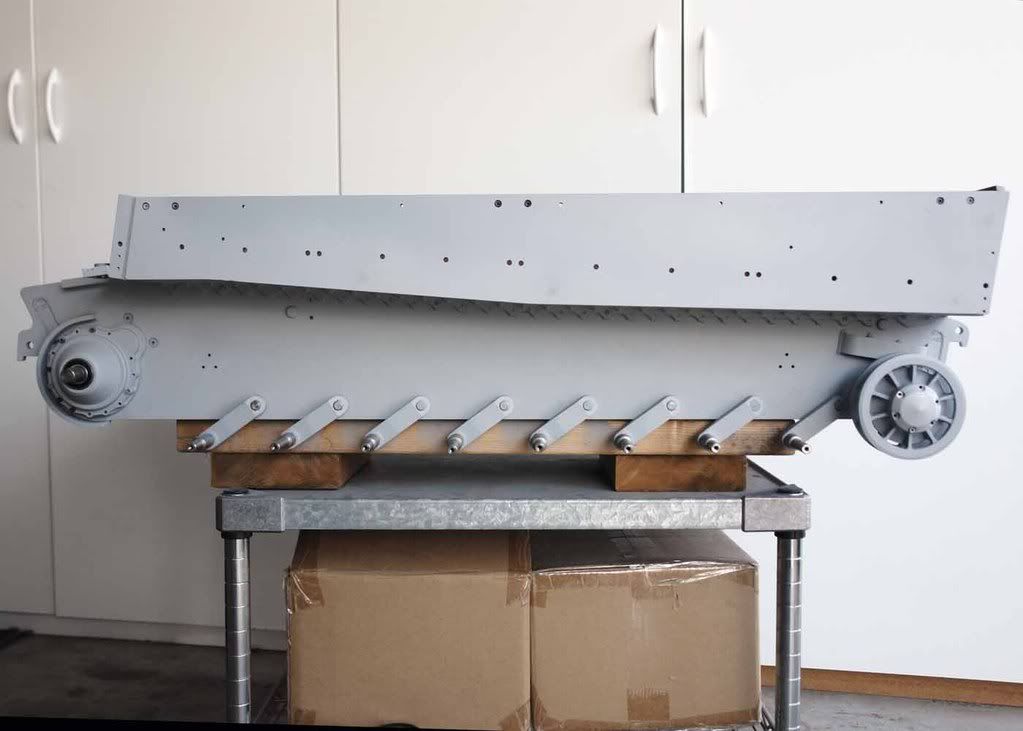
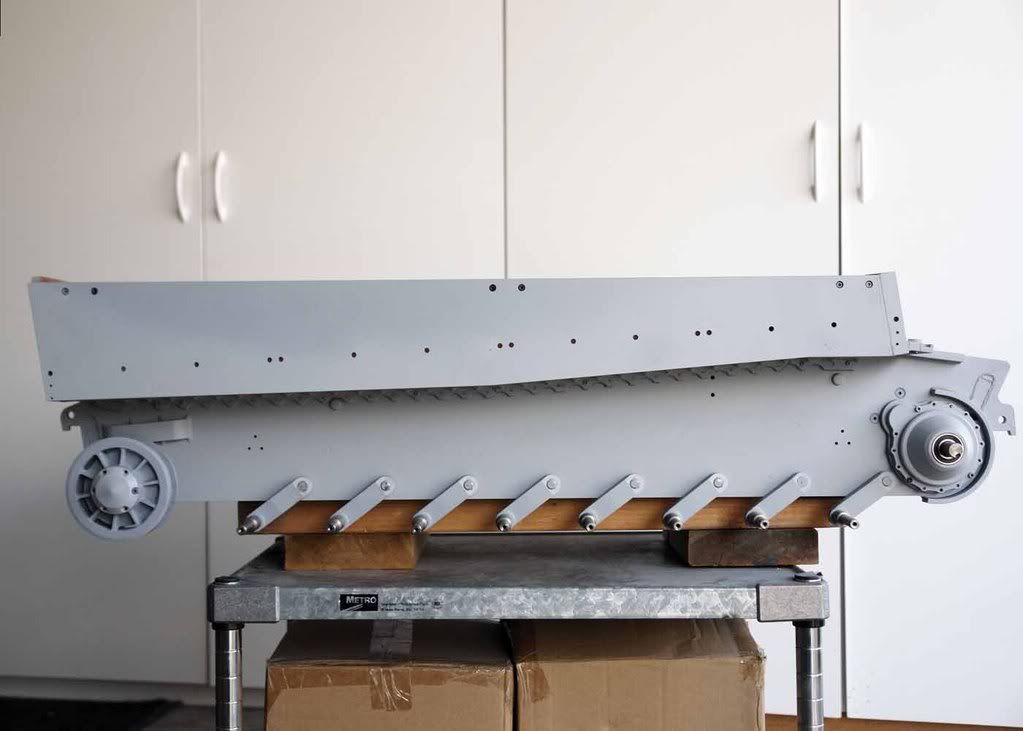
Some very minor progress. Although I did assemble the suspension. It is sooooooo much easier when it's your second Armortek kit. Everything went very smoothly.
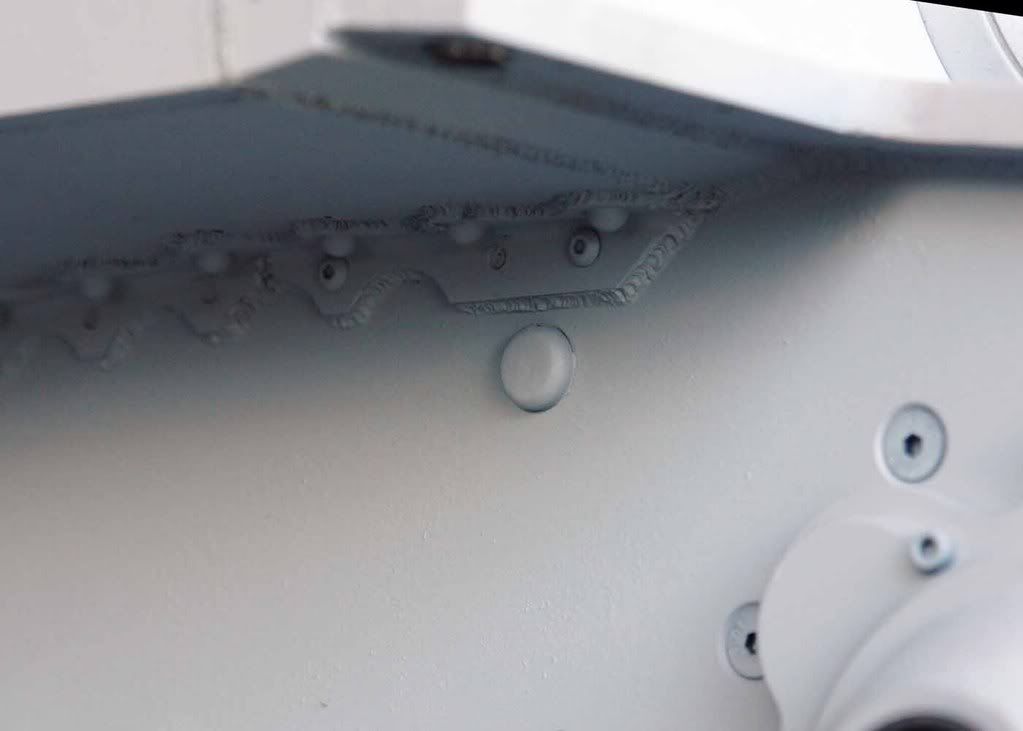
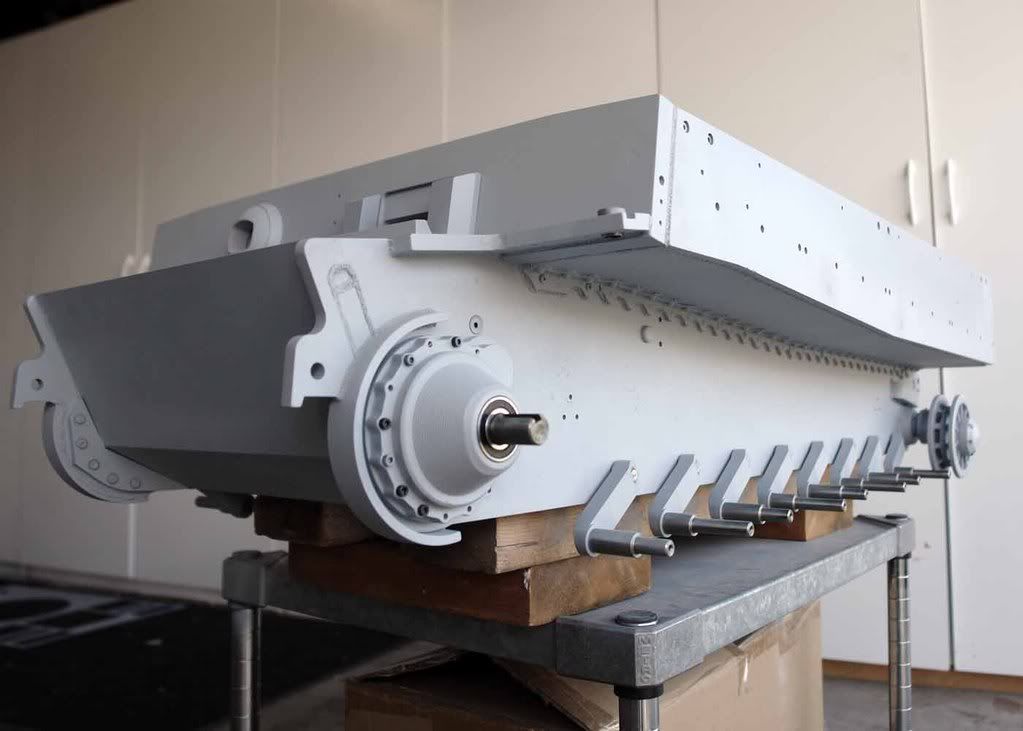
Also added the shock mounts on both sides and some more minor welds as well as took care of the pannier flange flat rivets.. Also modified the drive sprocket backing fillet. Bump stops are next for detailing along with the Sprockets and armor exhaust guards. I also plan on adding the second armored piece behind the sprocket/drive housing armor.
Here you can see the shock mounts and the modified angle on the track pin deflector.
Front right shock mount
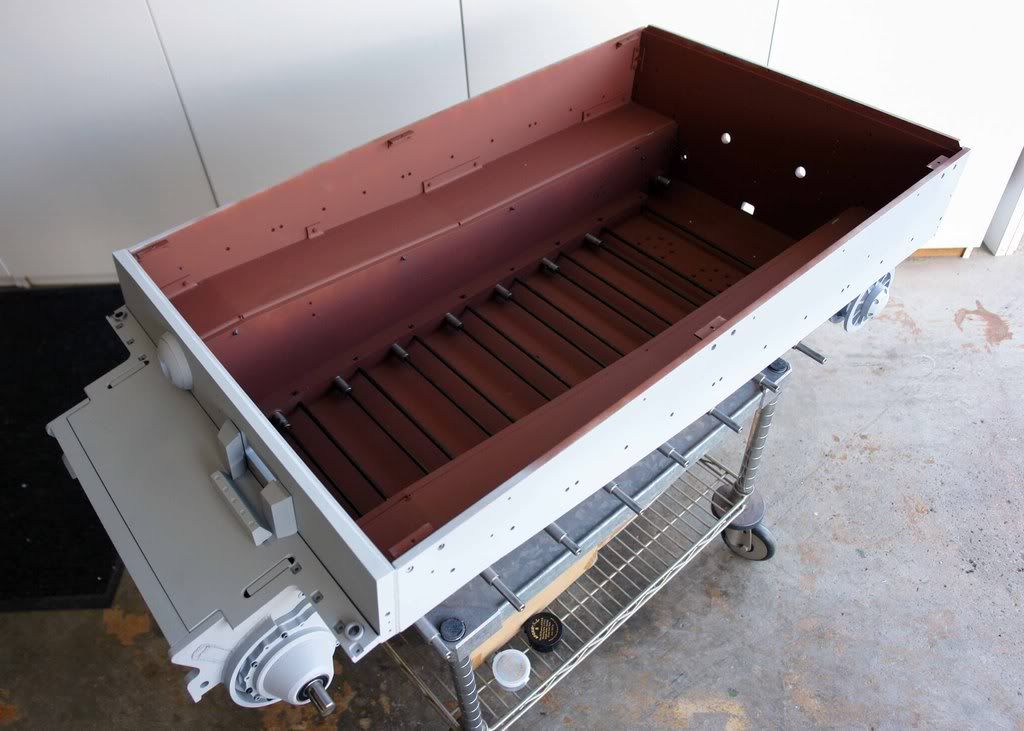
Interiors first coat of oxide red.
Hard to keep up with the King Tiger forum now!
regards
Tim
"So long as one isn't carrying one's head under one's arm, things aren't too bad." – Erwin Rommel
-
- Posts: 2024
- Joined: Fri Nov 02, 2007 8:51 pm
- Location: new forest,hampshire,u.k.
- Been liked: 1633 times