I thought I would post some images of my Late Tiger 1 progress. I originally purchased this tank in 2007, sold it in 2010 and then bought it back from that buyer in 2011. The hull was primered by the buyer. I started building this model in 2016. Progress has been slow due to other commitments and projects.
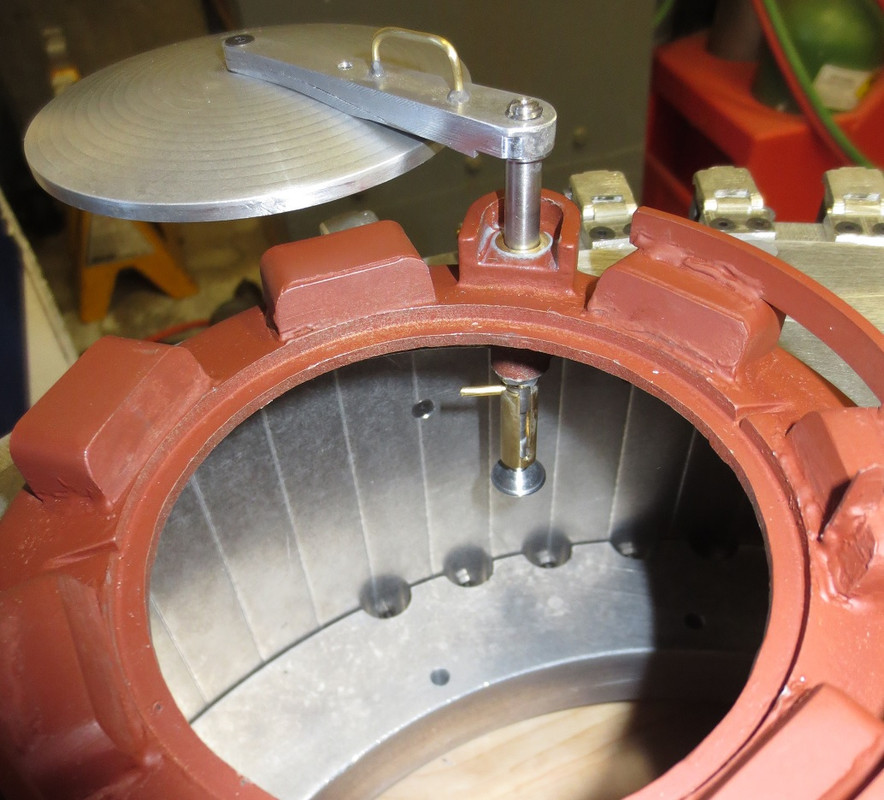
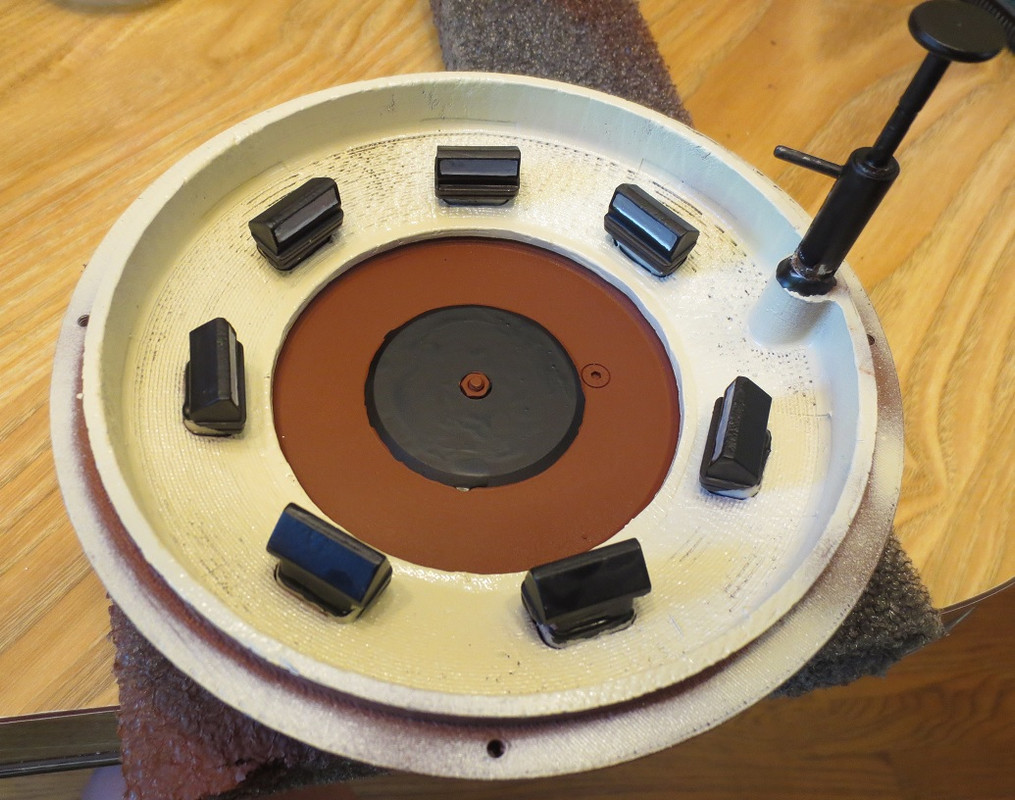
Started assembling the turret. Made several modifications so far. I could not locate the kit white metal prisms for the cupola, so I used some leftover from my Panther G project. They are not perfect but better than nothing. I closed the opening in the periscope covers with steel sheet, soldered in place. I am remaking the hatch hinge mounting.
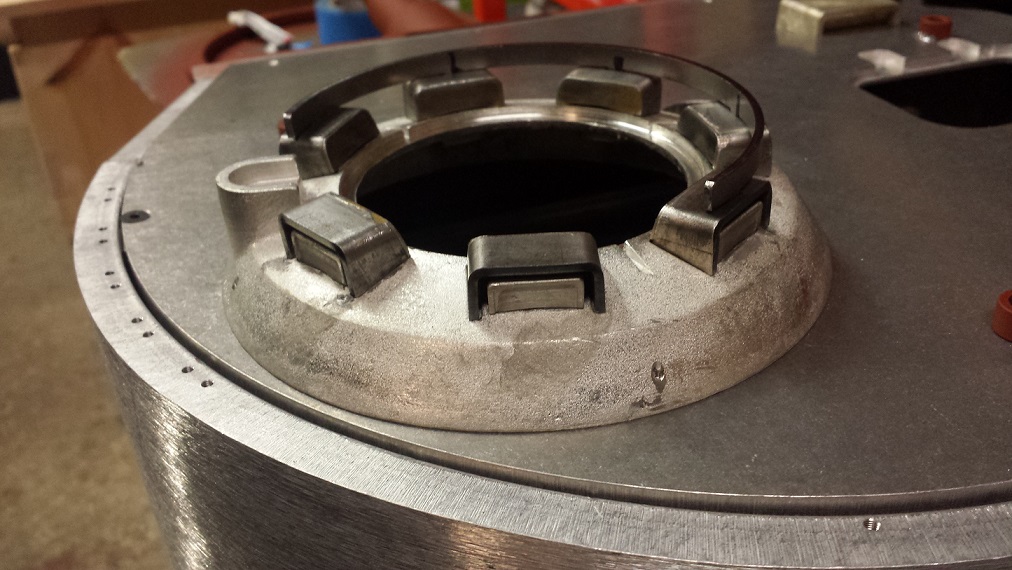
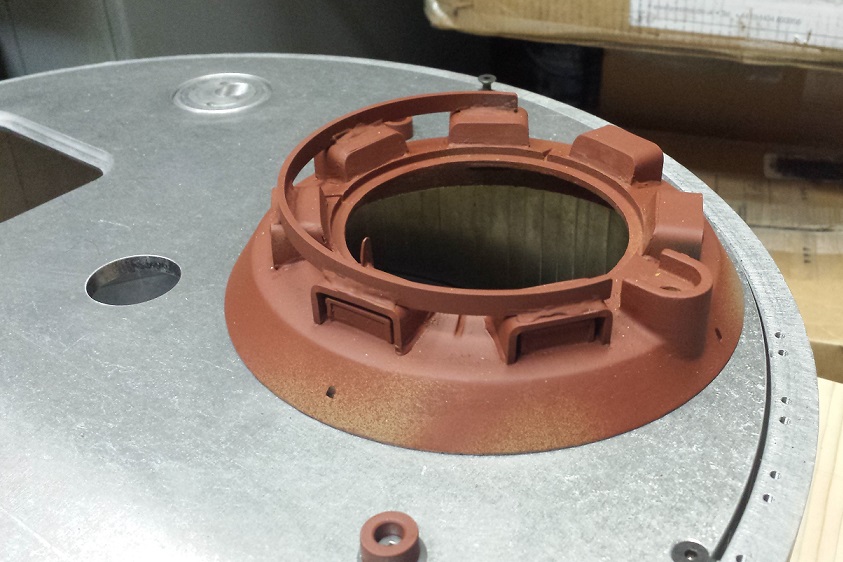
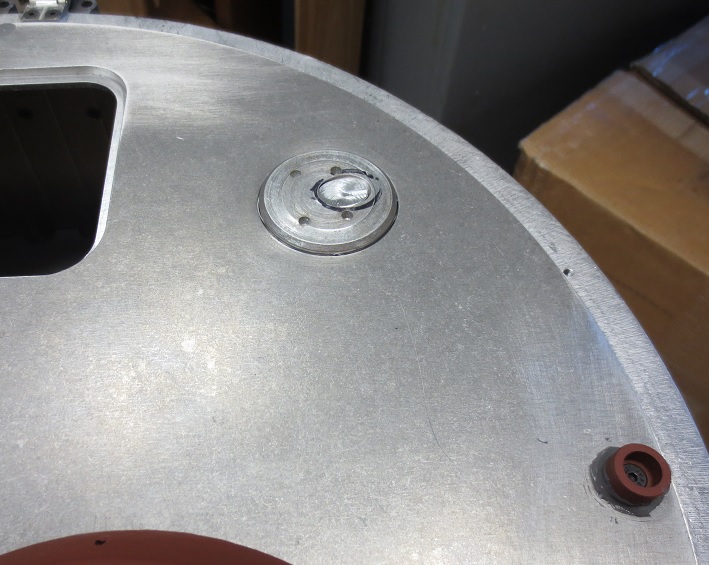
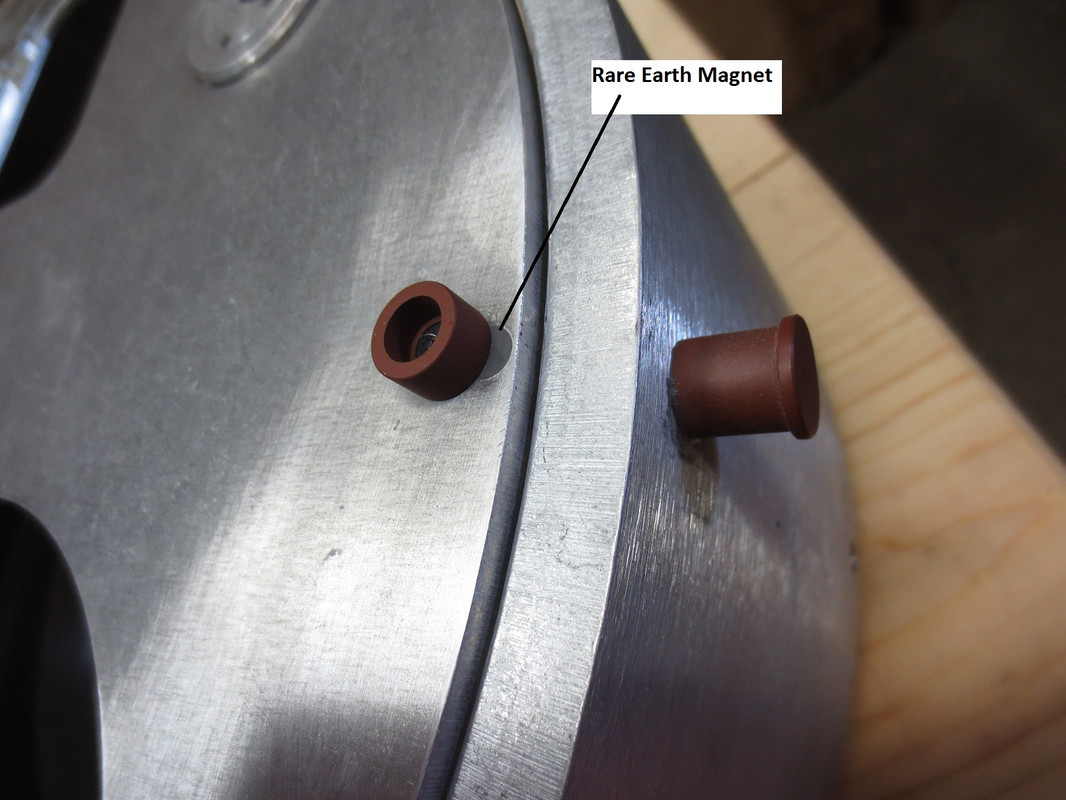
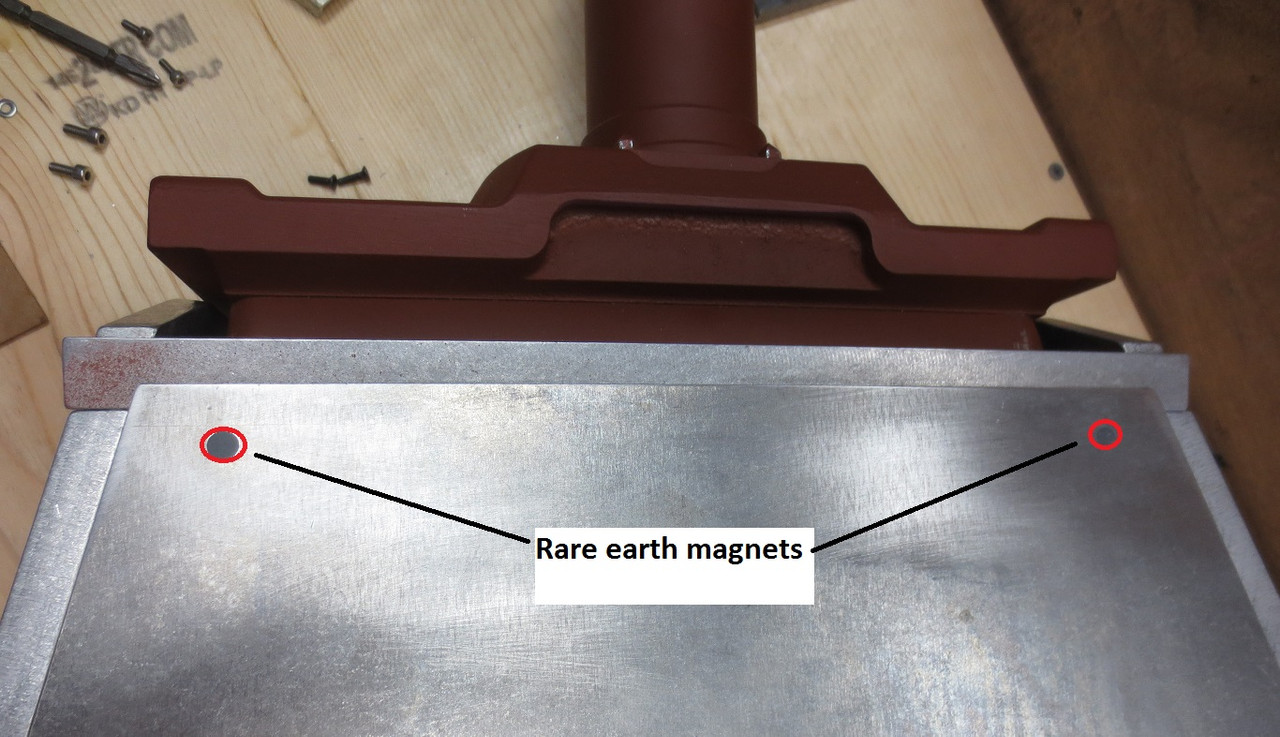
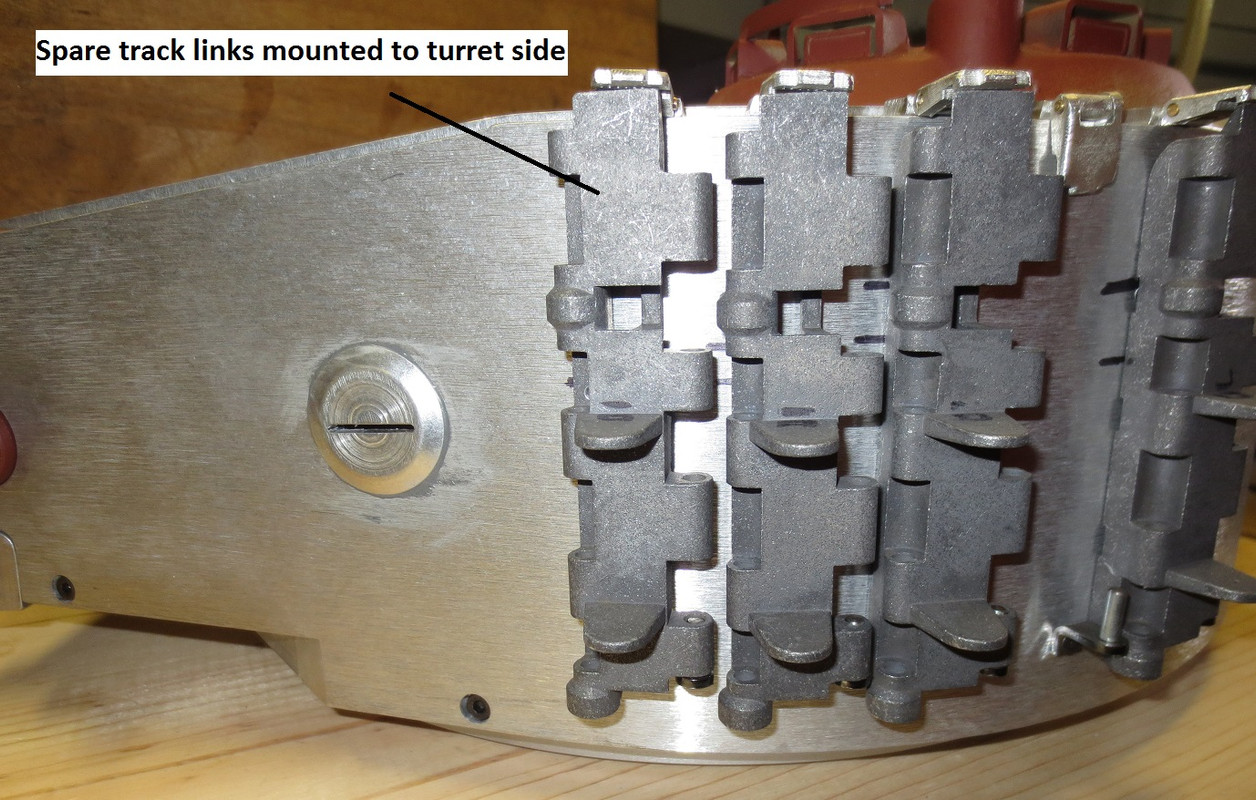
I replaced the 5X turret roof screws with rare earth magnets and reworked the track link hangers from blobs to more accurate shape. Still need to add the small handles to the link hangers.
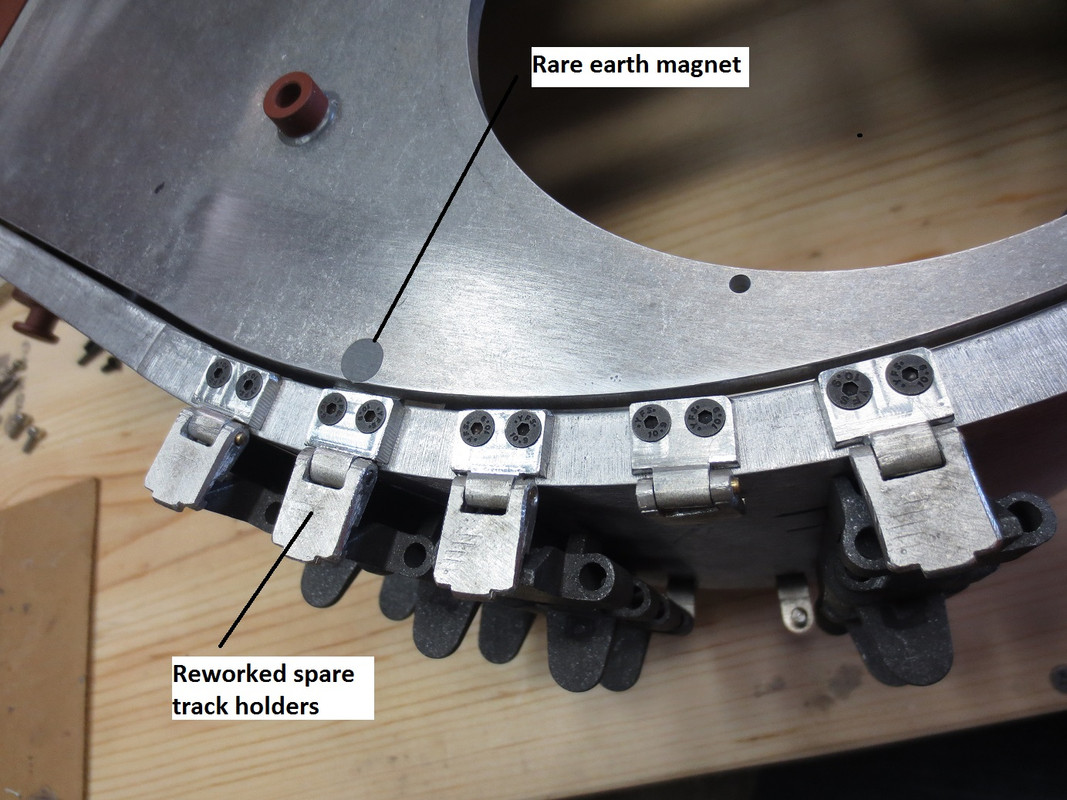
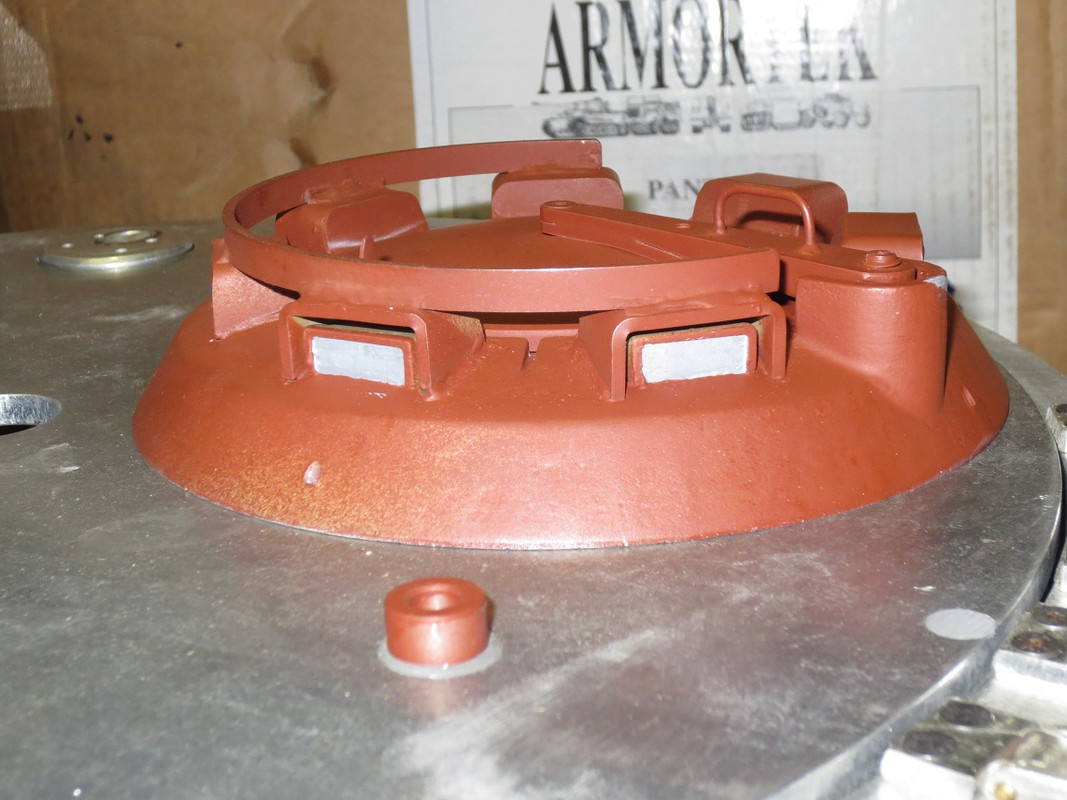
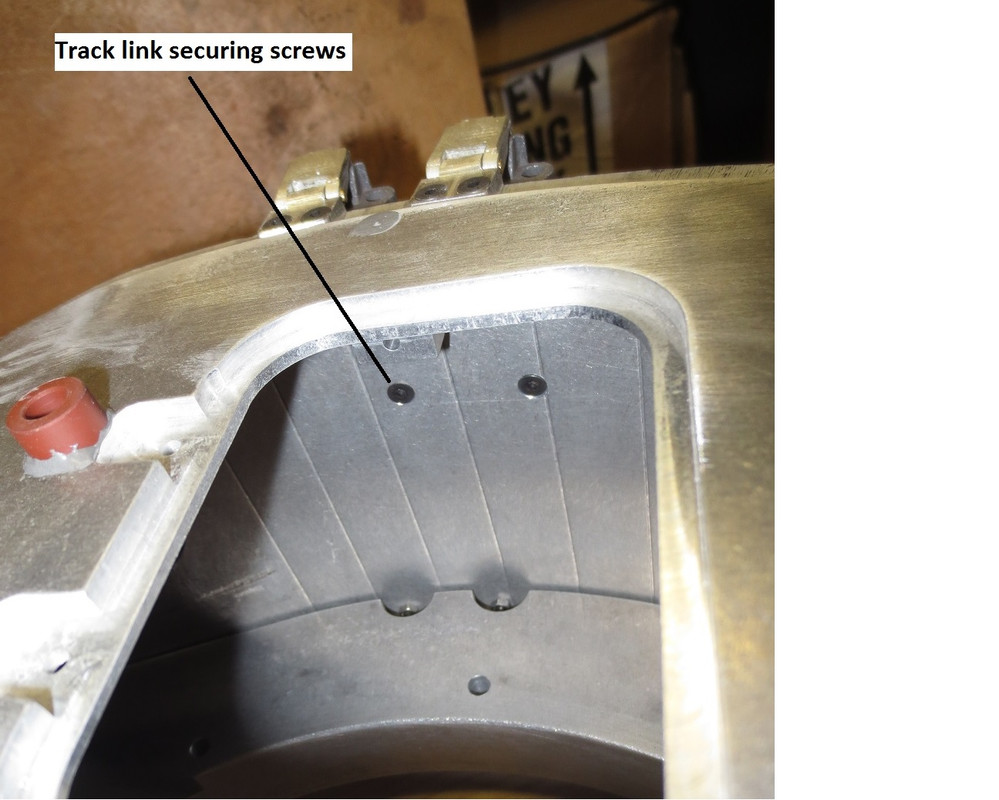
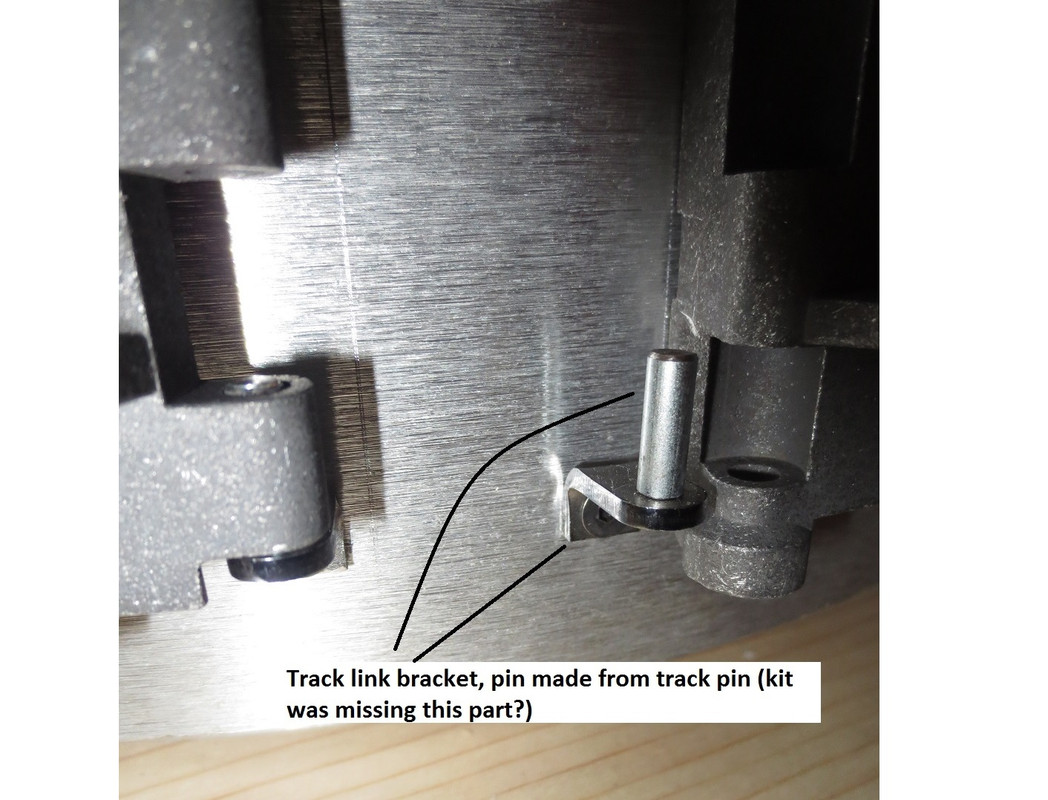
Secured the spare track links to turret sides with M3 screws from inside. Also had to make the pins for the track hanger bracket - these apparently were not provided in the kit, or went missing.
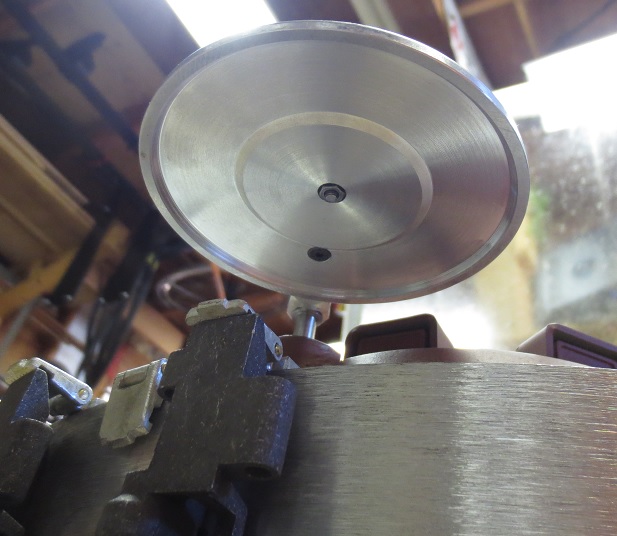
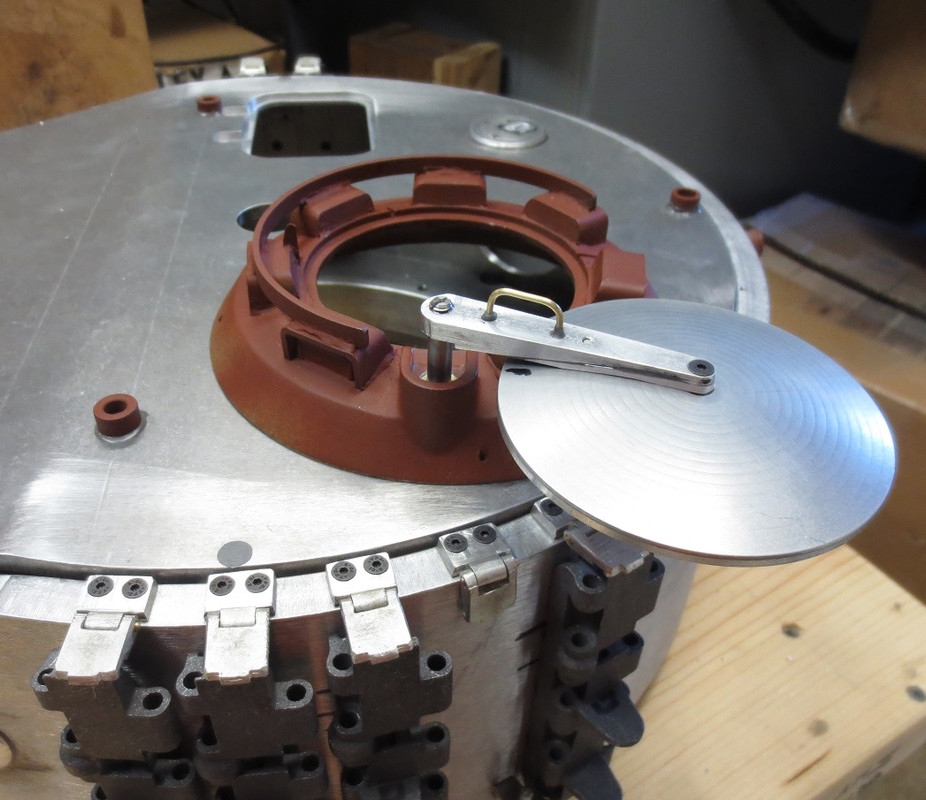
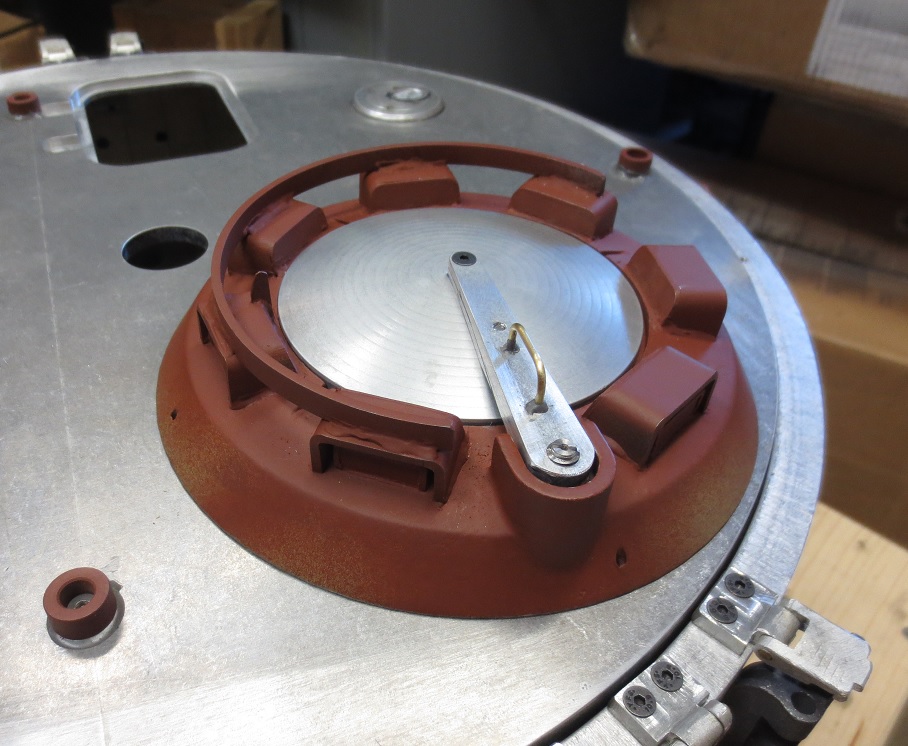
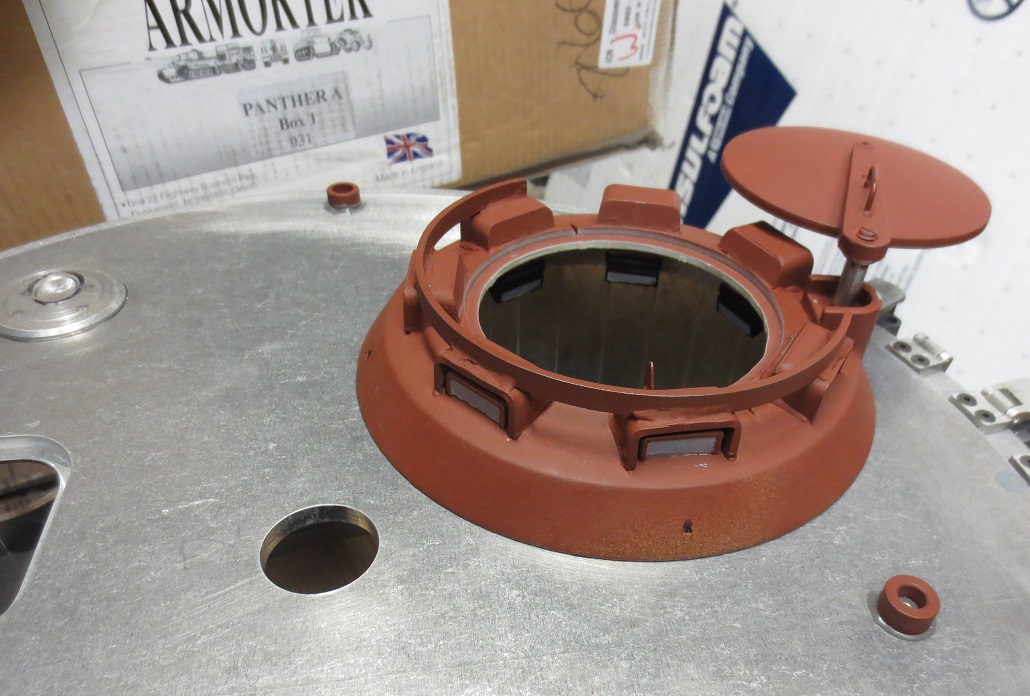
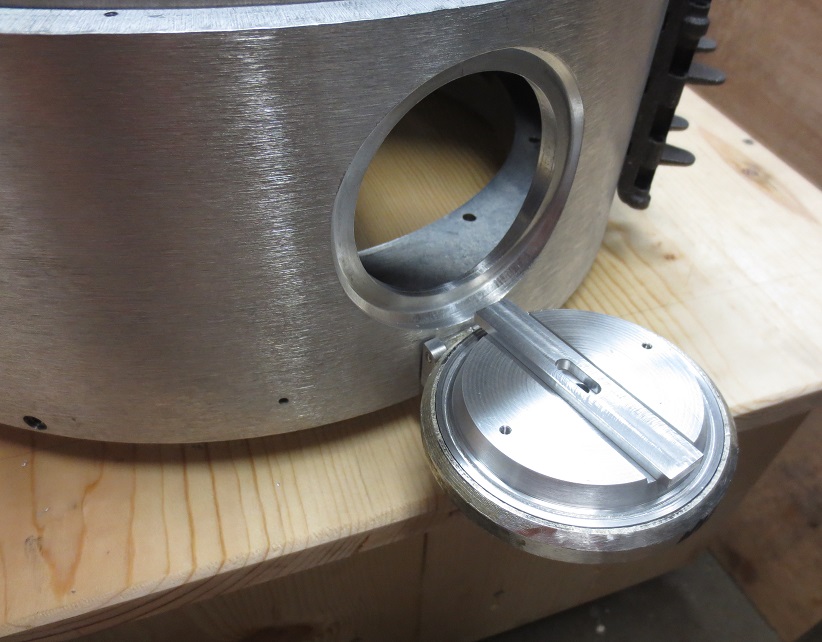
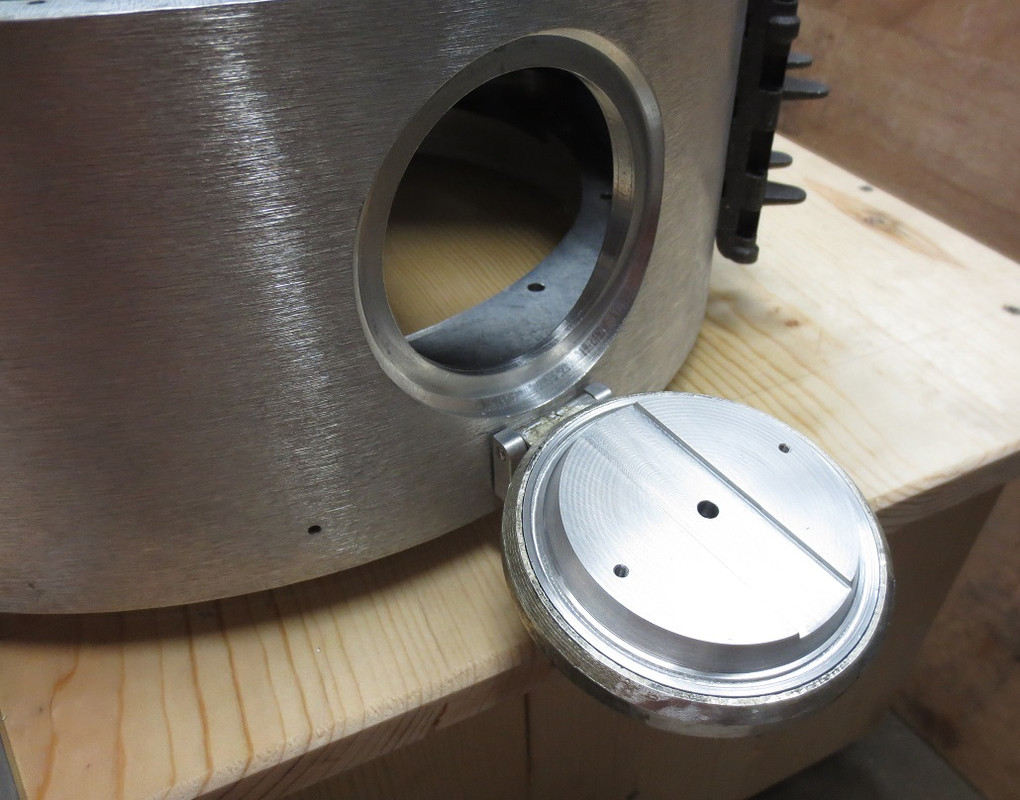
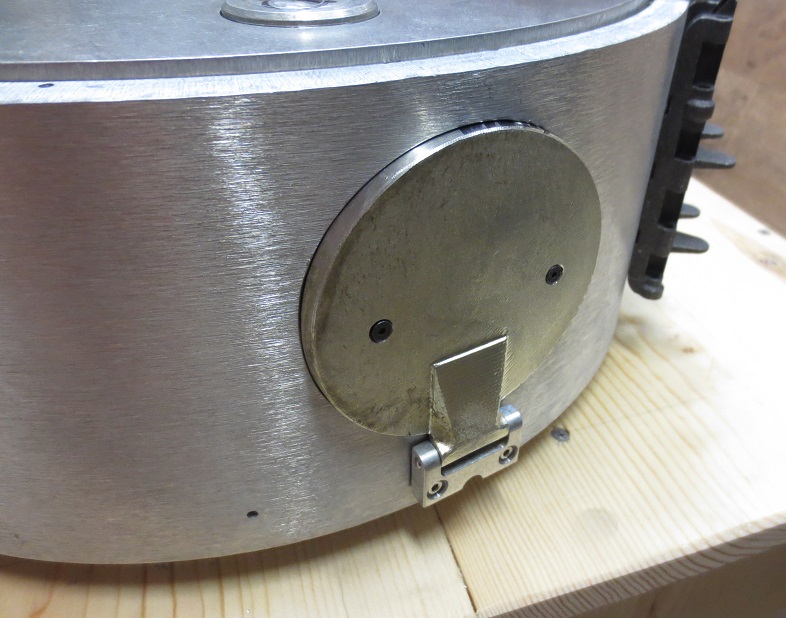
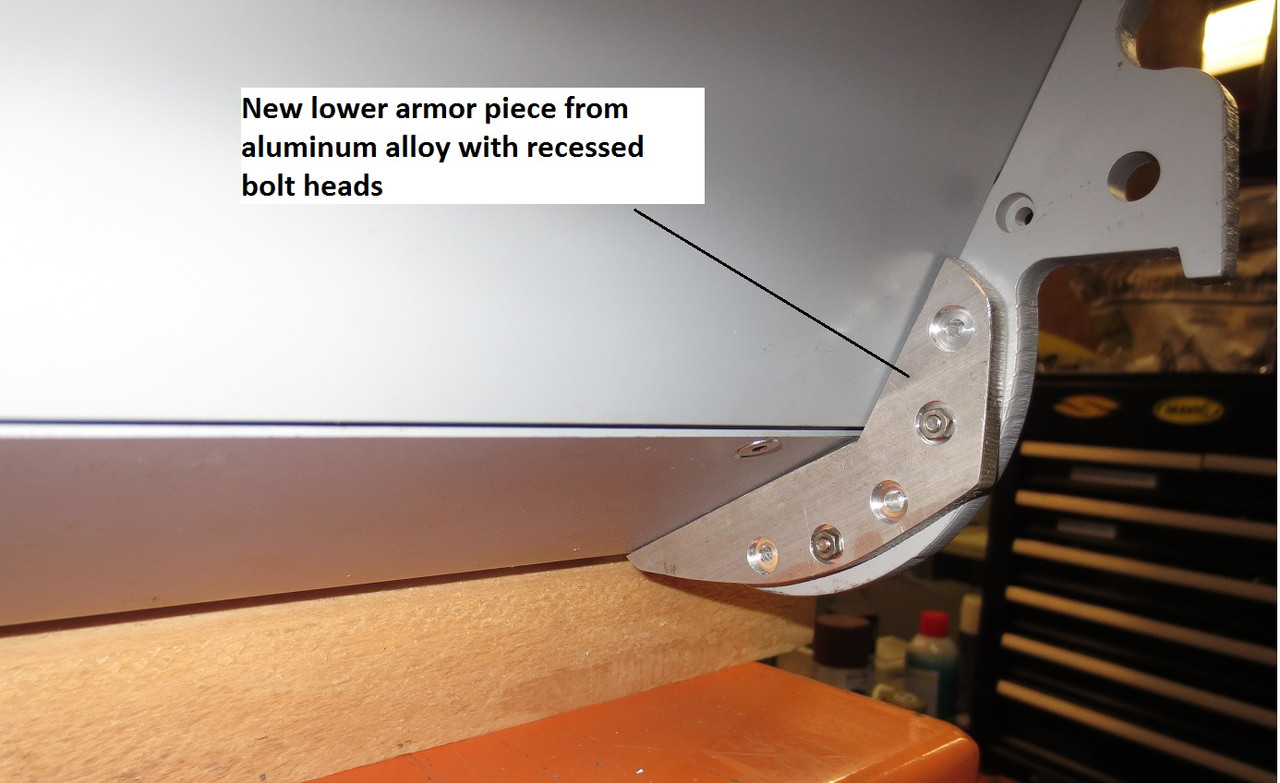
I raised up the turret roof grenade launcher and remade the lower hull armor from aluminum:

All for now, hopefully more progress soon.
B