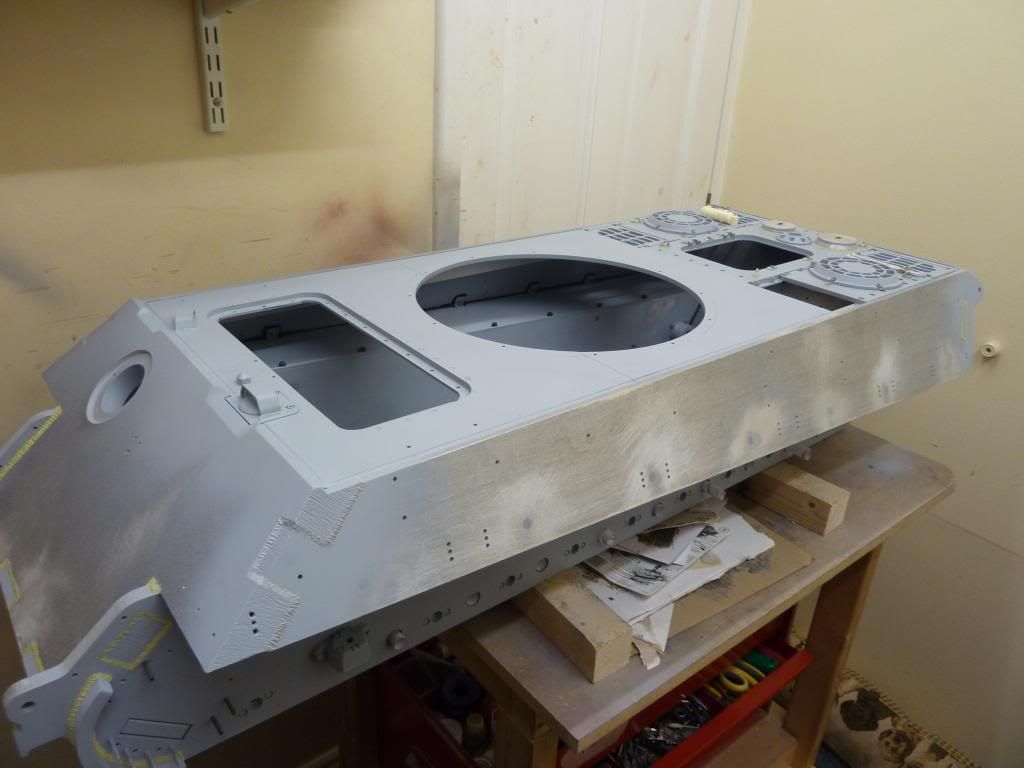
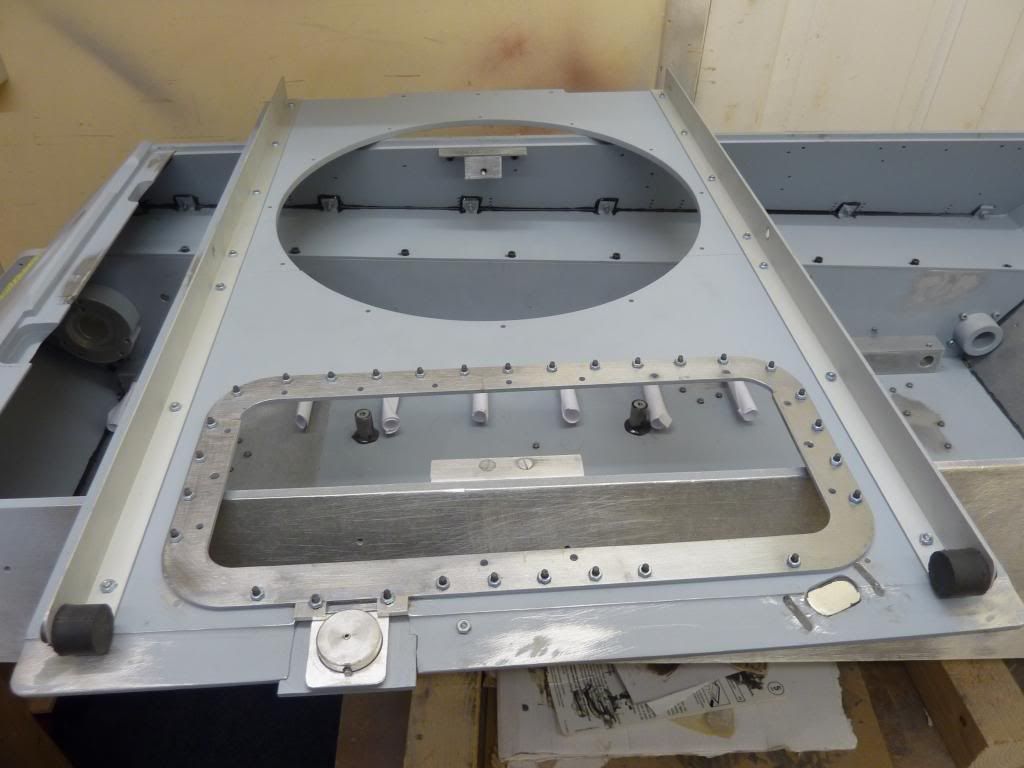
General view showing hull as it is at the moment.
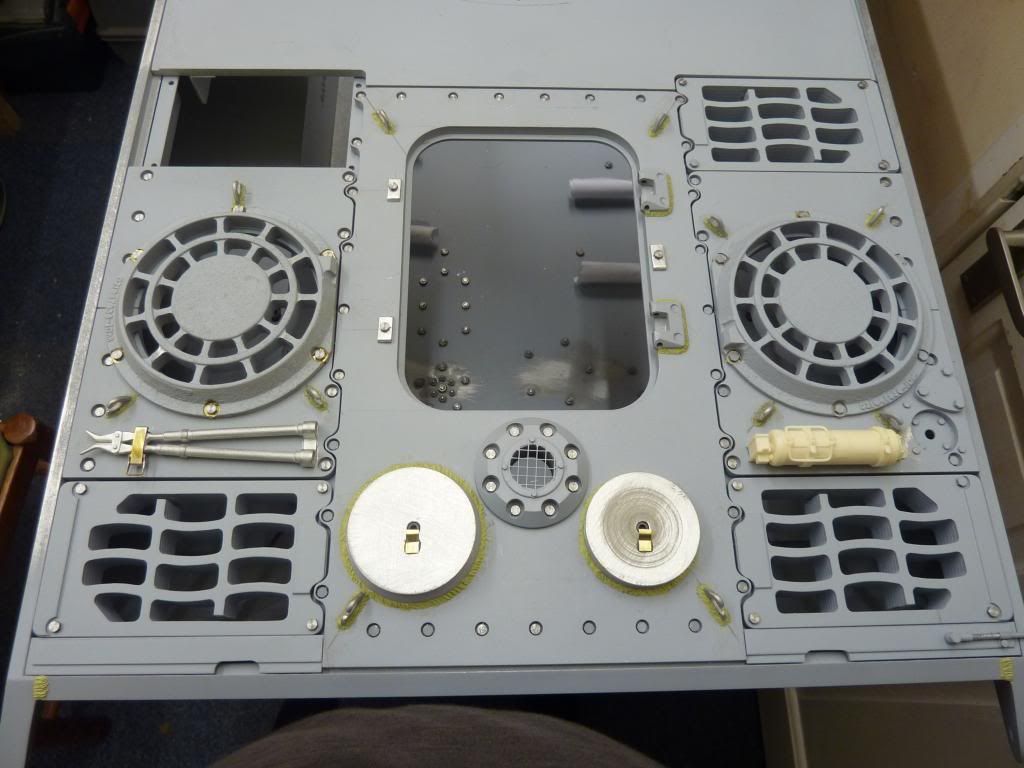
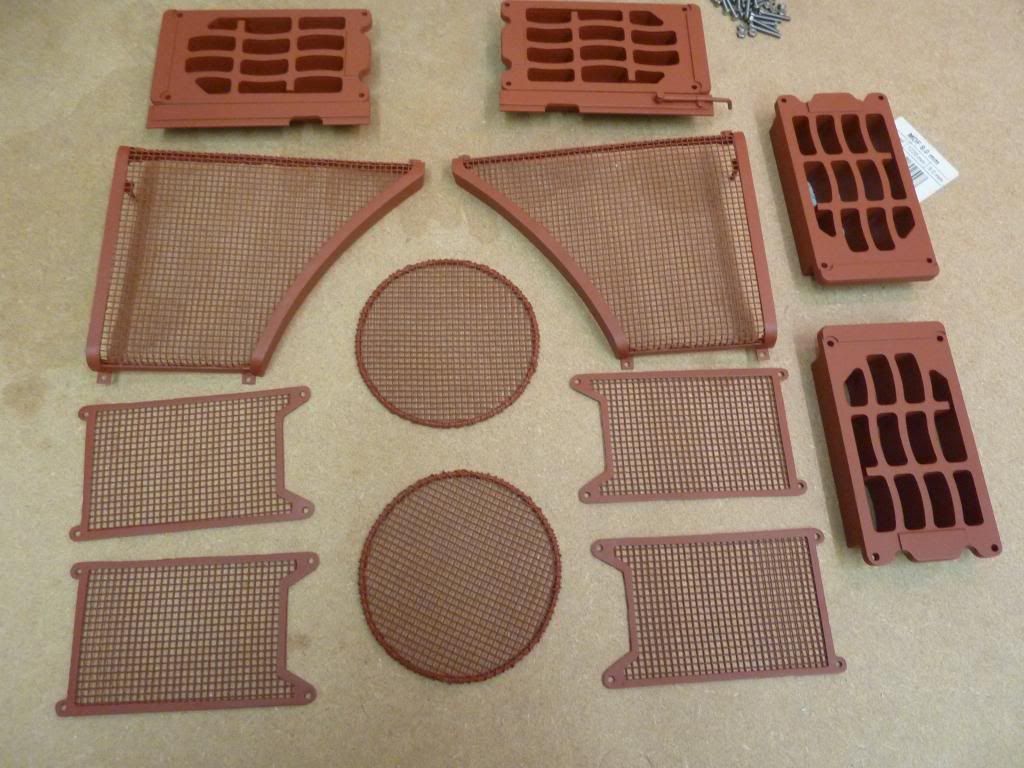
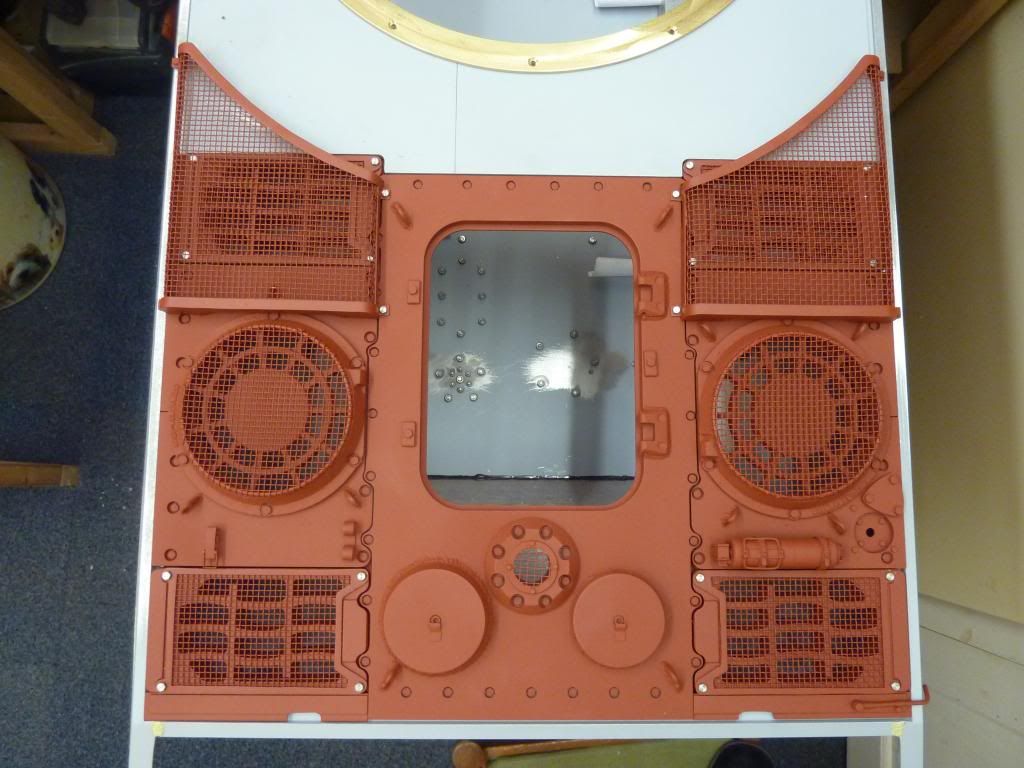
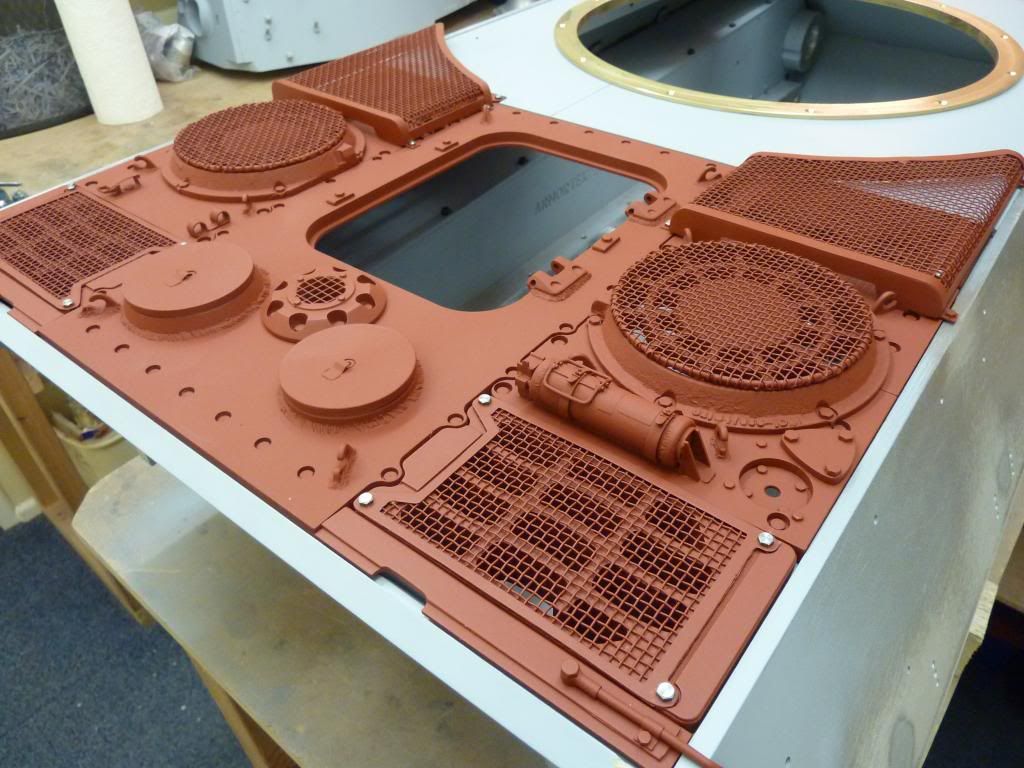
View of the rear deck, This is just about complete and only needs the fan and radiator screens completing. All mounting bolts have been replaced with 7BA bolts, The number and position of the engine cover plate fwd and aft bolt rows has ben altered to the correct positions
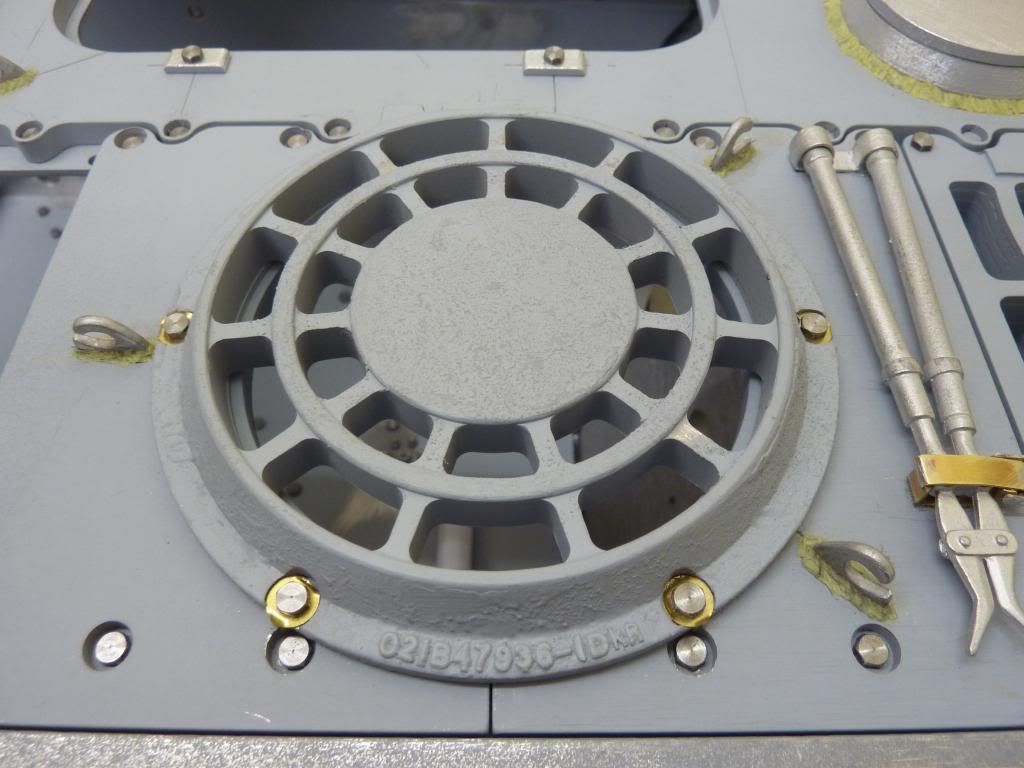
Close up of one of the fan housings showing the added casting numbers bolt locking tabs with lock washers, Cast texture and reprofiled edges. The supplied mounting bolts have been replaced with 7BA bolts.
Cut down Armorpax Panzer 3 lift hooks have also been added.
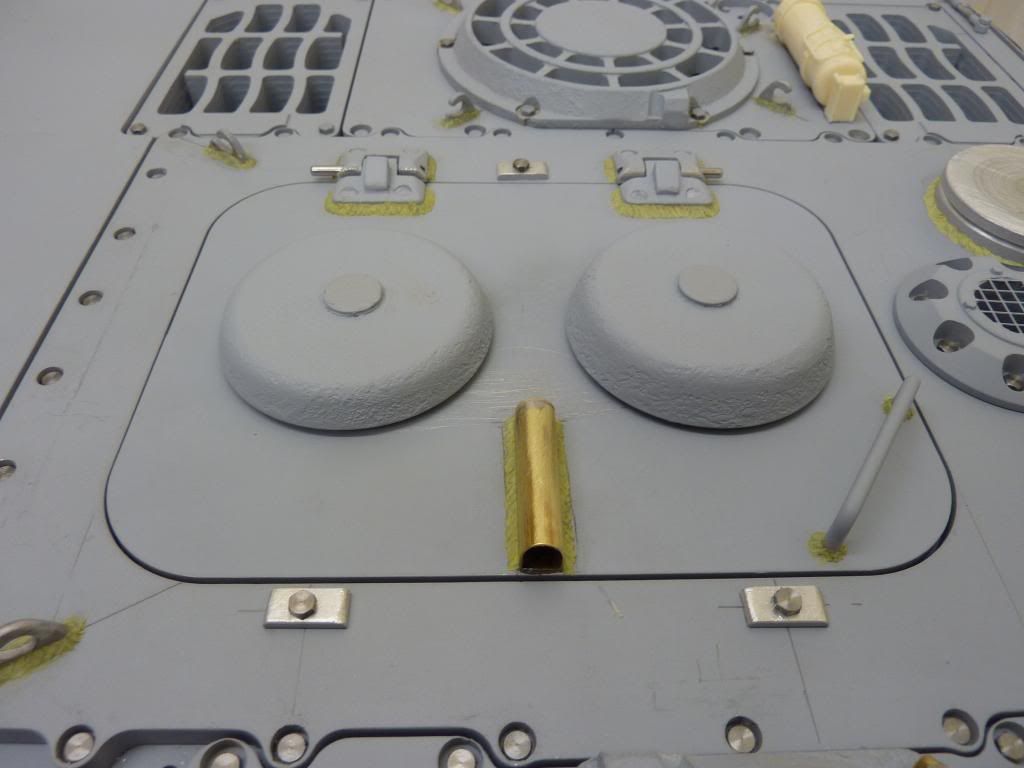
The engine hatch with detailed hinges,Intake domes and added lift tube and lock plates.
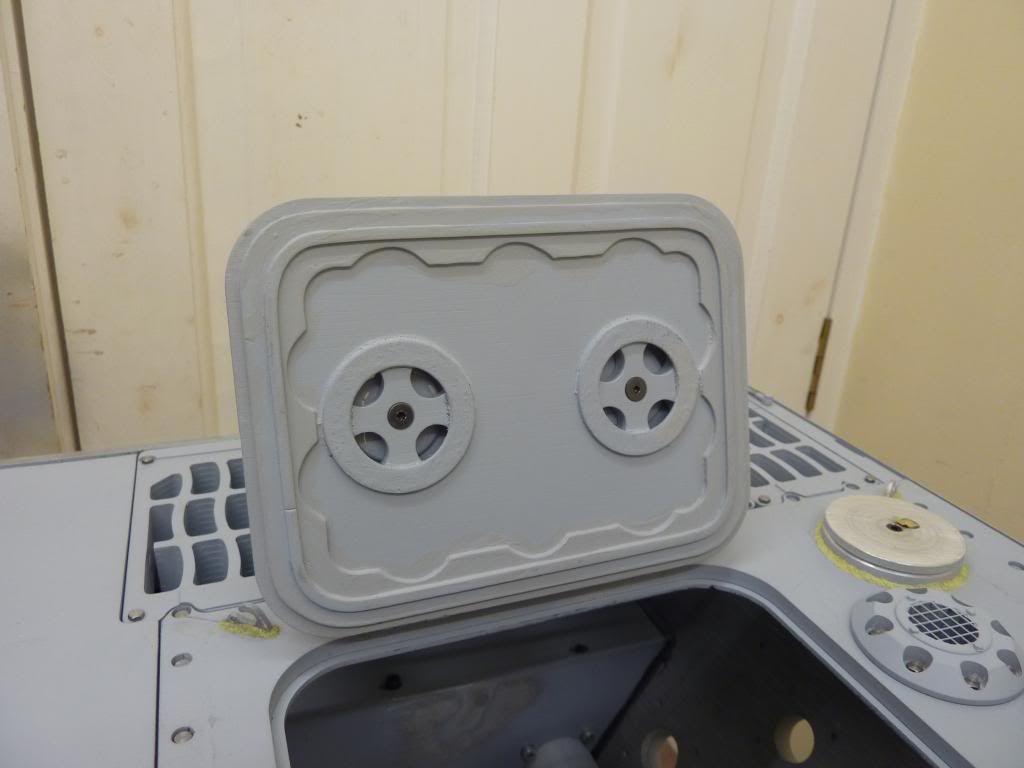
The inside of the engine hatch has been detailed with holes added under the intake domes (these are not realy correct in style but the best i could come up with).
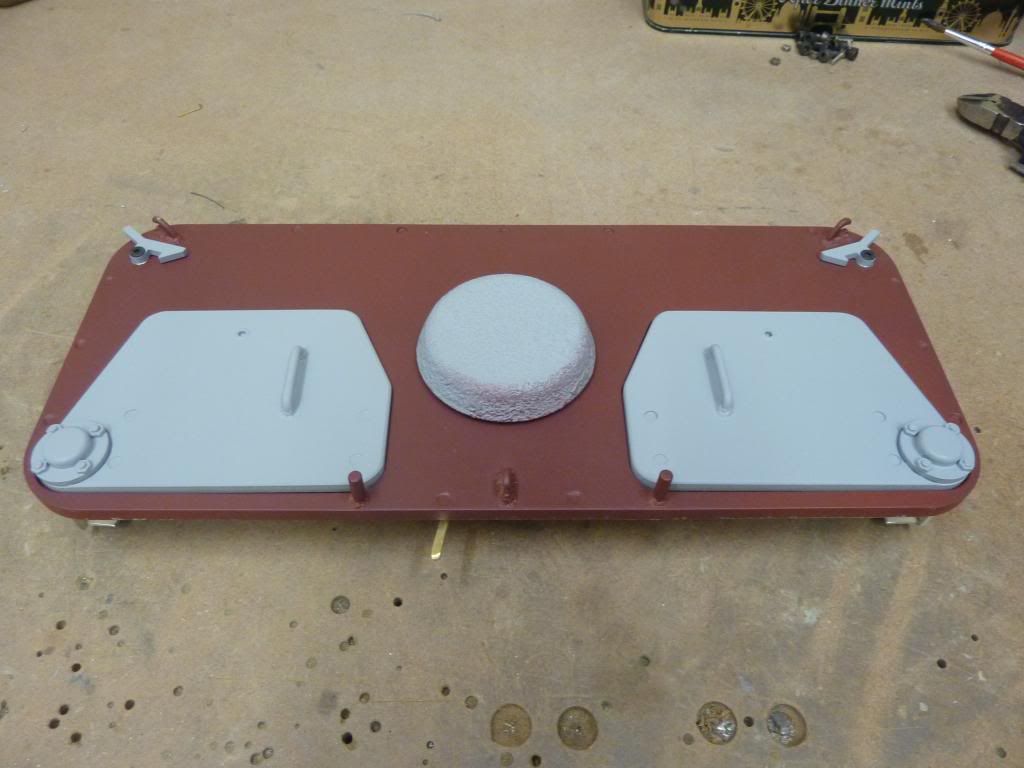
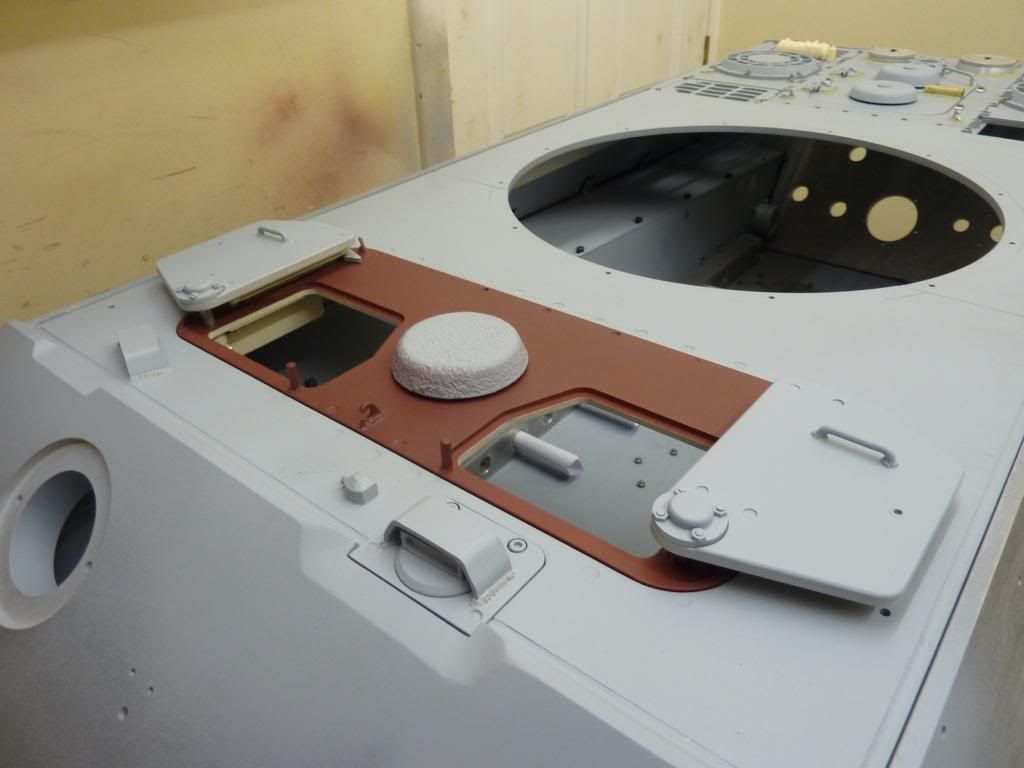
A general view of the drivers and radio ops hatches and surround again with Armorpax lift hooks, The ventilator cover has been relocated further aft as it was a little to far forward.
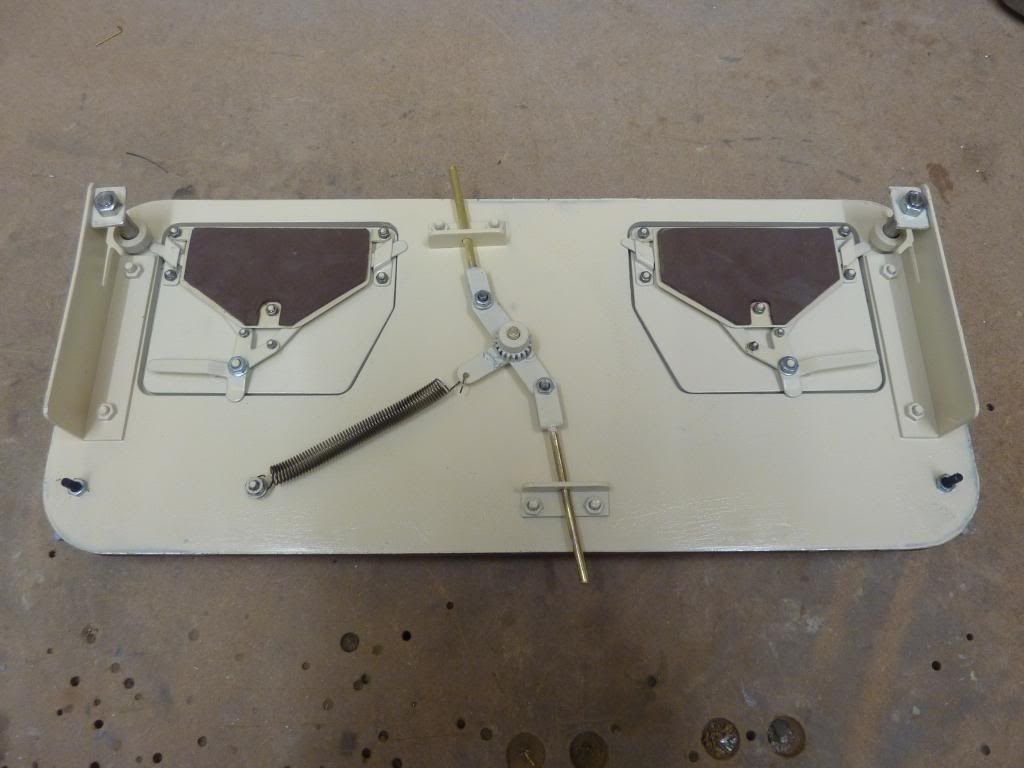
The underside showing the detailed drivers and radio ops hatches with working latches, I have also added a spring loaded locking mechanism to the hatch surround (This is not my design but was originally done by John Grima of East coast armoury so i hope he dosn,t mind me copying).
This shot shows my hatch hold open mechanism that hopefully will keep the hatches in the open and locked position when the tank is moving.
Hatches open and locked.
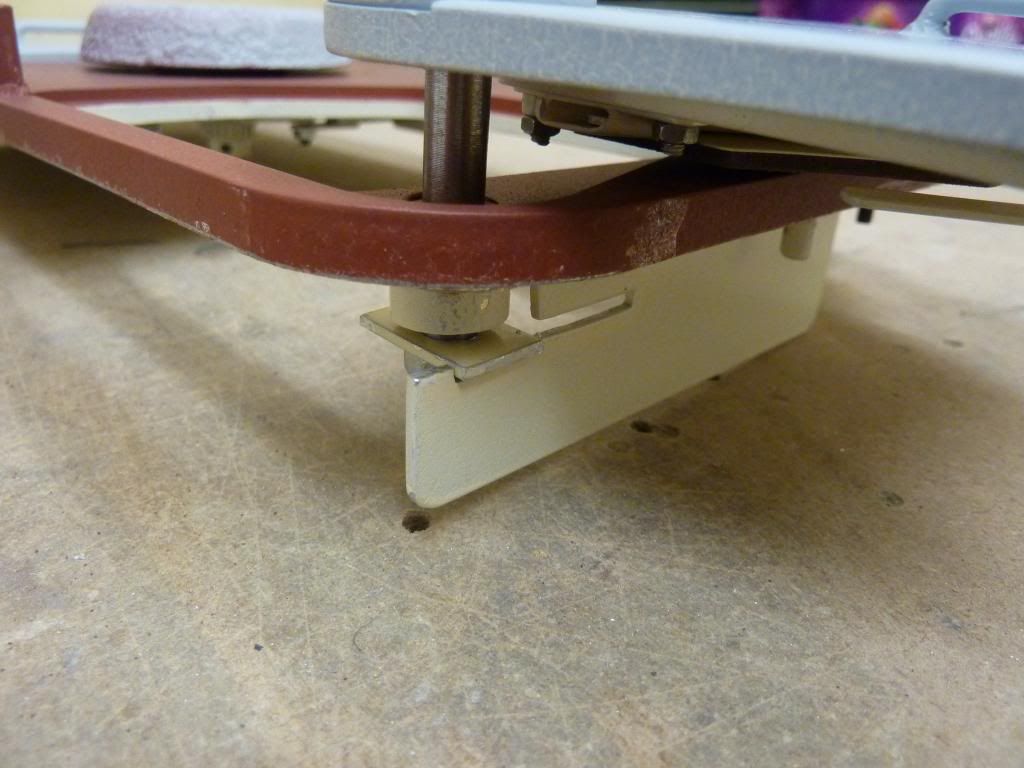
Here we see the underside of the forward and center deck sections joined together using aluminium angle, the rubber stops at the forward end are from my old Panther bump stops and are now used to anchor the forward end of the top deck.
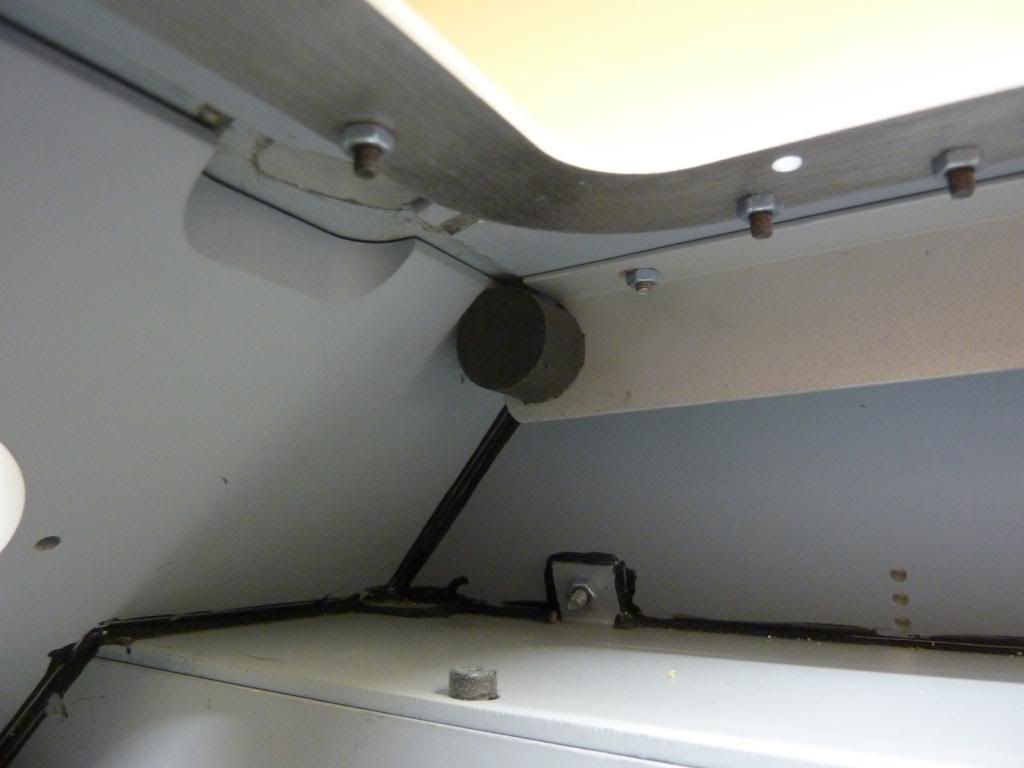
This shot shows how the rubber stops anchor the forward end of the top deck.
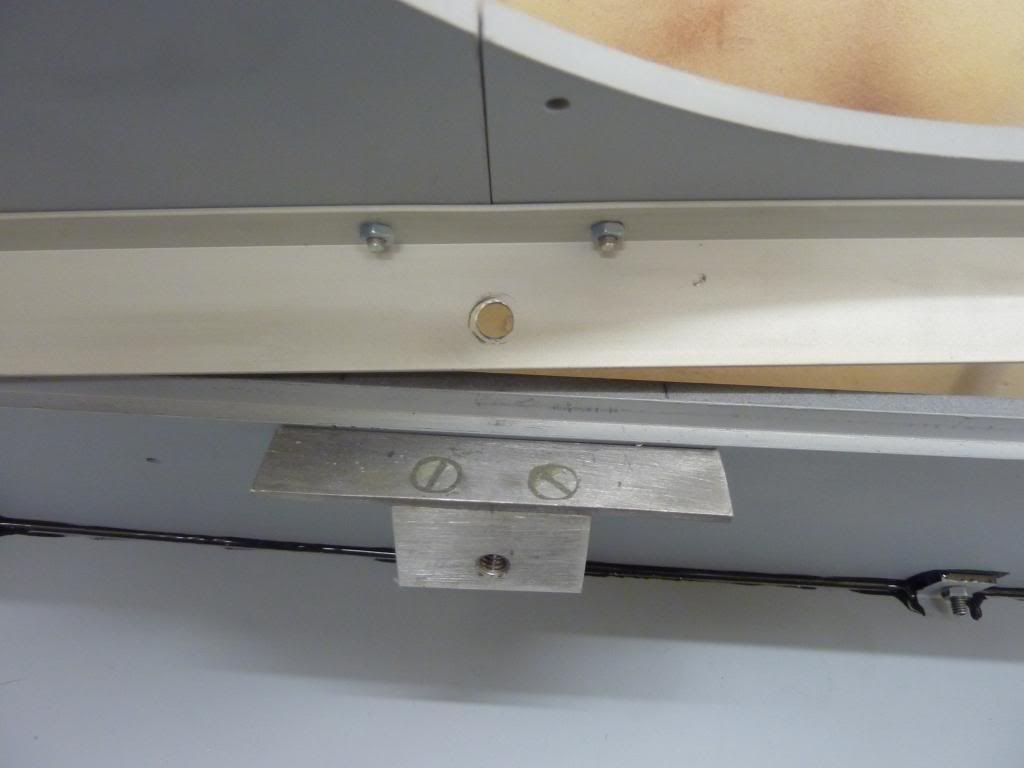
The aft end of the top deck sections is fastened to the modified deck mounts below the turret ring, This way there will be no visable deck mounting bolts but it will still be firmly attached and easily removed.
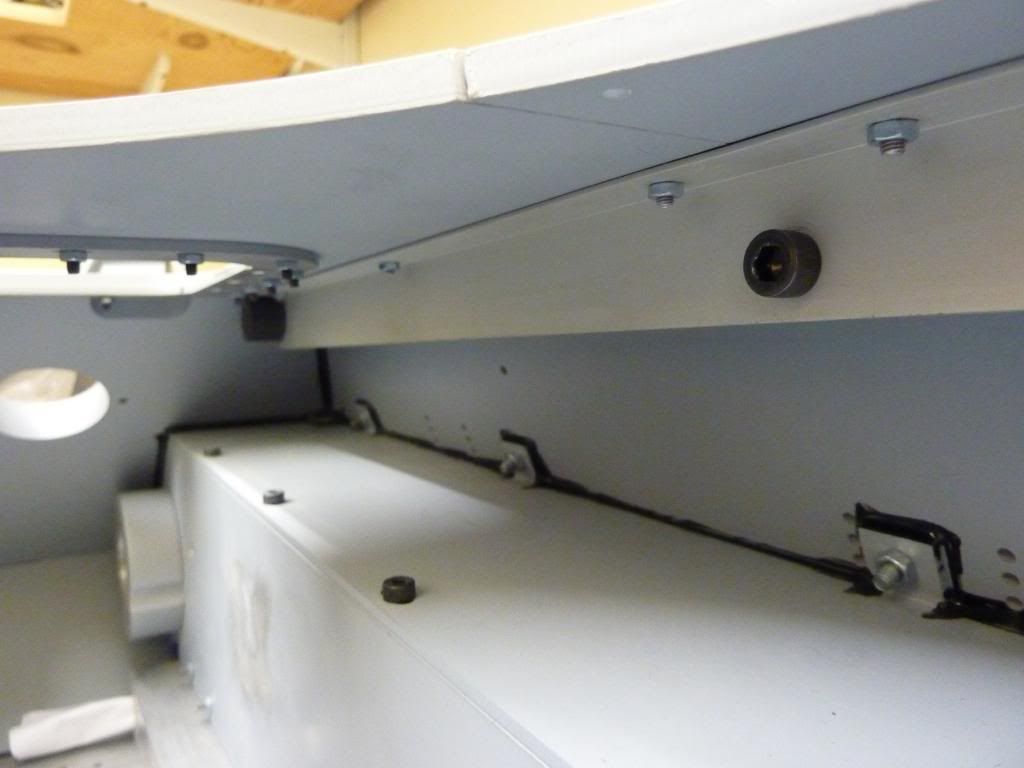
A final shot showing the deck fitted as seen from below.
Thats all for now, Back to the building
Regards
Steve