Thank you for your kind comments.
The tank had to be stripped down to bare metal and started again from scratch. Over half of the hull fasteners where either seized or snapped off, having been left outdoors in a shed for at least a year.
None of the torsion bars had flatts filed, and the wheels needed fileing on the back to stop them binding up.
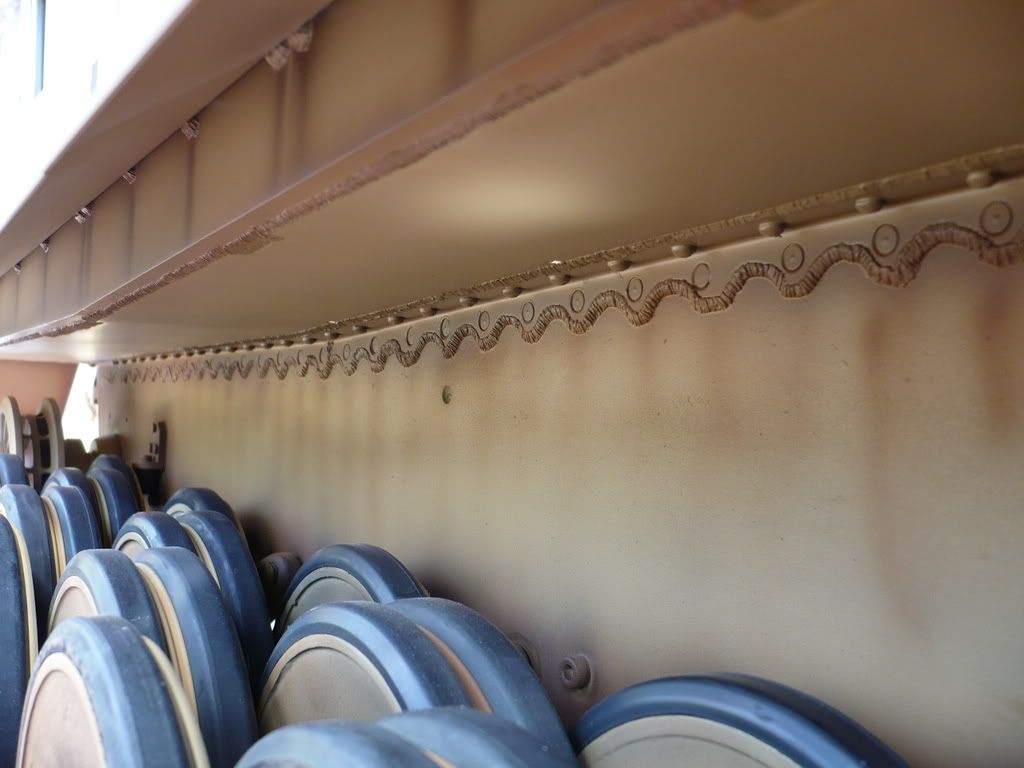
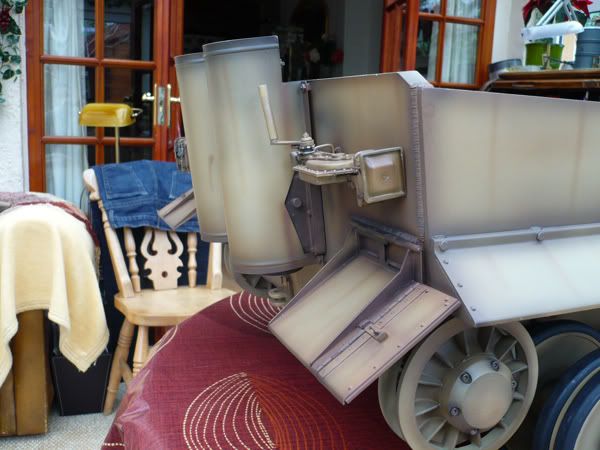
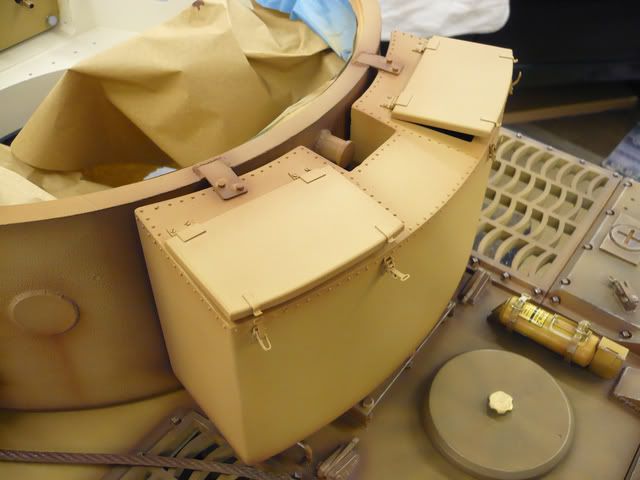
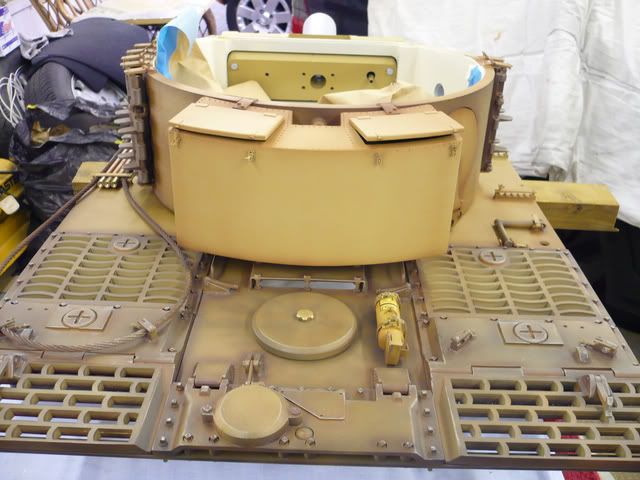
the most difficult job sofar was to make the pannier fillets look authentic. Fitting approximatly 70 round-head copper rivets and 70 flat head counter-sunk fixings either side. But on closer inspection after they had been fitted i still got it slightly wrong, nevermind

.
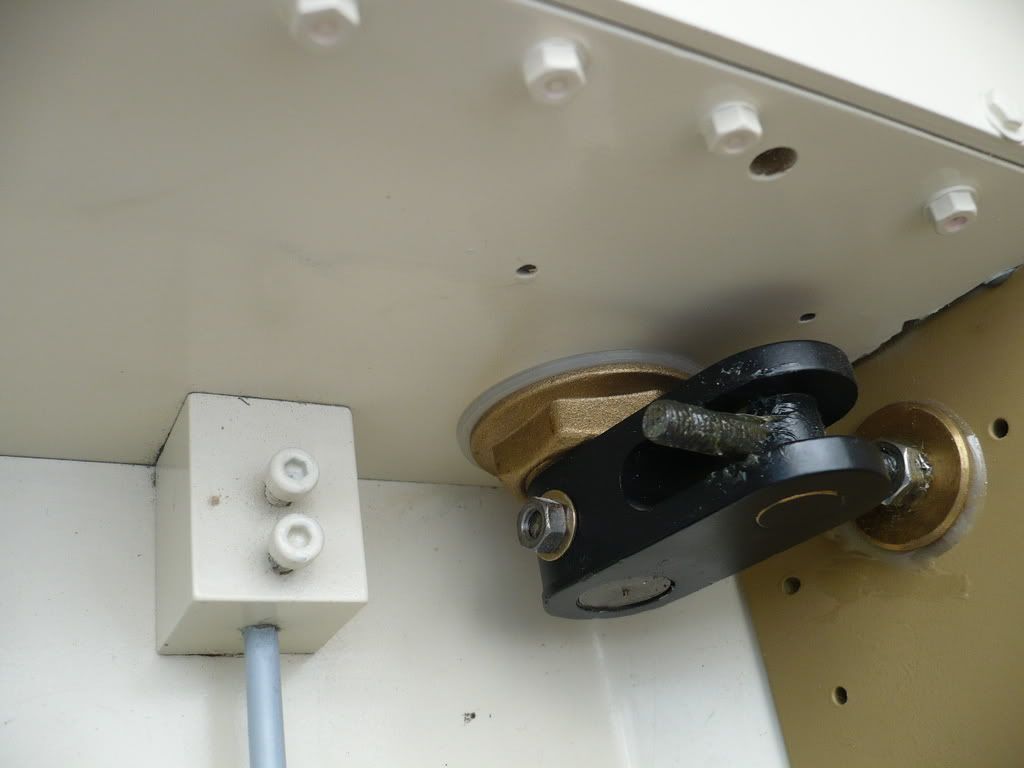
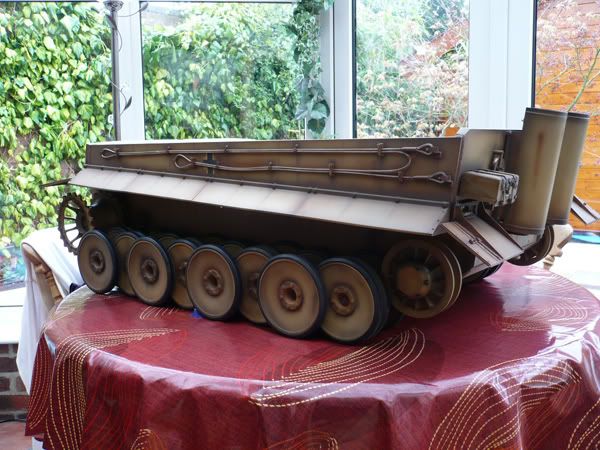
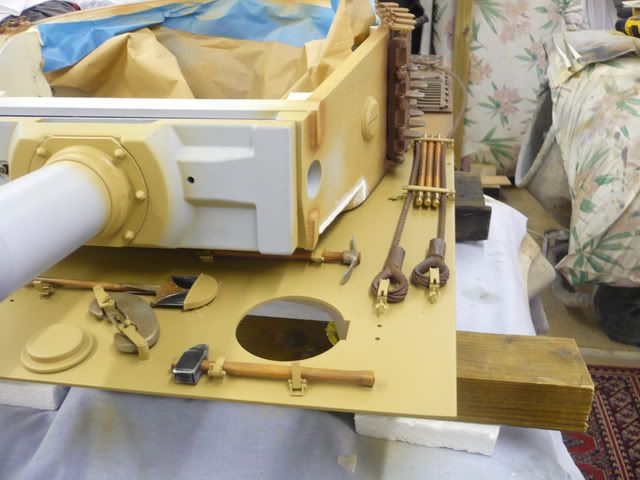
i found a nice pair of plumbing nuts from B&Q to hold the idler wheel in place, it has a nice large flange plus i used a nylon washer. it seems to fit perfect, see photo.


 [/img]
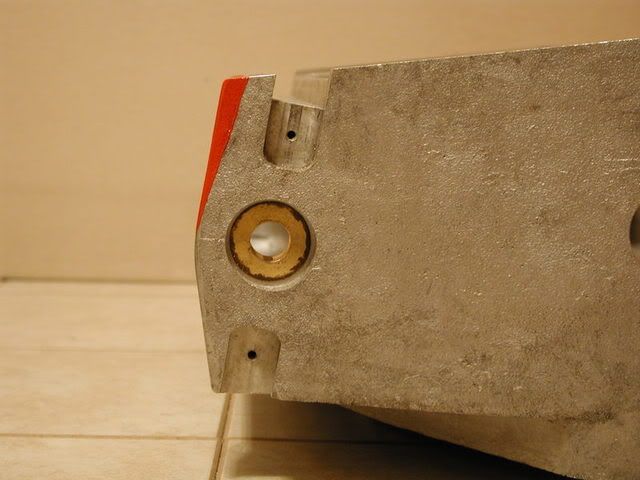