Its been a while since i last posted so i guess its time for some update photos.
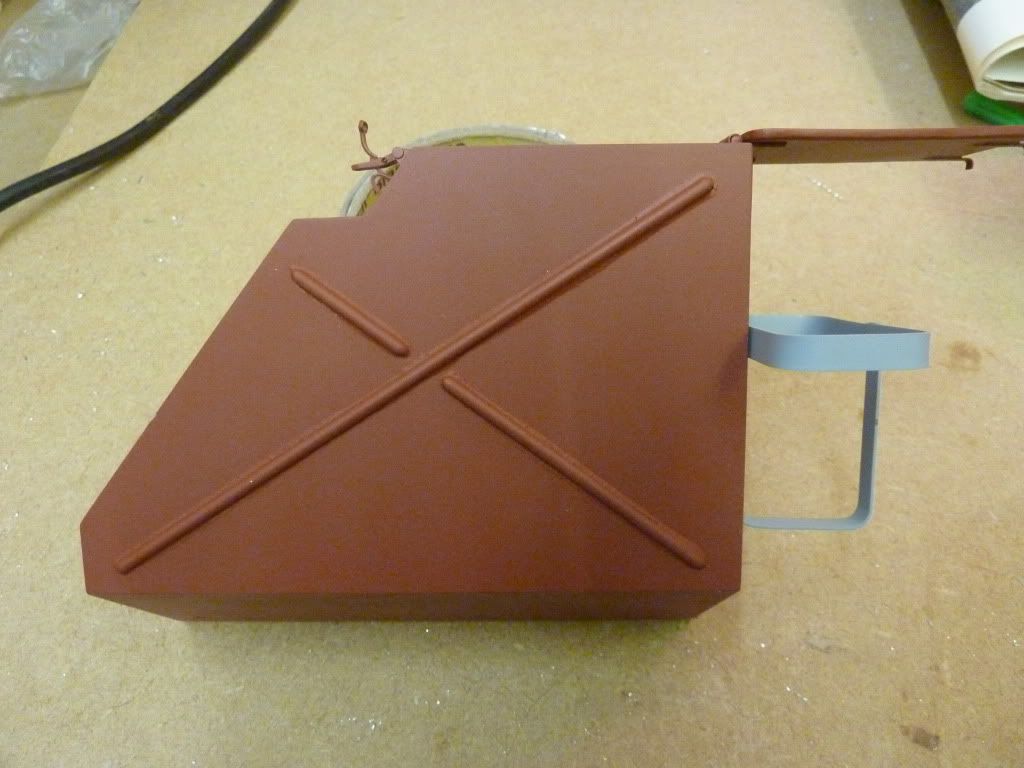
Rear bin completed with jerry can stowage
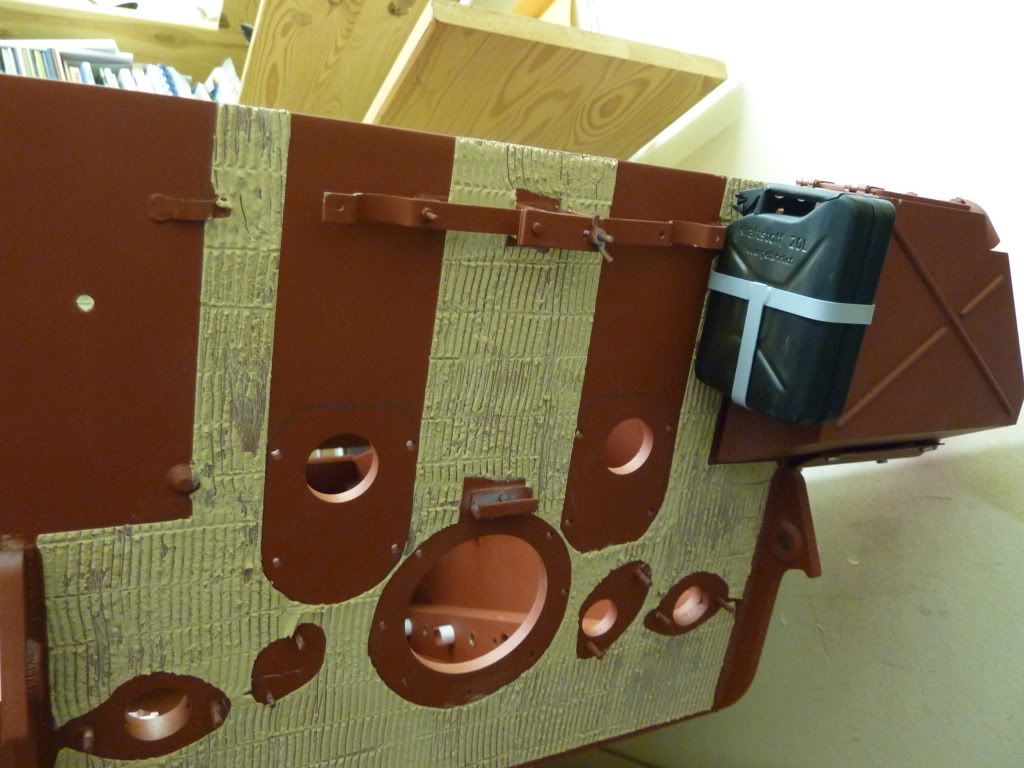
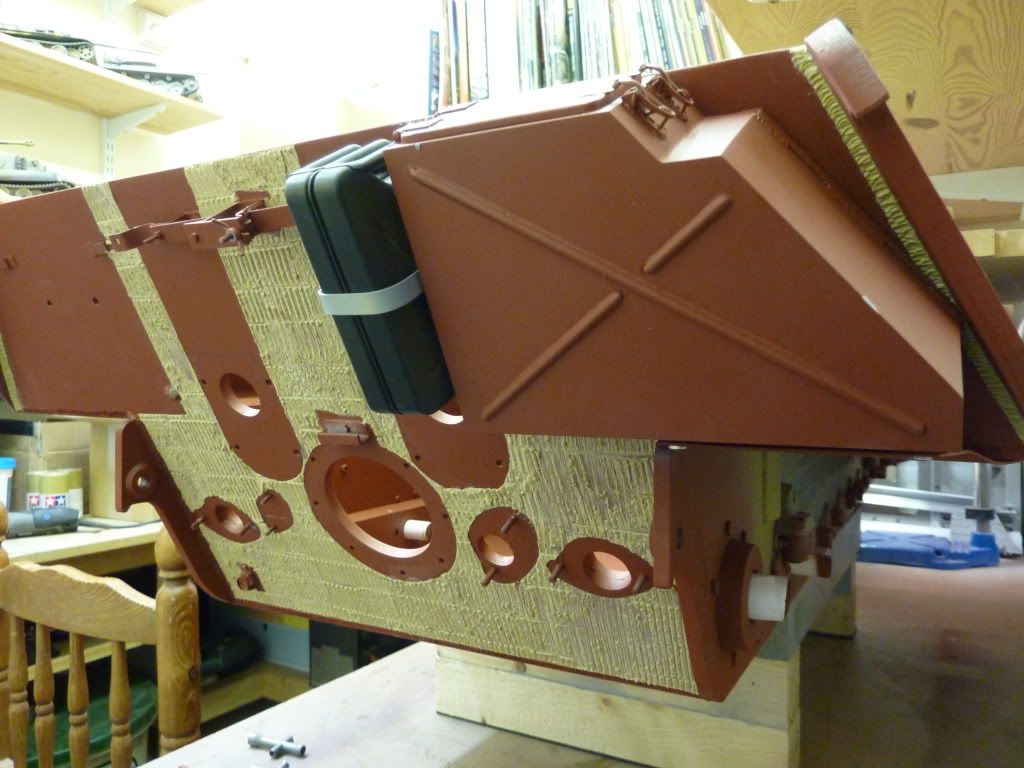
A couple of shots of the rear plate with one bin temporary attached, rear plate has had its zimmerit applied.
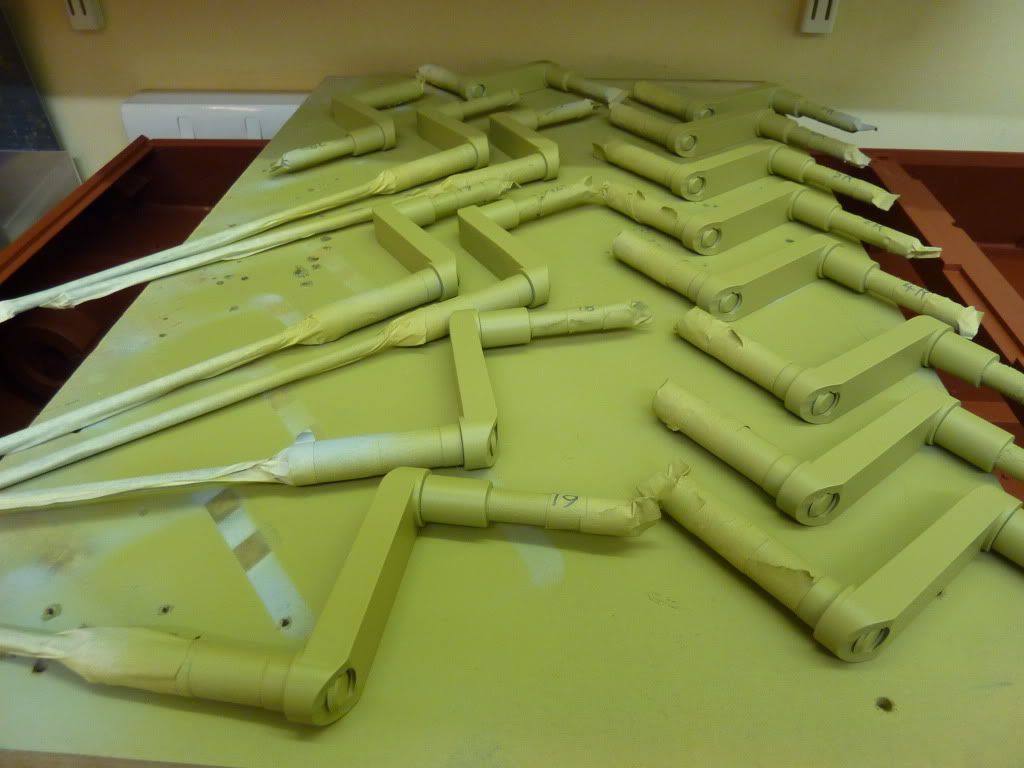
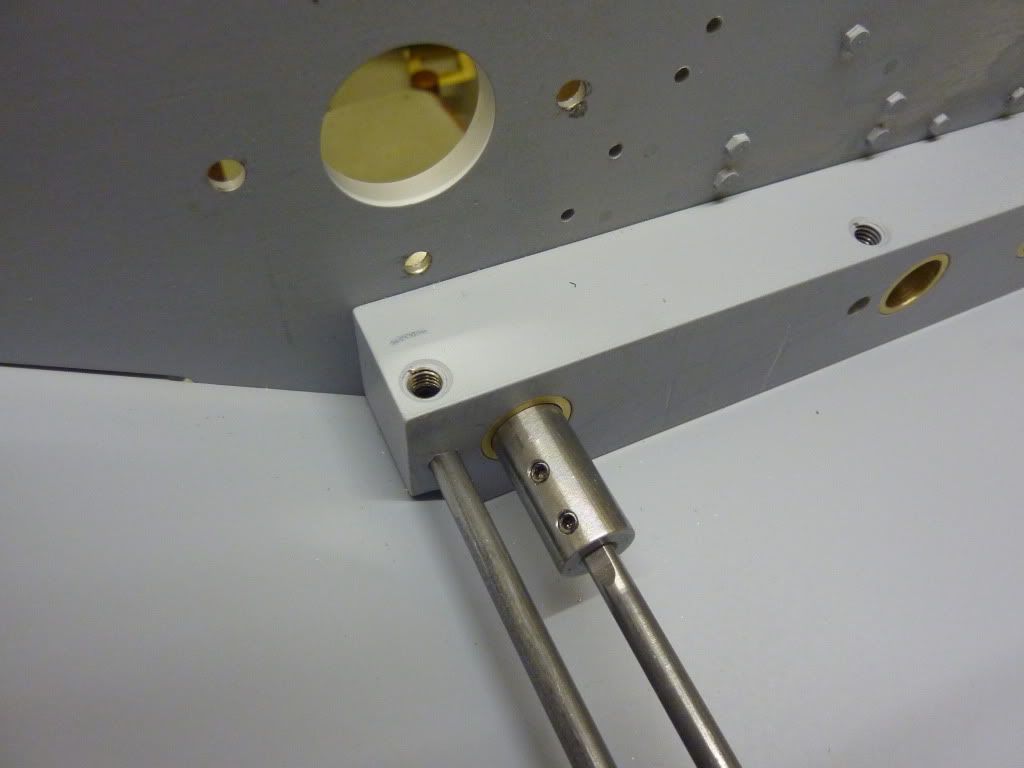
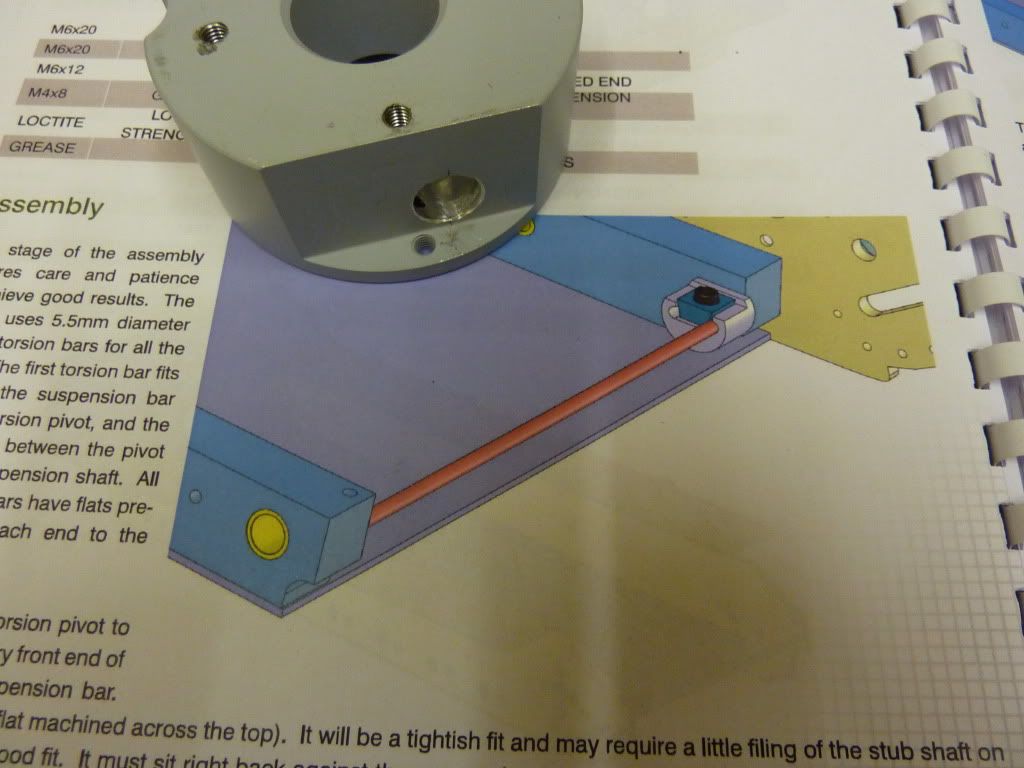
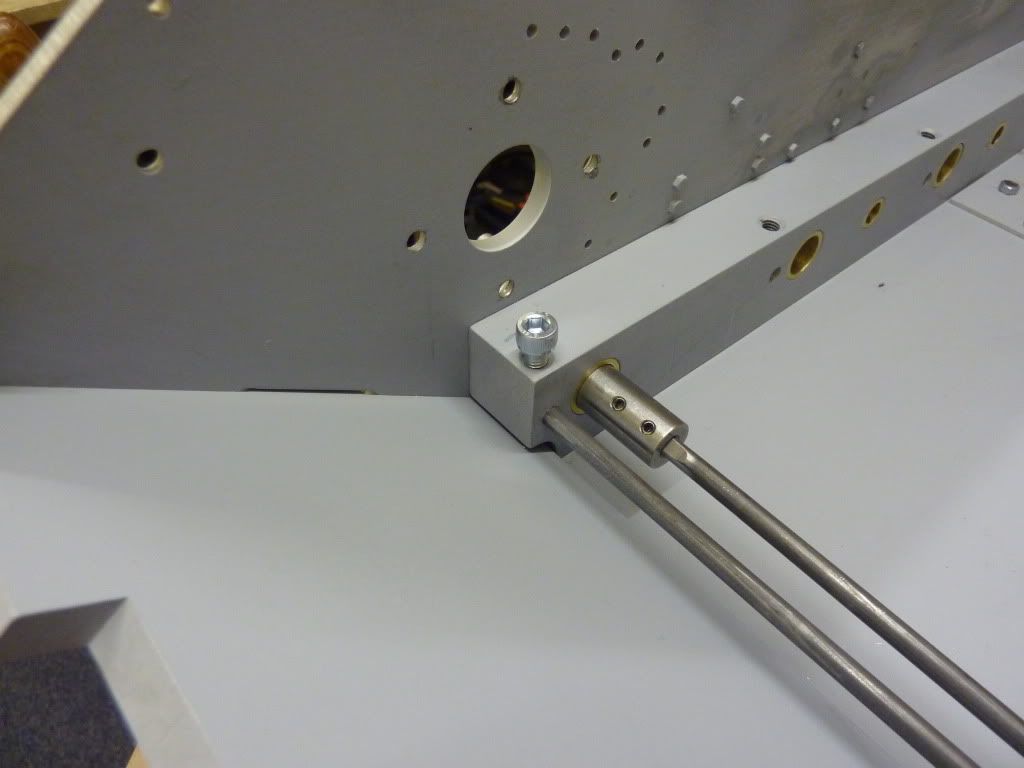
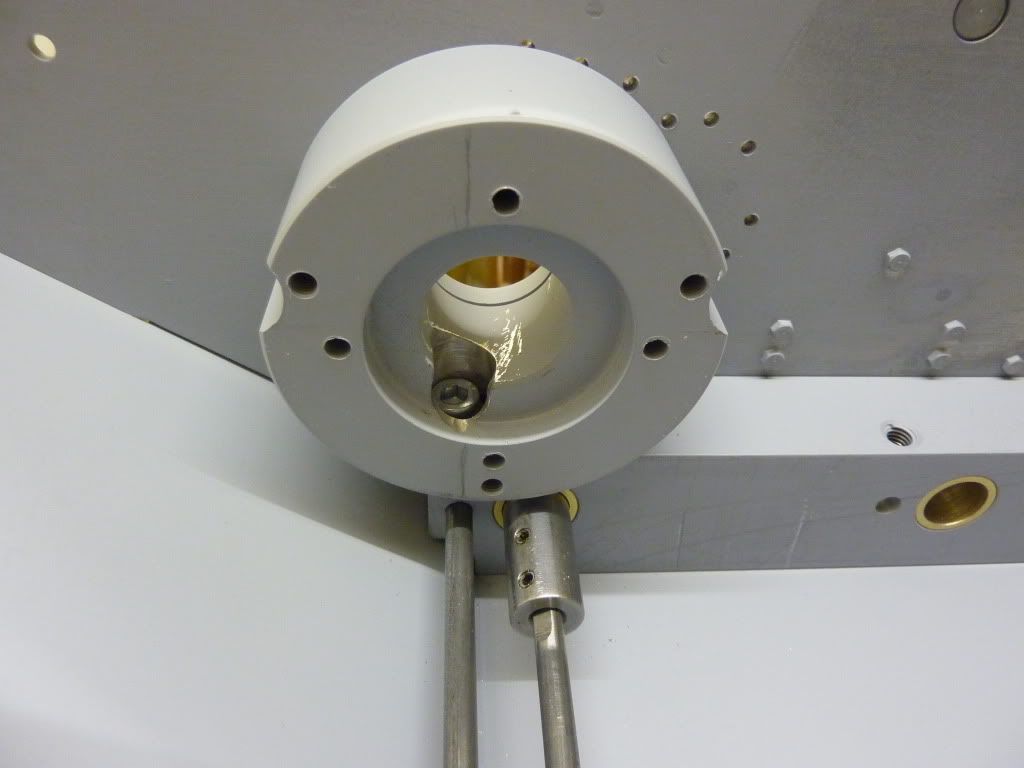
Suspension arms painted and awaiting installation
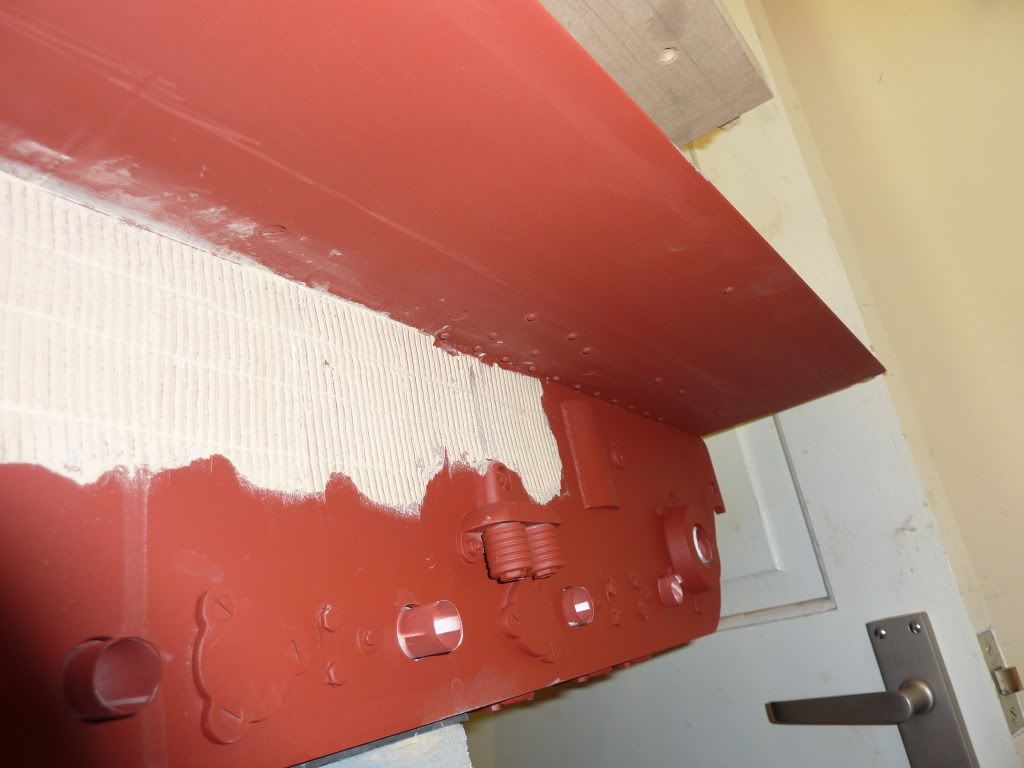
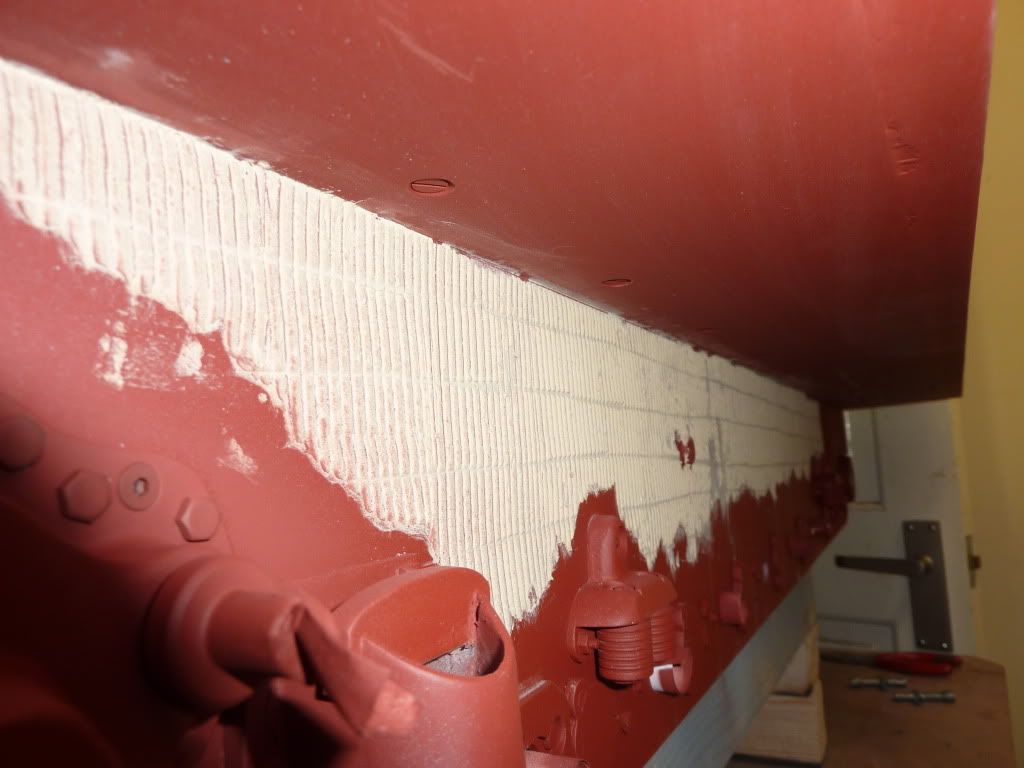
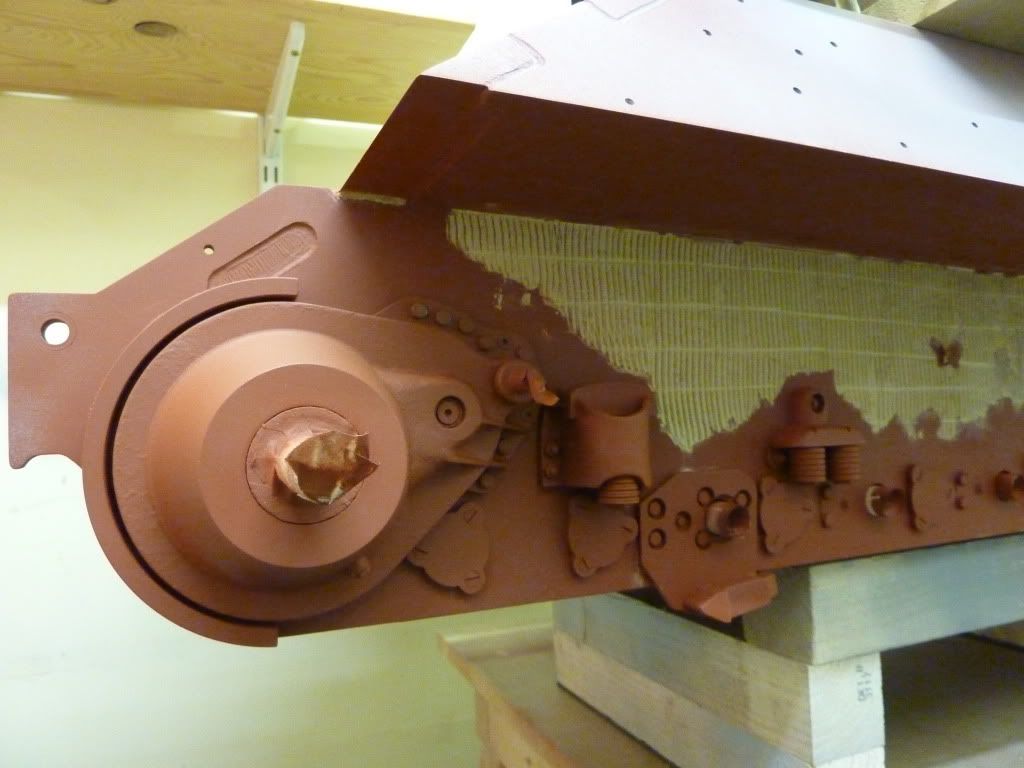
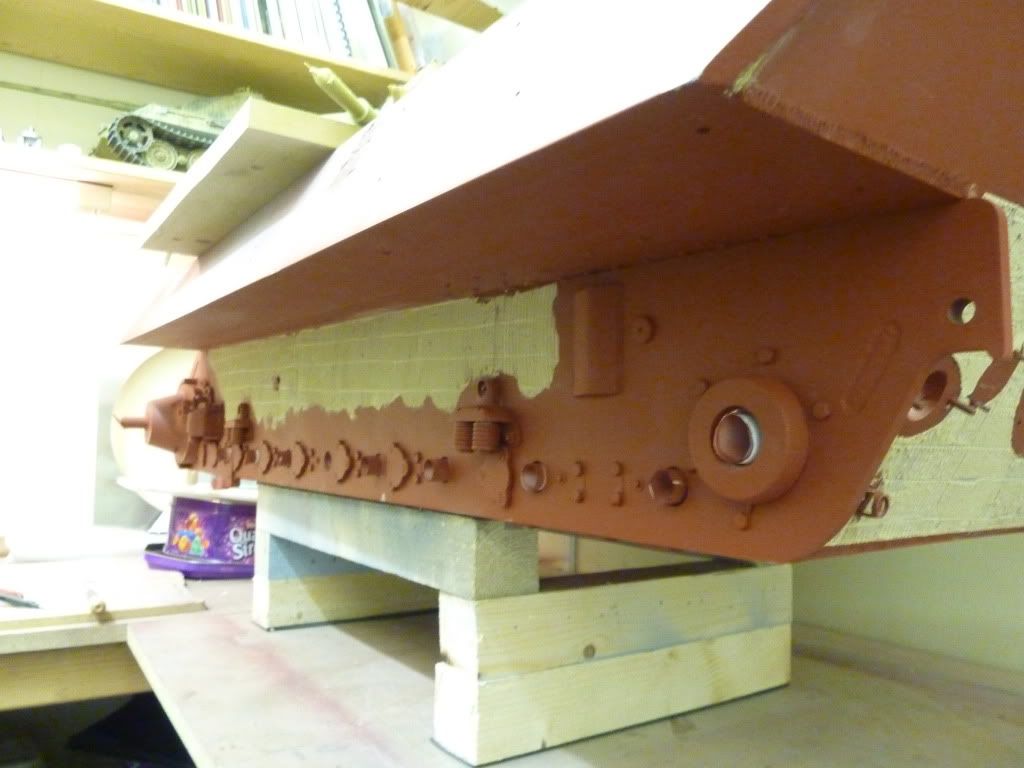
A series of shots of the lower side plate with zimmerit awaiting final painting
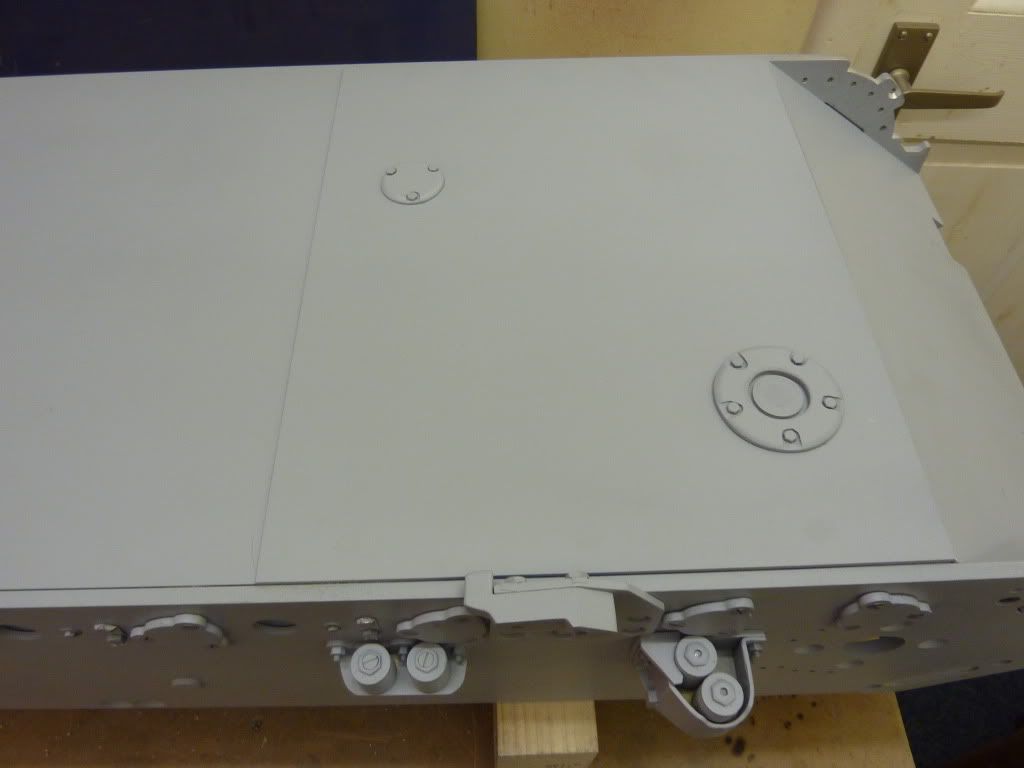
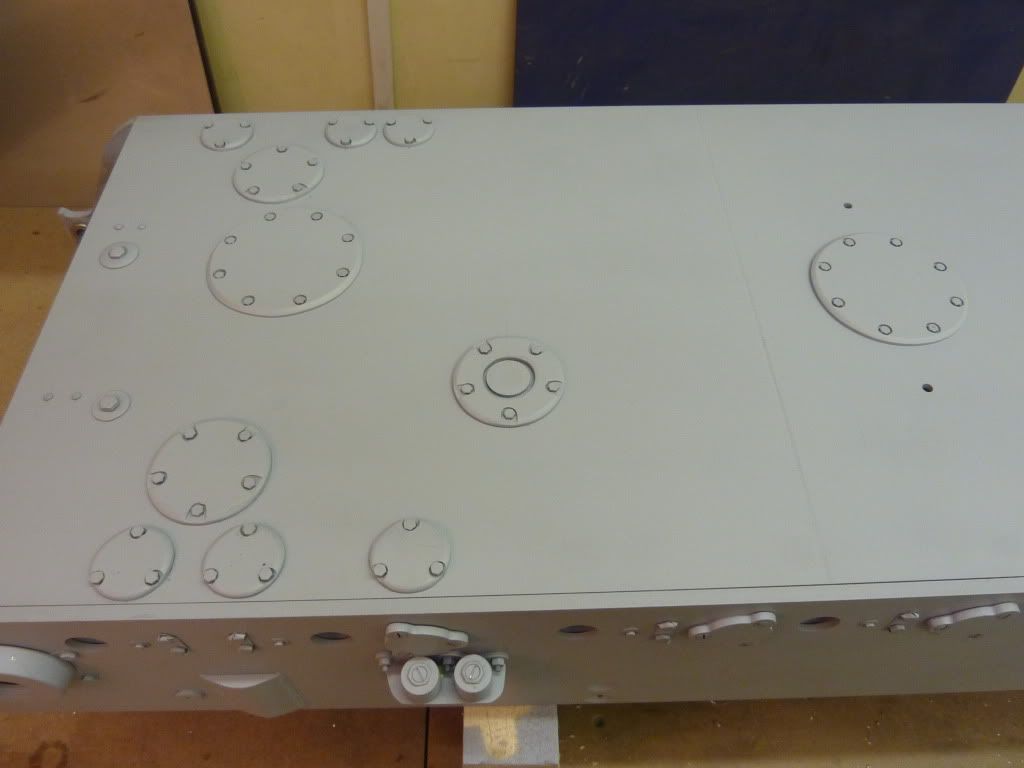
Lower glassis plate detail, Zimmerit yet to be applied.
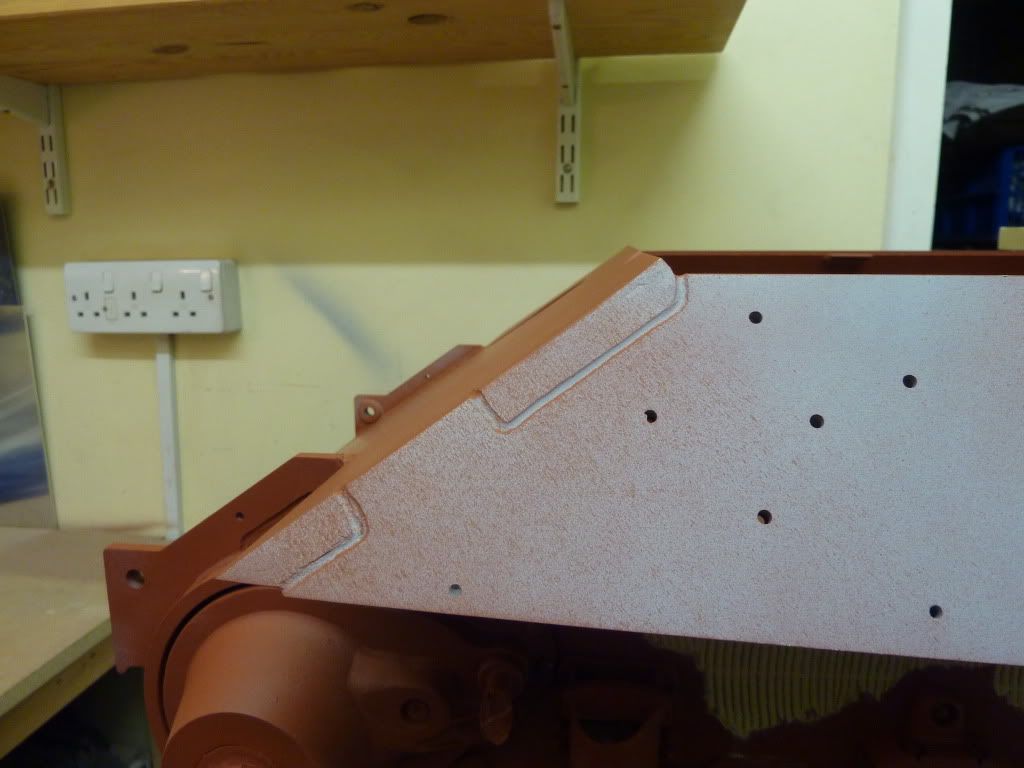
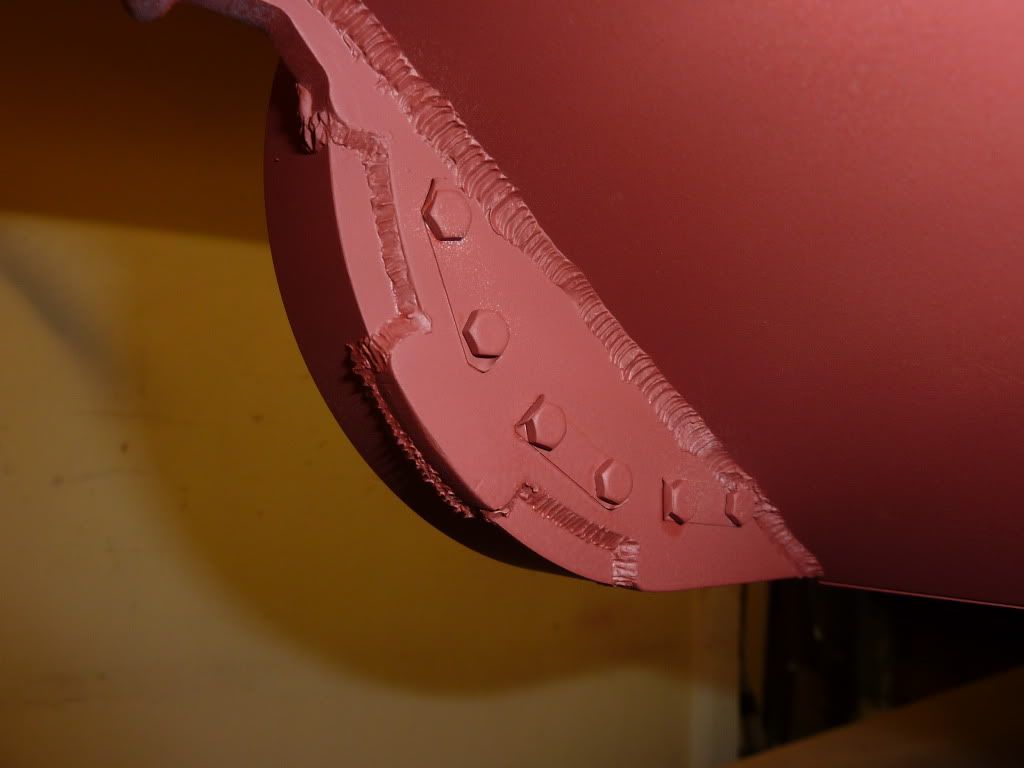
A shot showing the extended upper glassis plate and reworked interlock welds.
Next job is to paint the lower side plates and install the suspesion arms.
More to follow
Regards
Steve