Zimmer and paint on Daves King Tiger.
No build shots this time as the tank came more or less built and primed ready to go really just the odd bits to complete.
[
 img][/img]
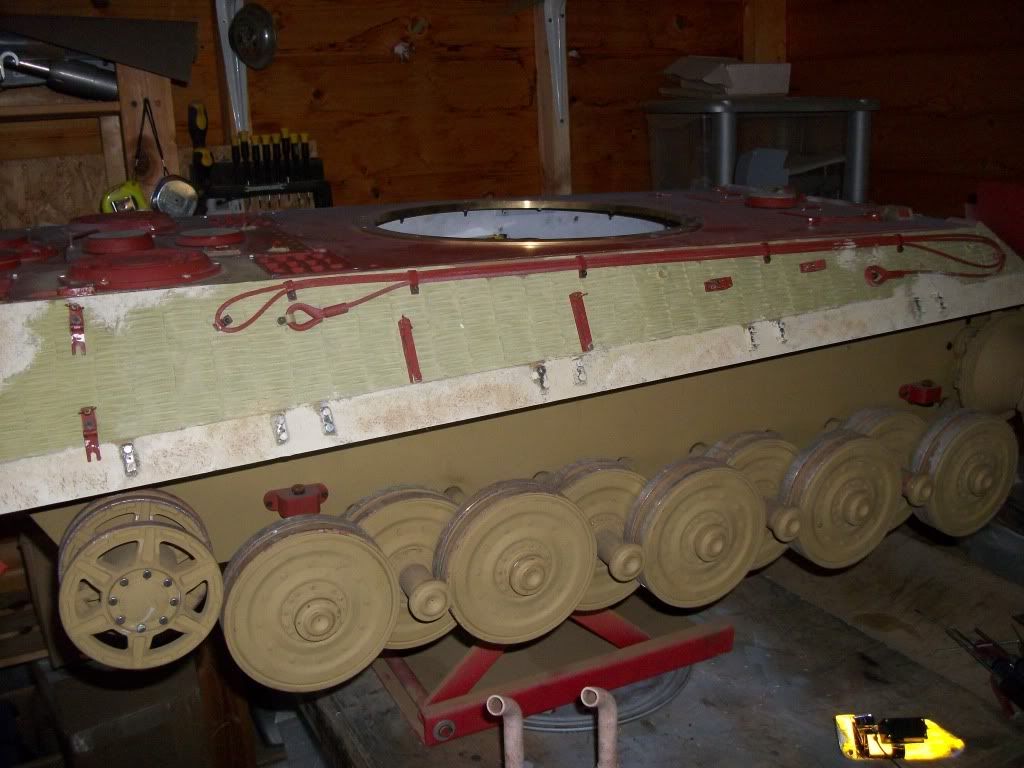
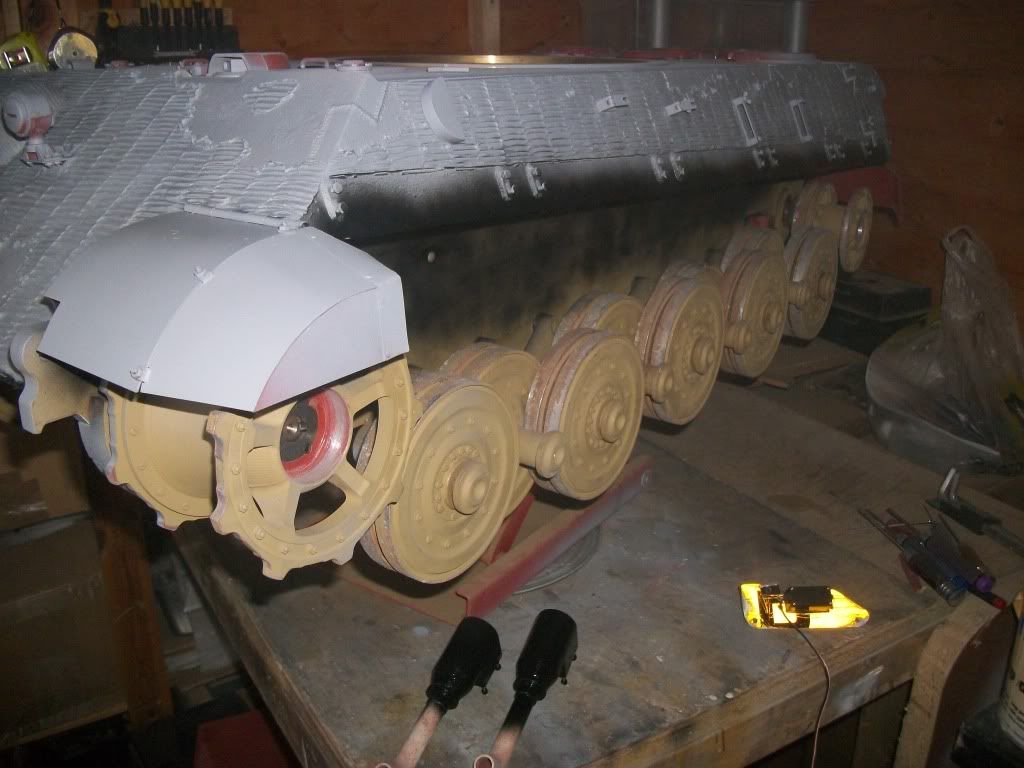
Milliput Zimm going on first after scuffing and scoring the primed surface I prefer to apply the Milliput straight onto the metal surface where possible but the tank has been well primed by Dave.
[
 img][/img]
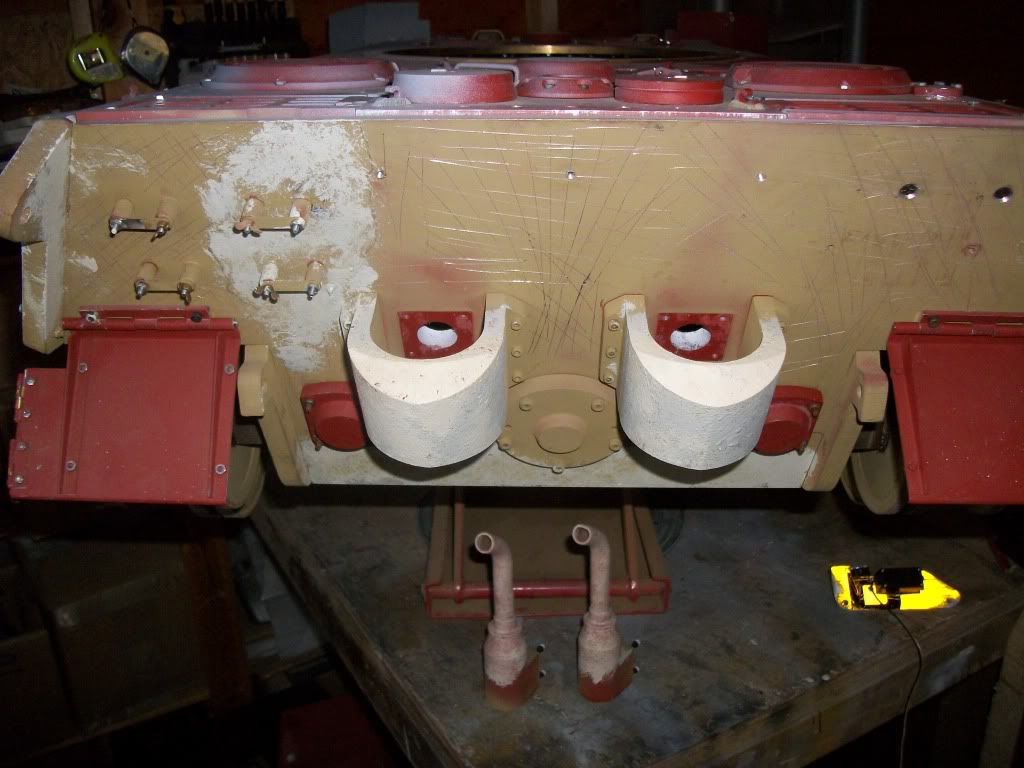
Exhaust stacks removed for easy access to rear plate
[
 img][/img]
[
 img][/img]
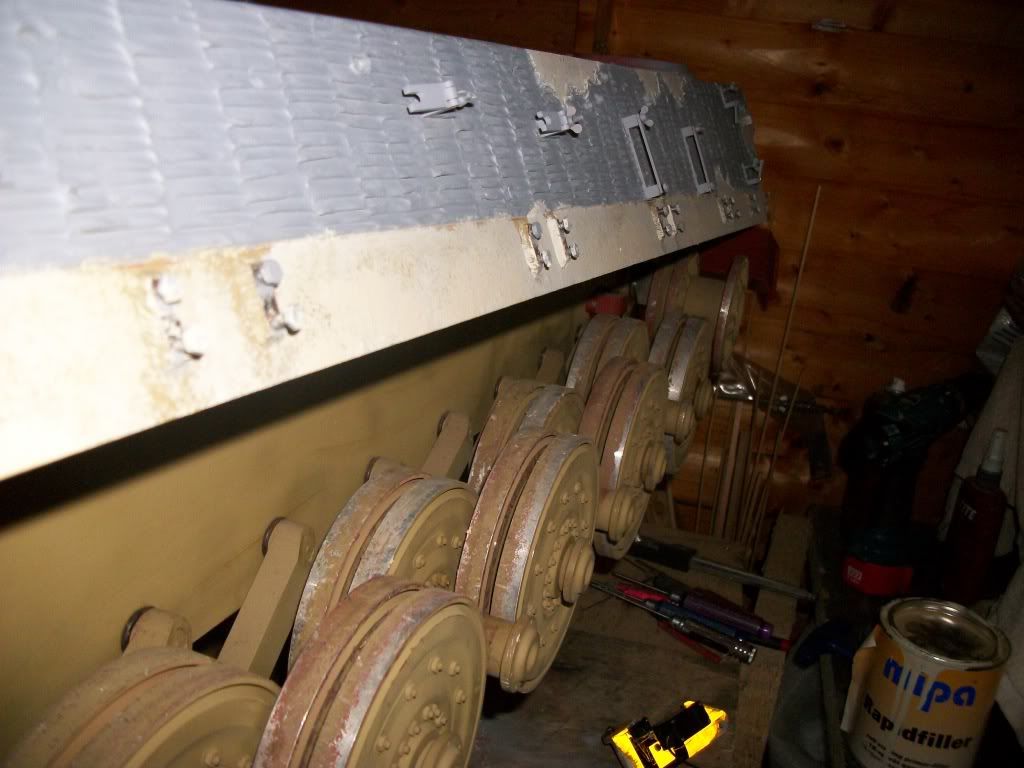
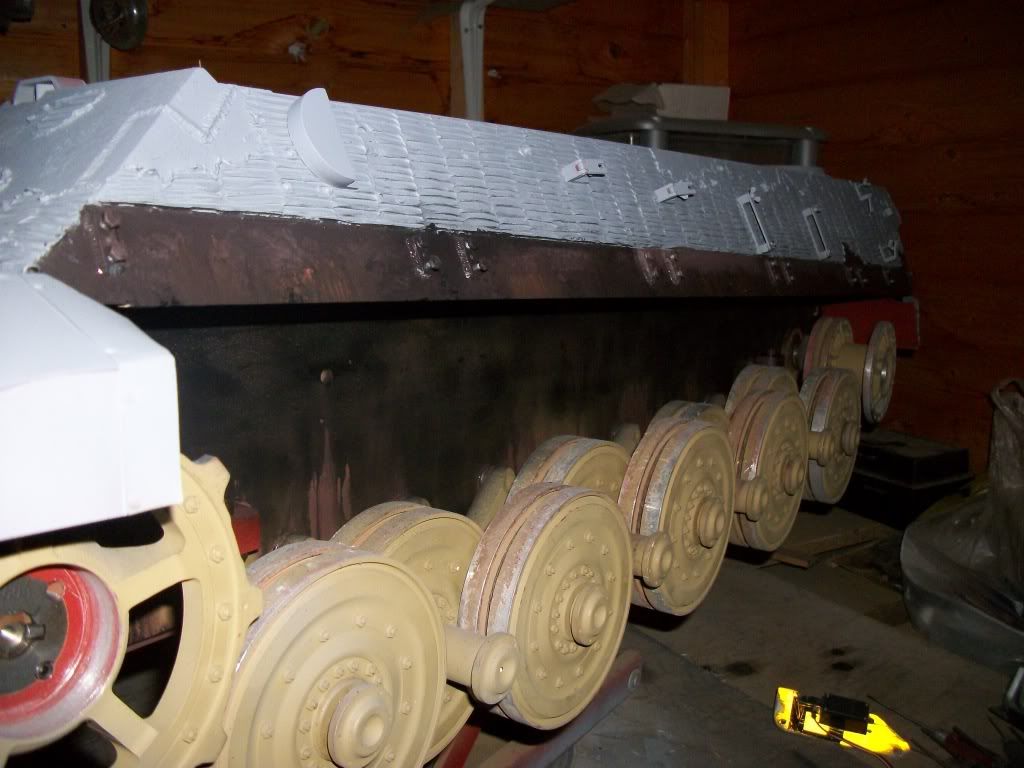
Once the Milliput has dried I remove the side skirts again ready for texture and black primer goes on, this area like all the others will have a dirty muddy appearance that will show if the skirts are removed for running,
[
 img][/img]
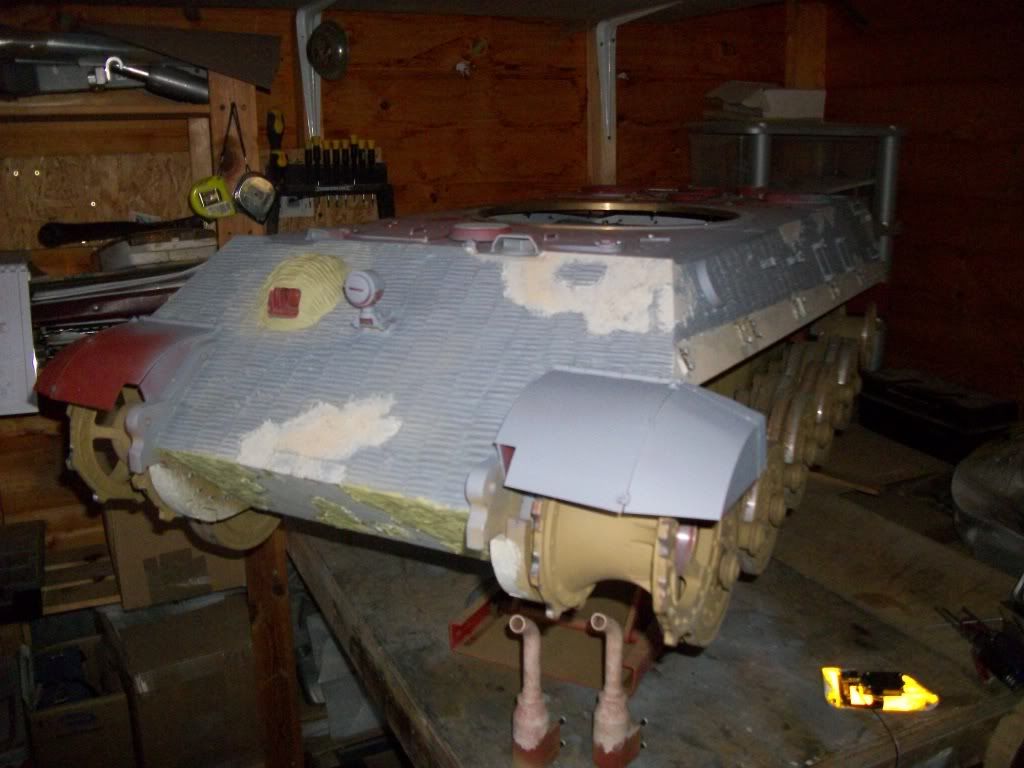
Once again some areas of Zimm are missing to show weld lines underneath, this is the effect I have used on all the Tigers I have done to date some of you will have seen this on Paul Will's and my own tanks at the open day last year.
More to follow...soon Dave I promise.
Cheers Paul
 img][/img]
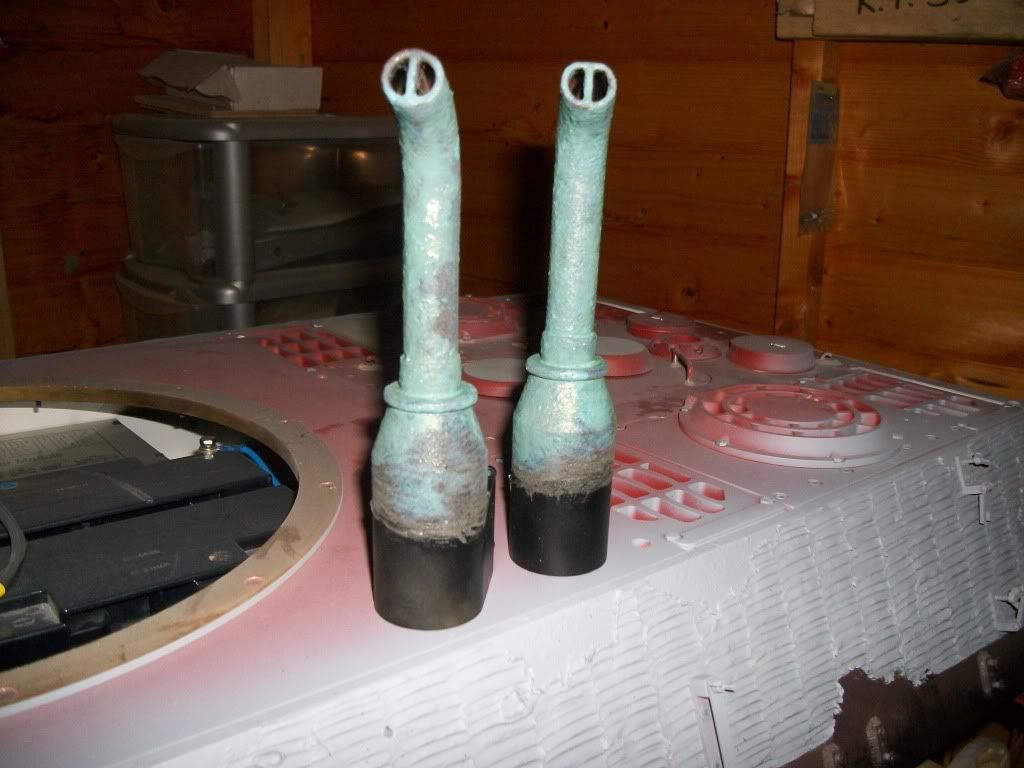 img][/img]
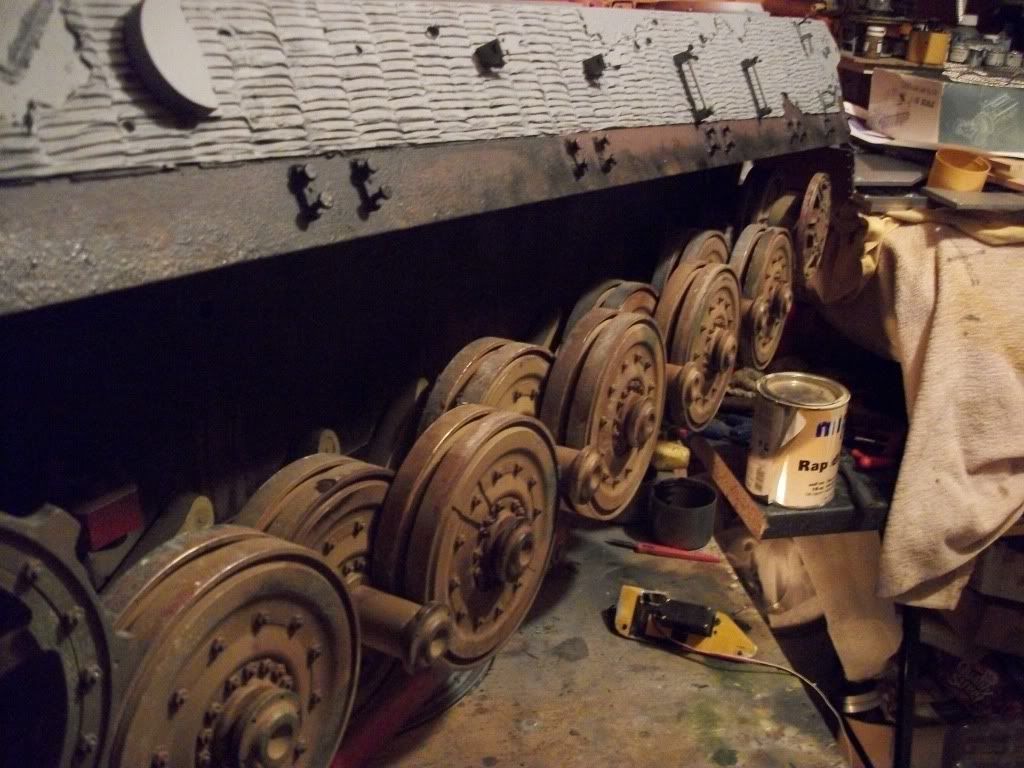 img][/img]
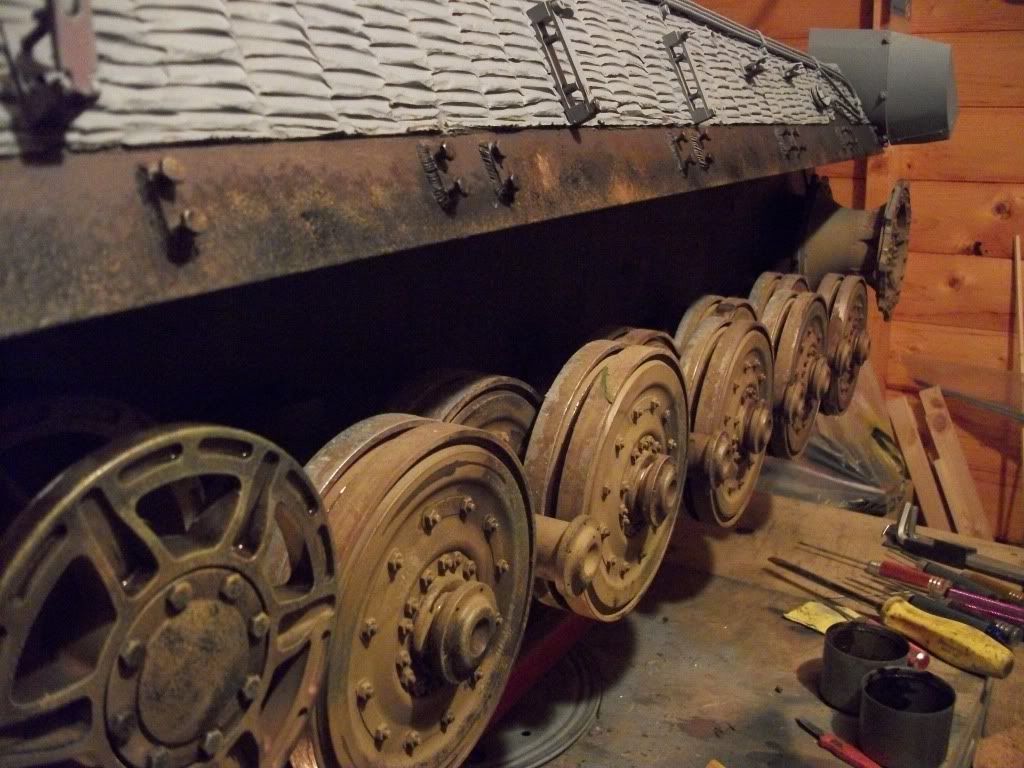 img][/img]
 img]
img]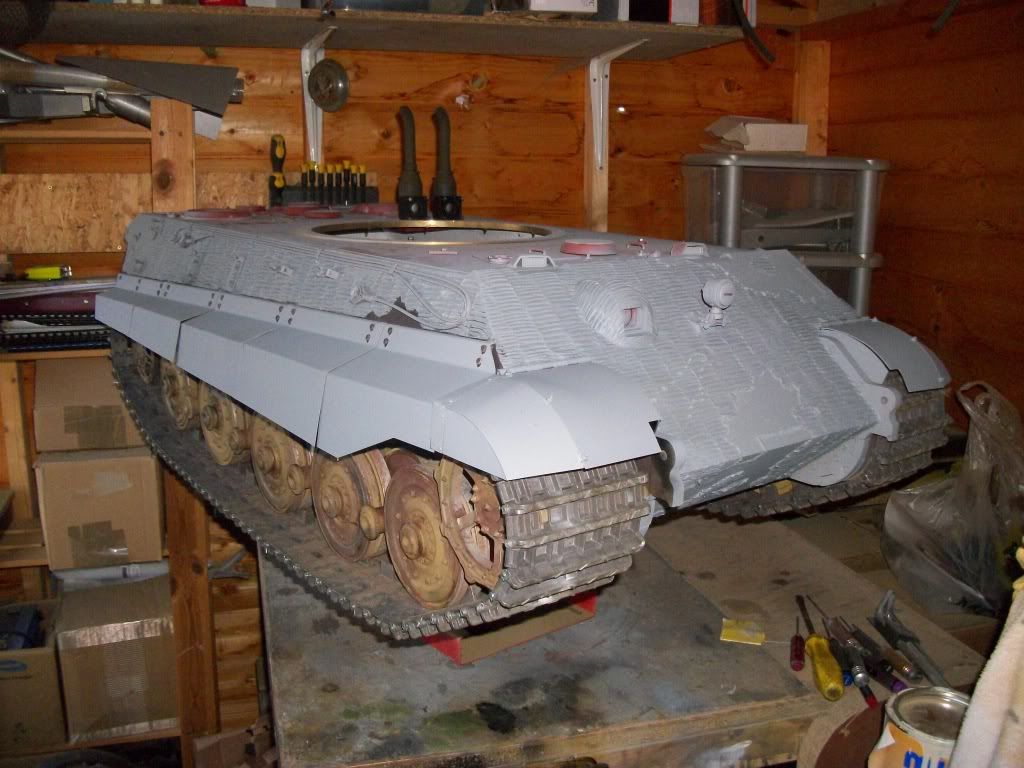 img][/img]
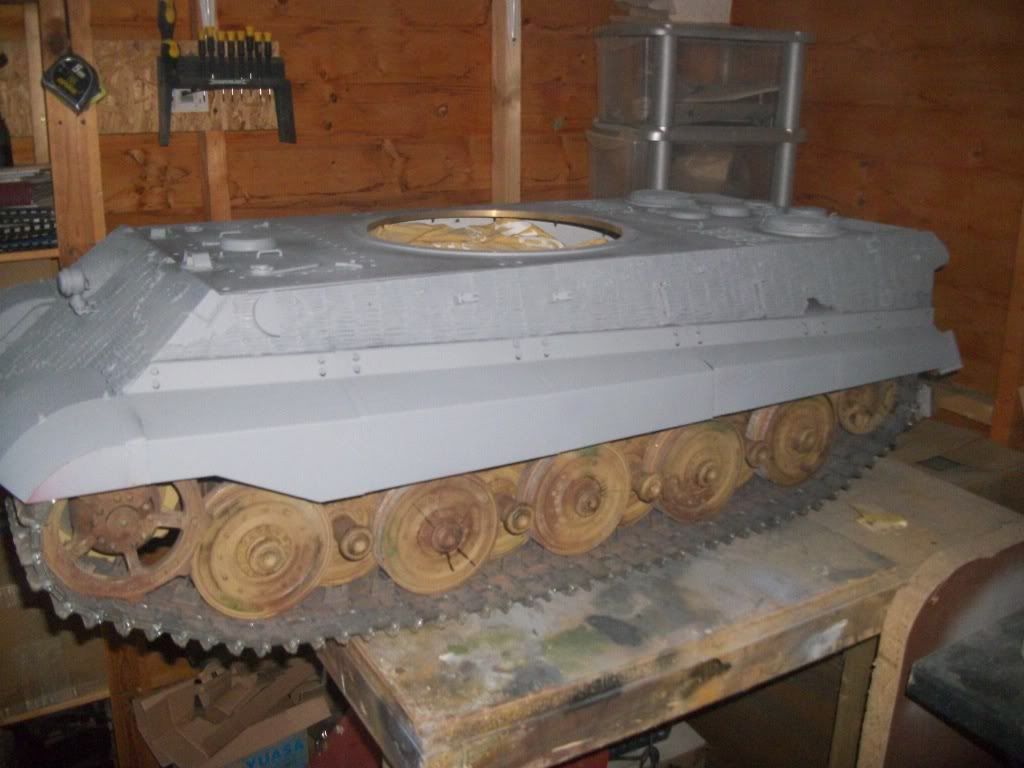 img][/img]
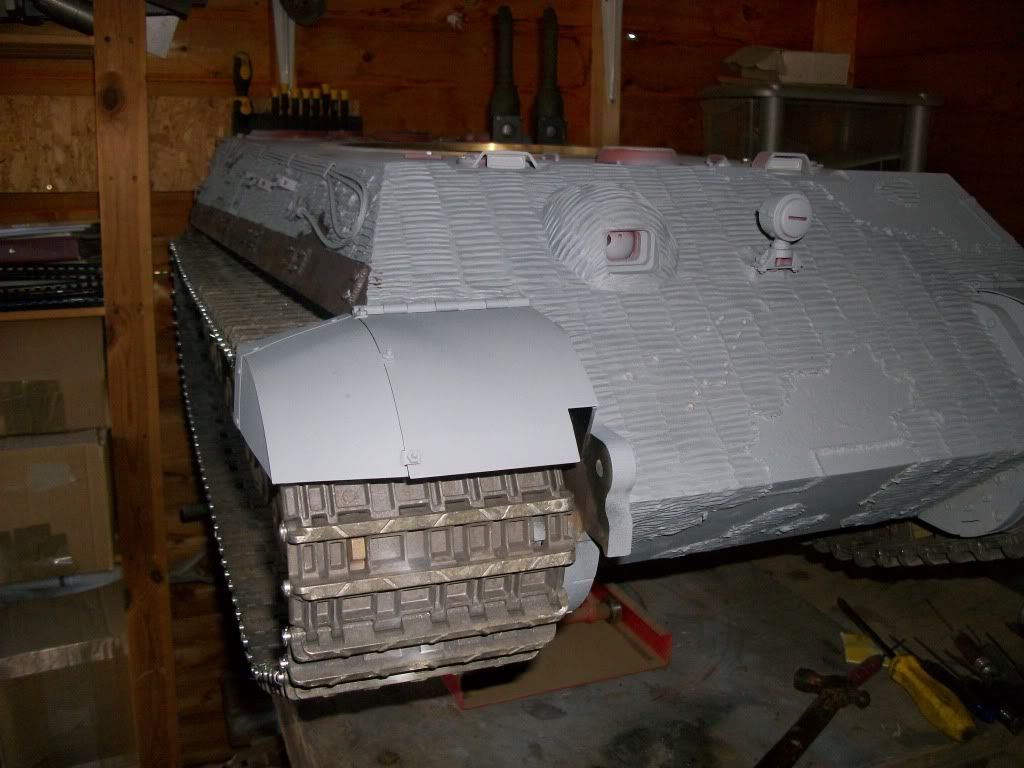 img][/img]
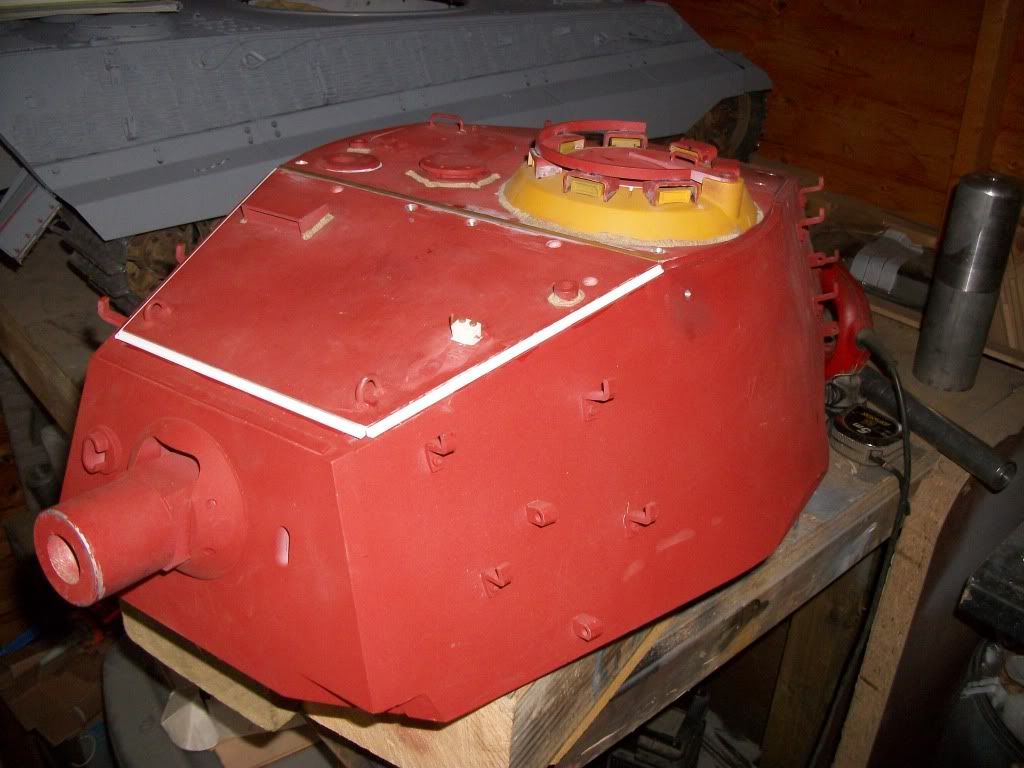 img][/img]
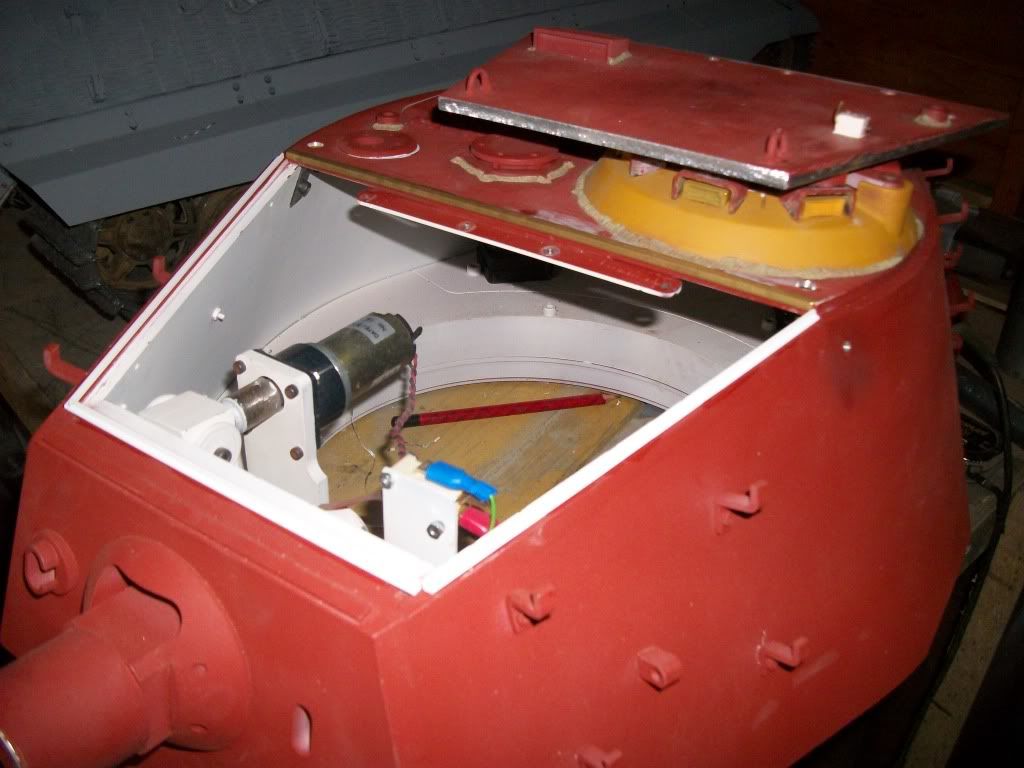 img][/img]
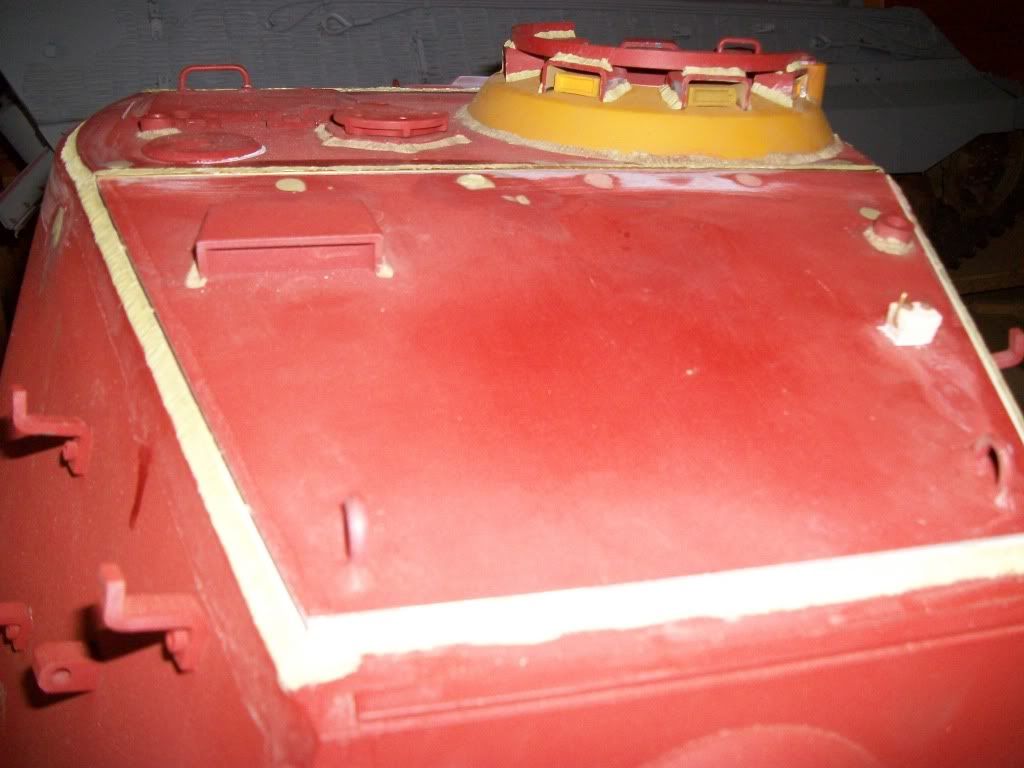 img][/img]
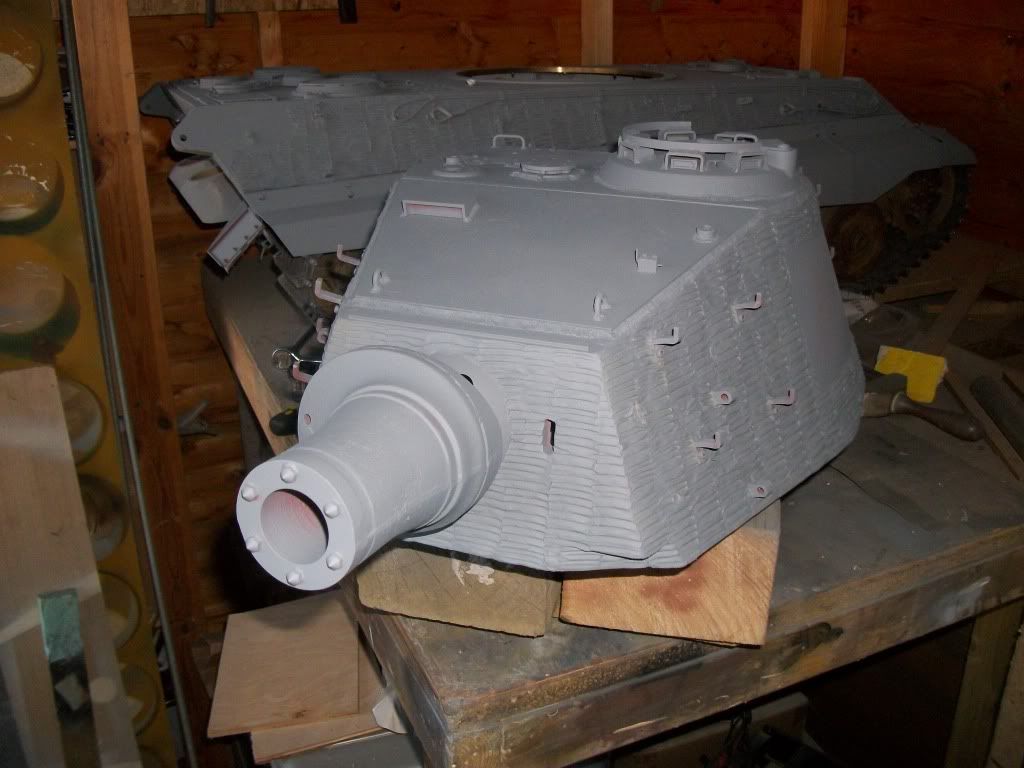 img][/img]
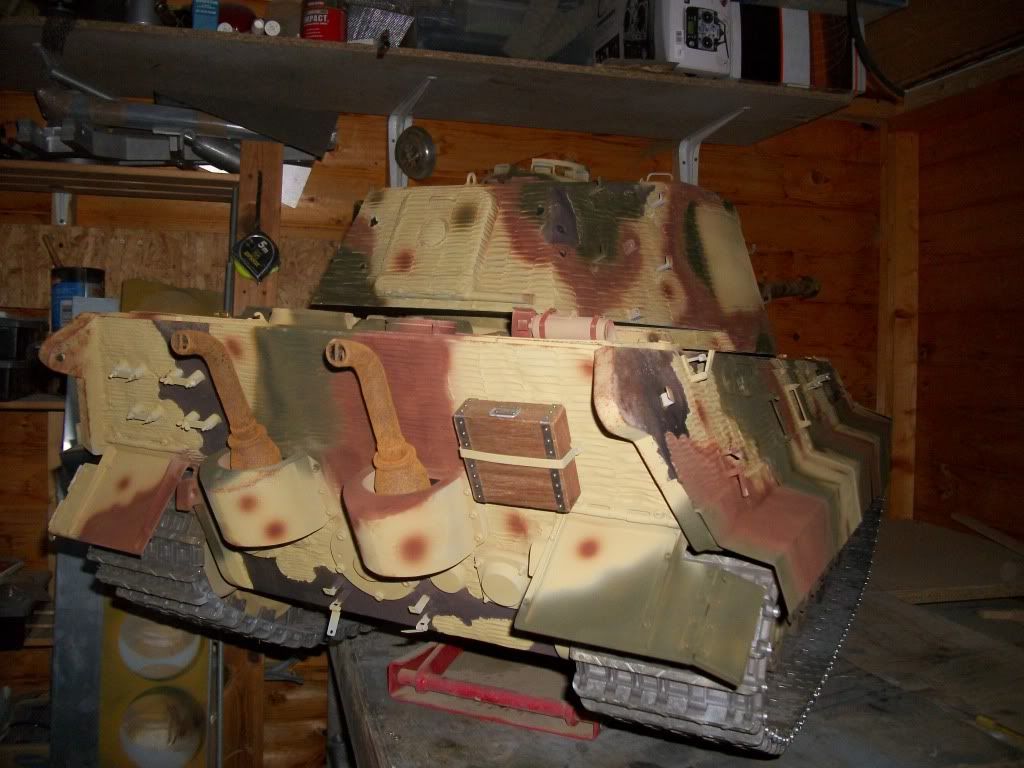 img][/img]
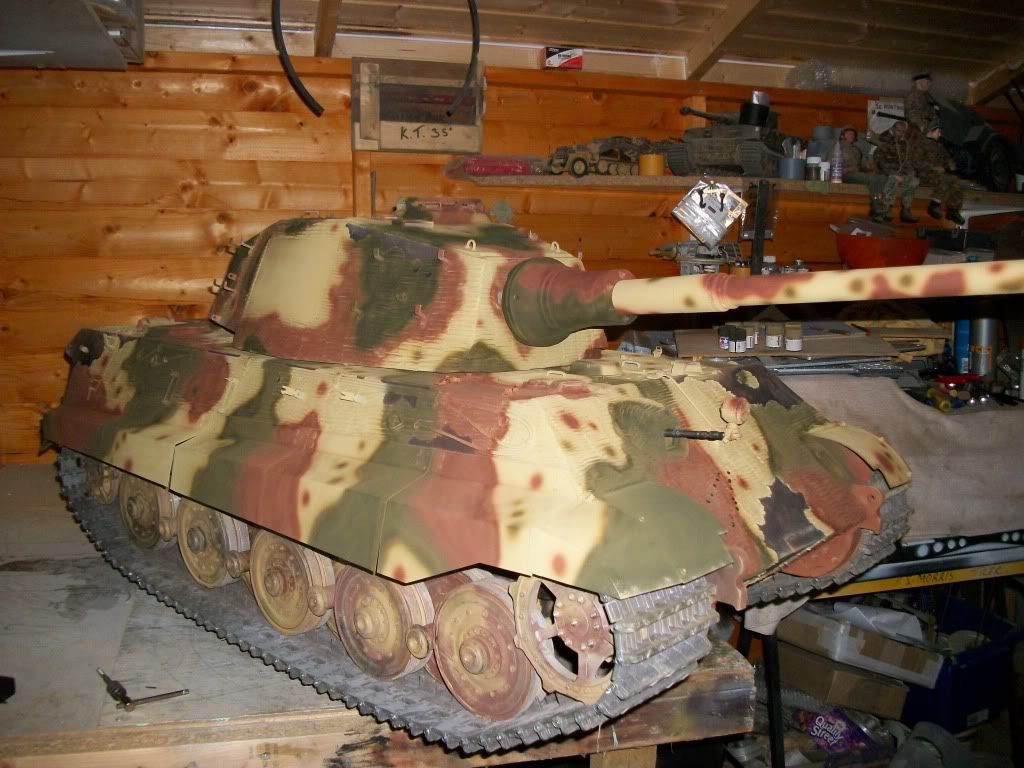 img][/img]
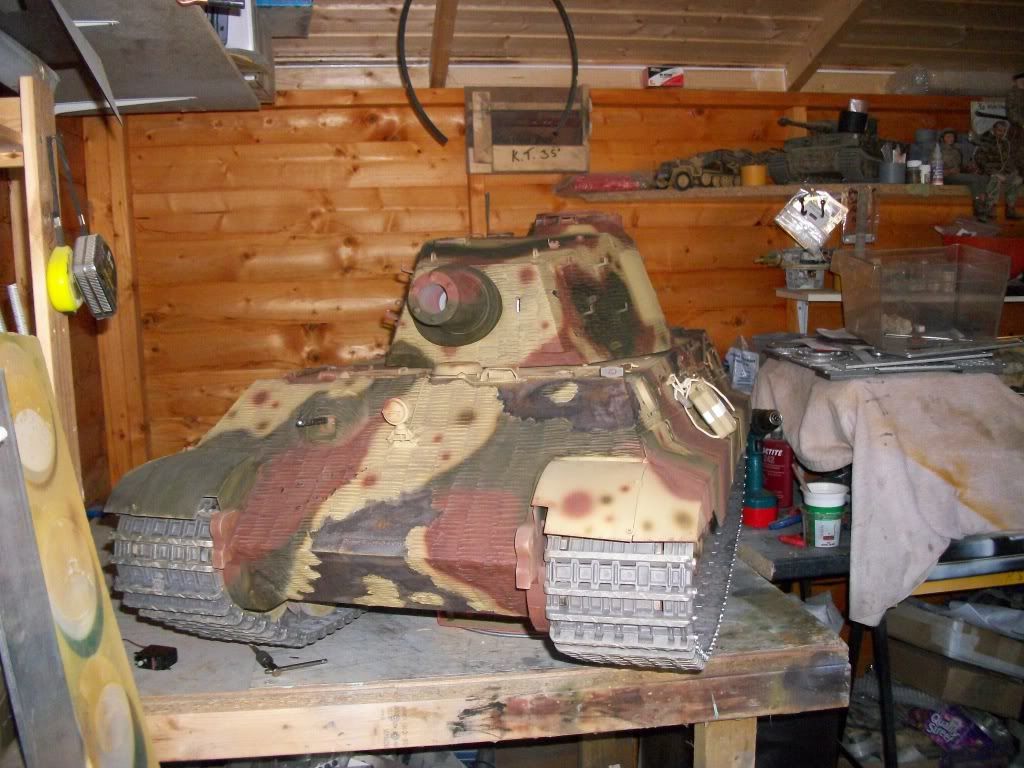 img][/img]
 img][/img]
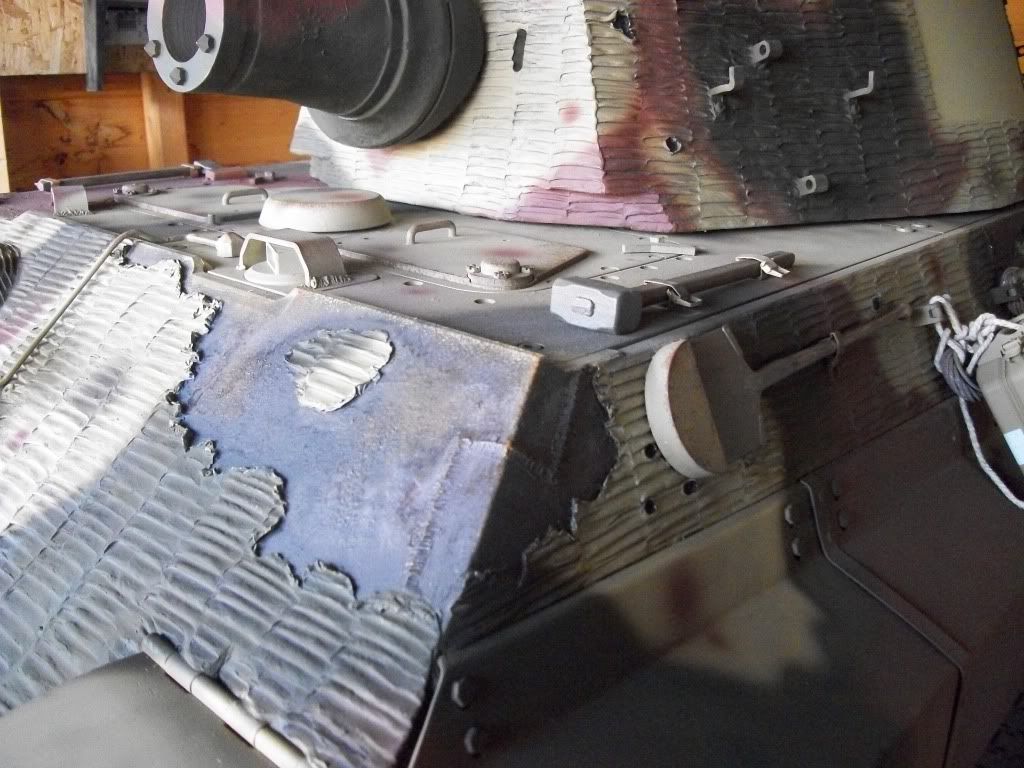 img][/img]
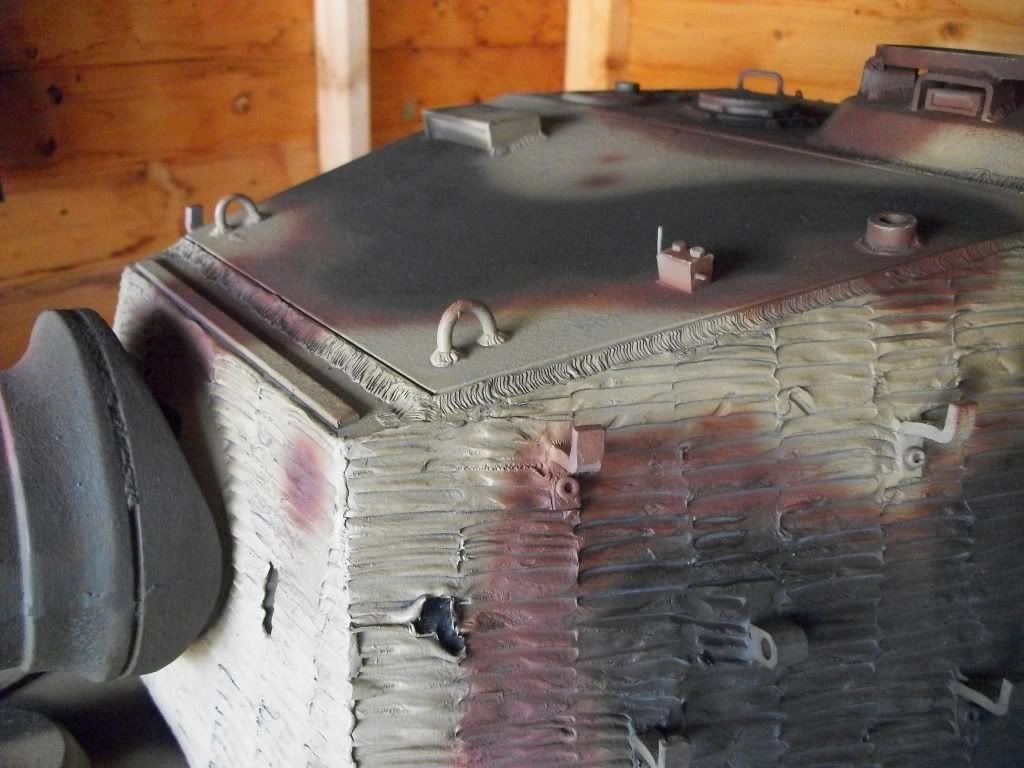 img][/img]
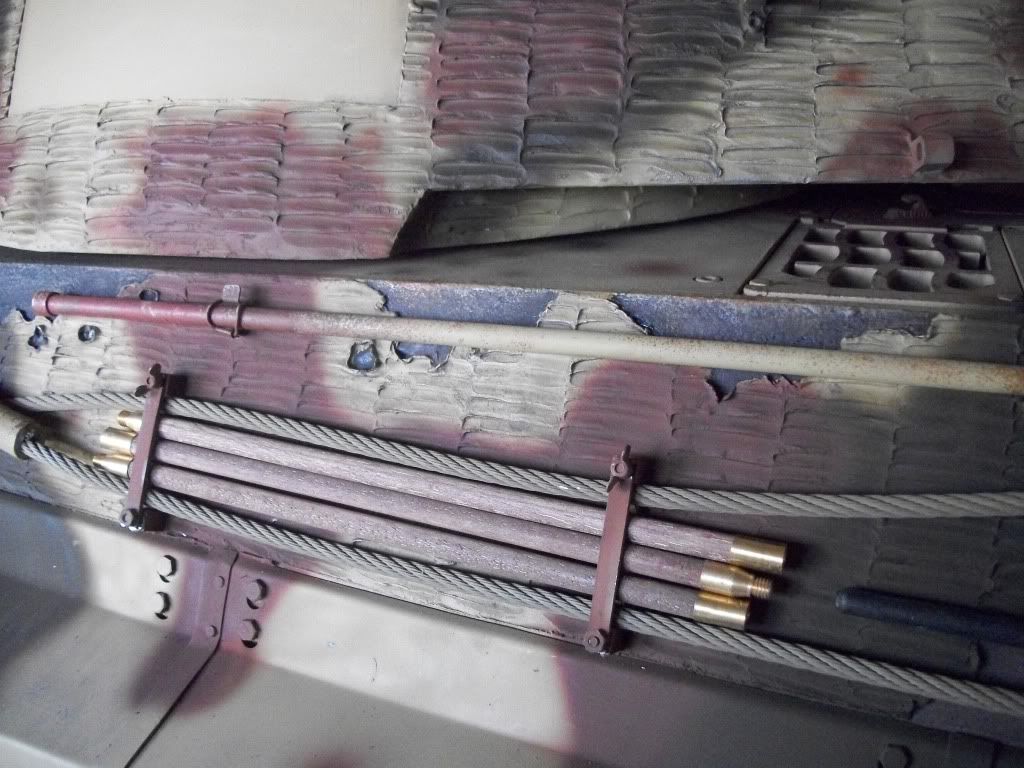 img][/img]
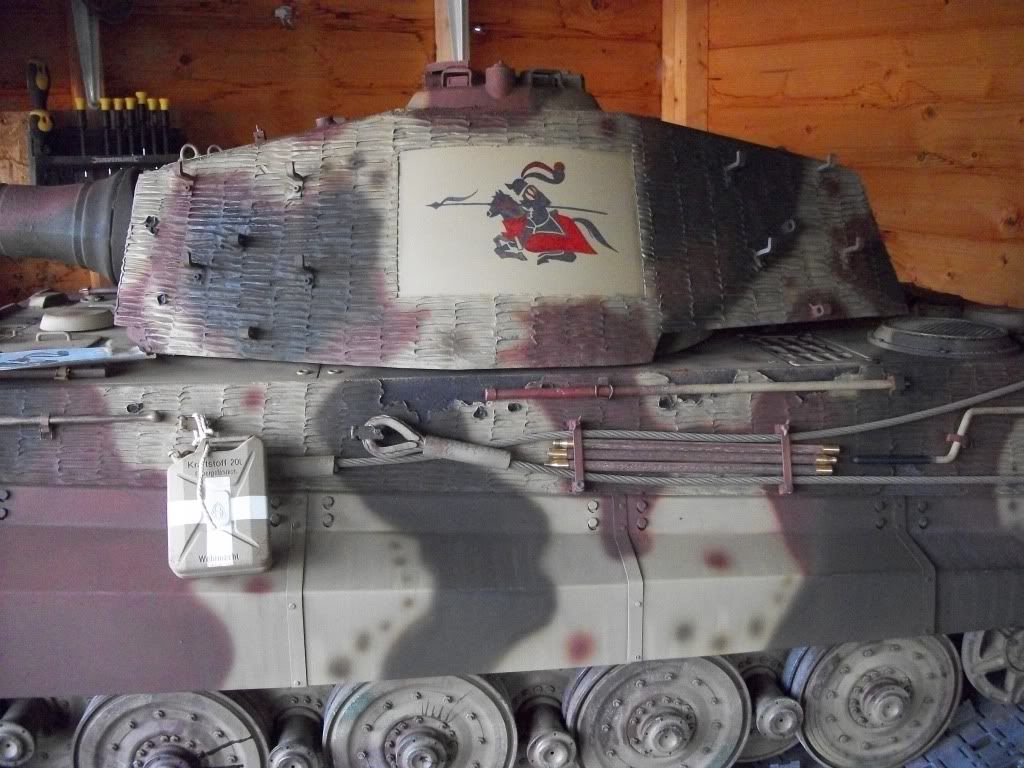 img][/img]
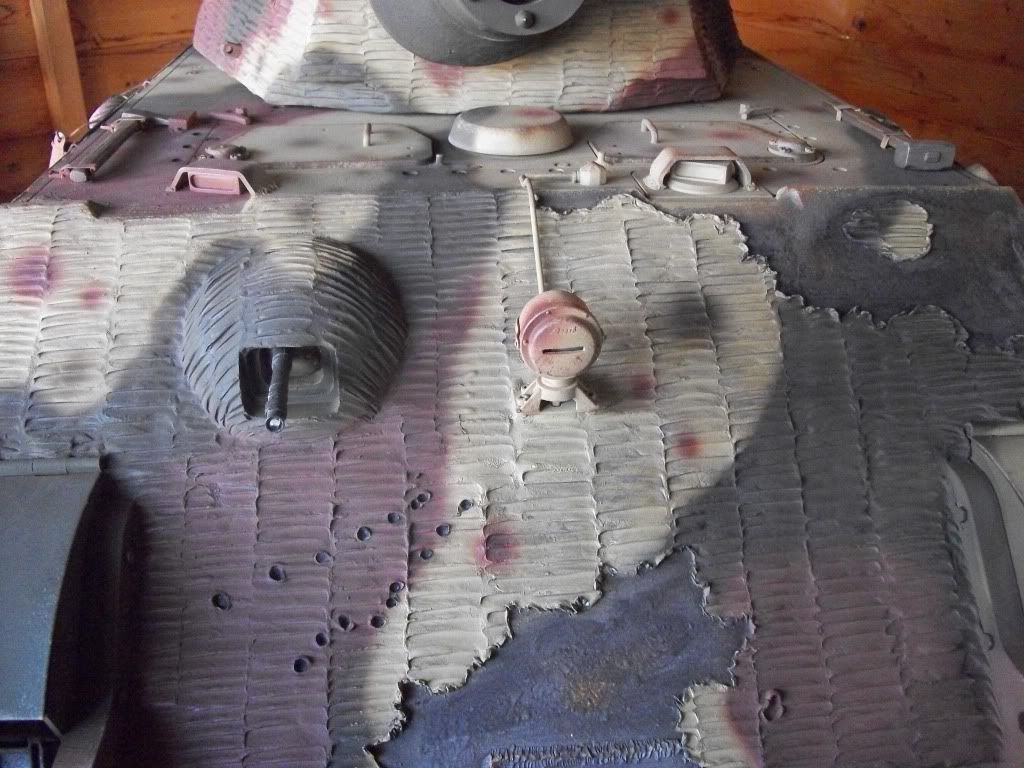 img][/img]
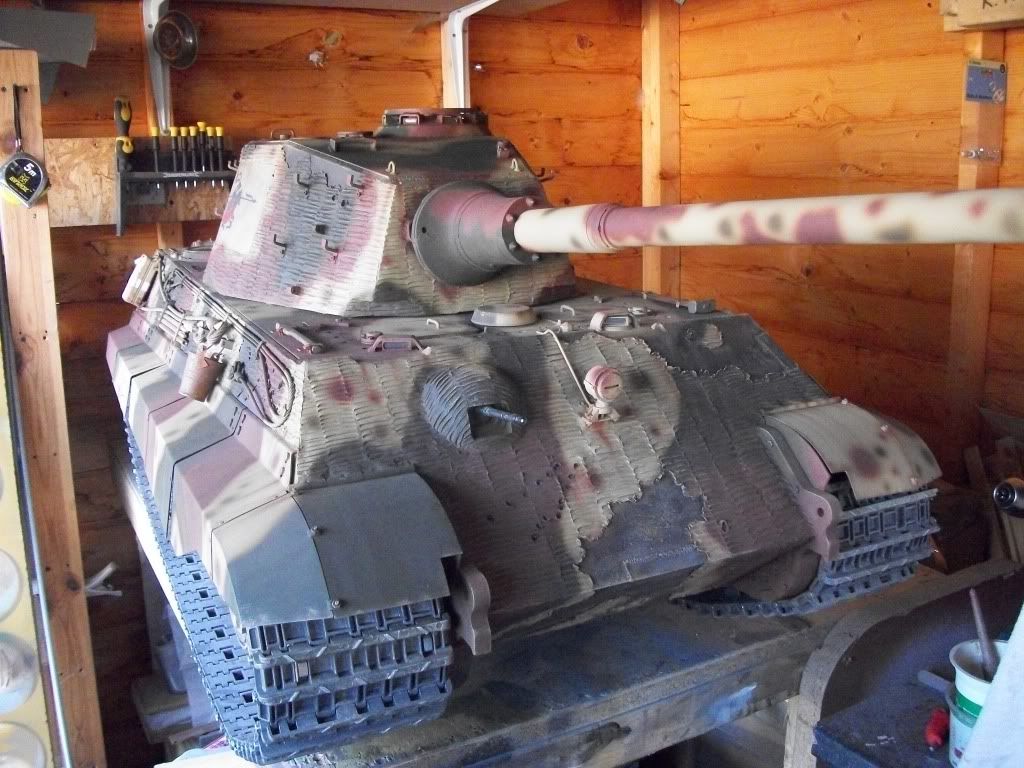 img][/img]
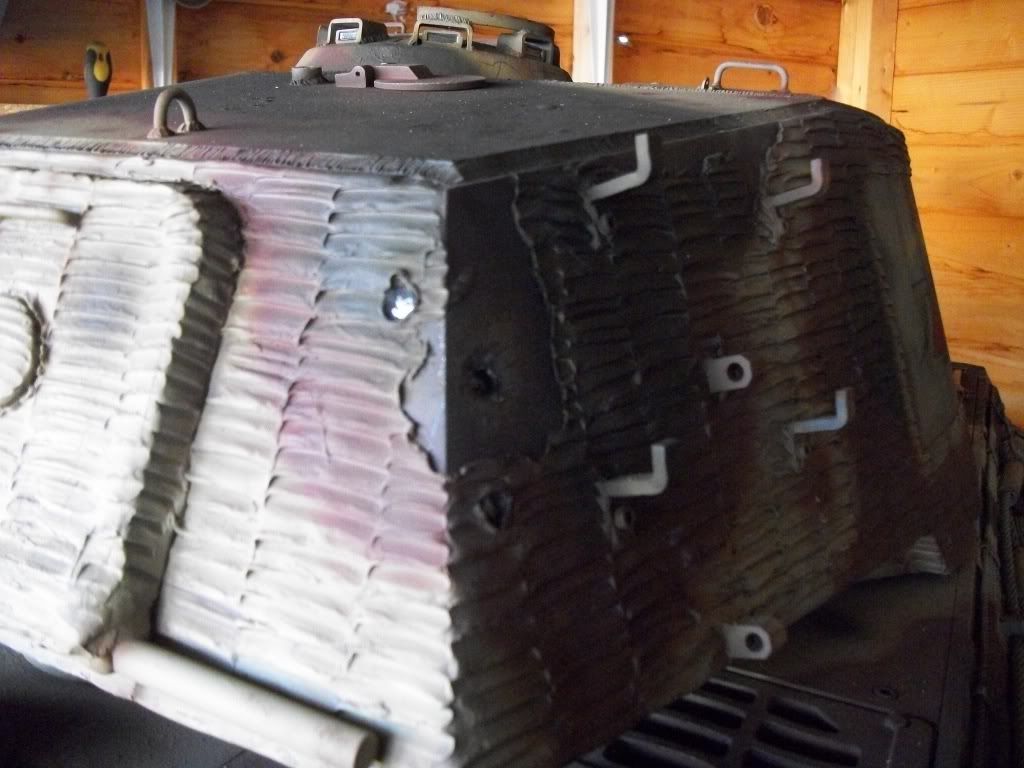 img][/img]
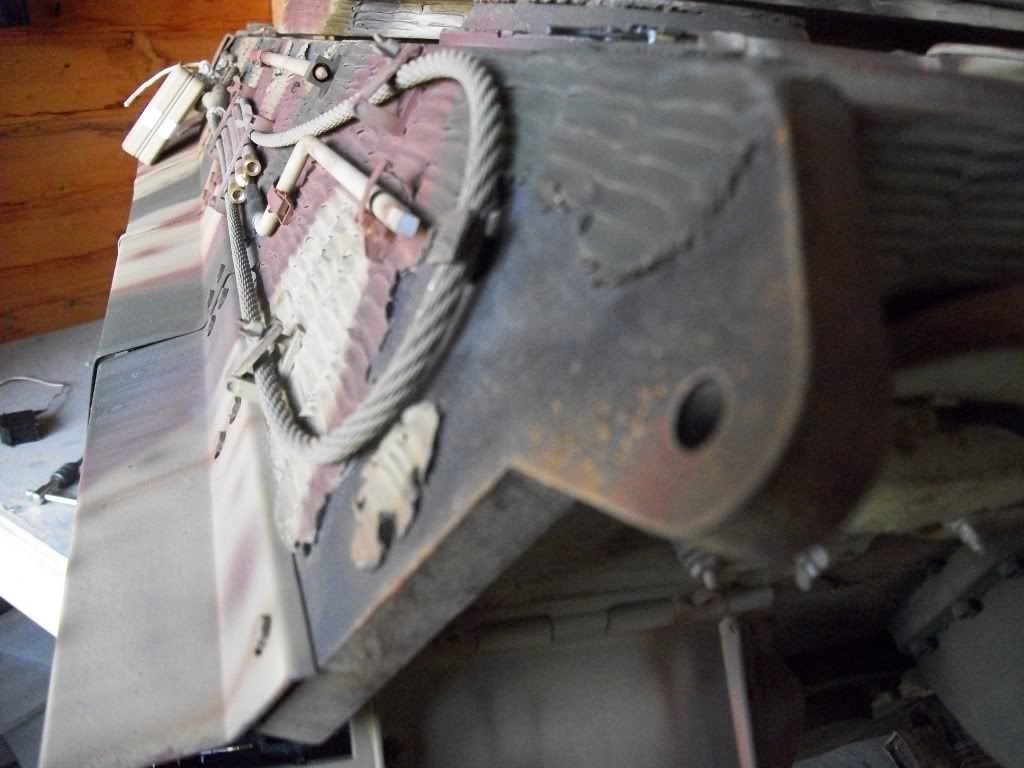 img]
img]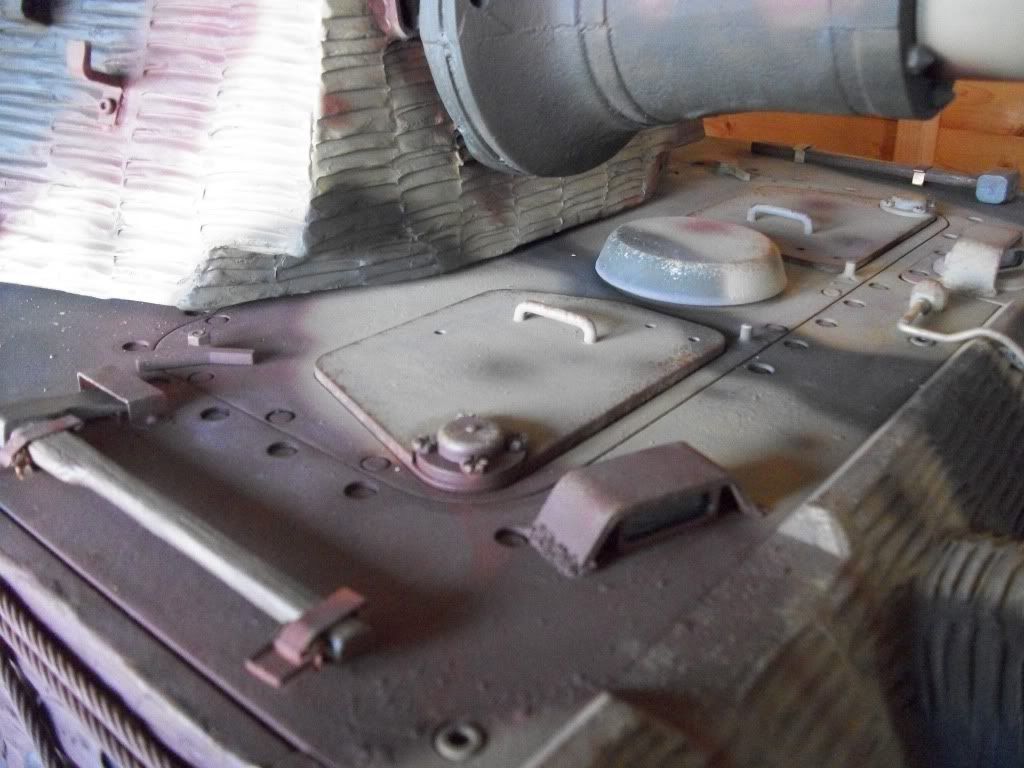 /img]
/img]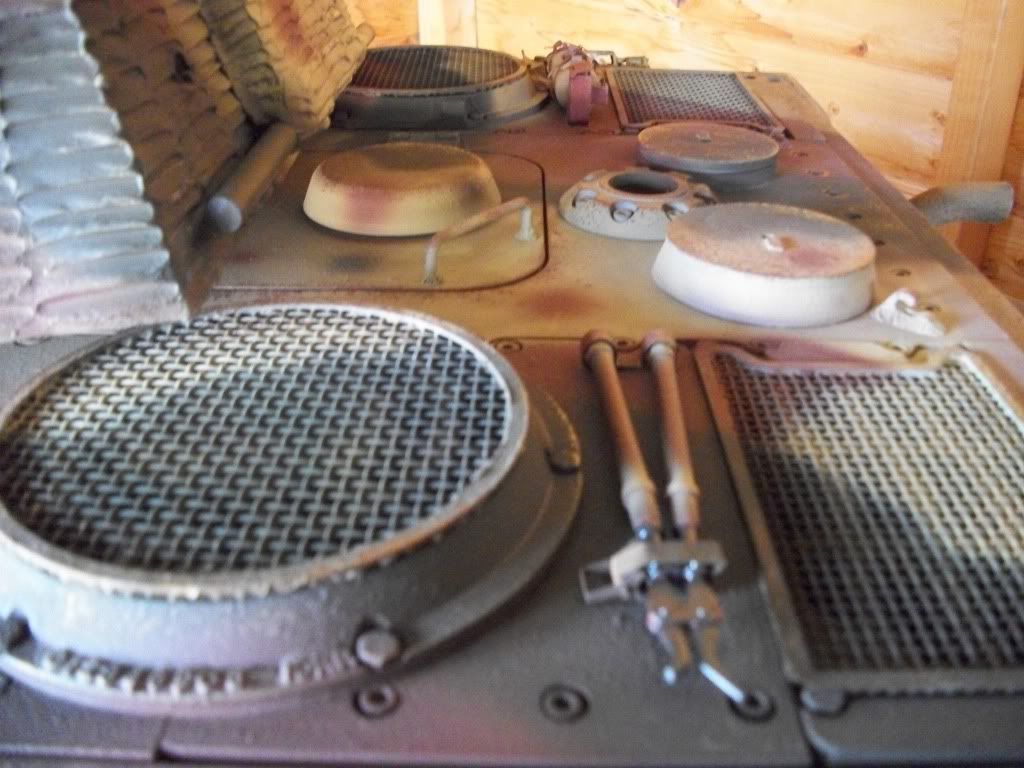 img]
img]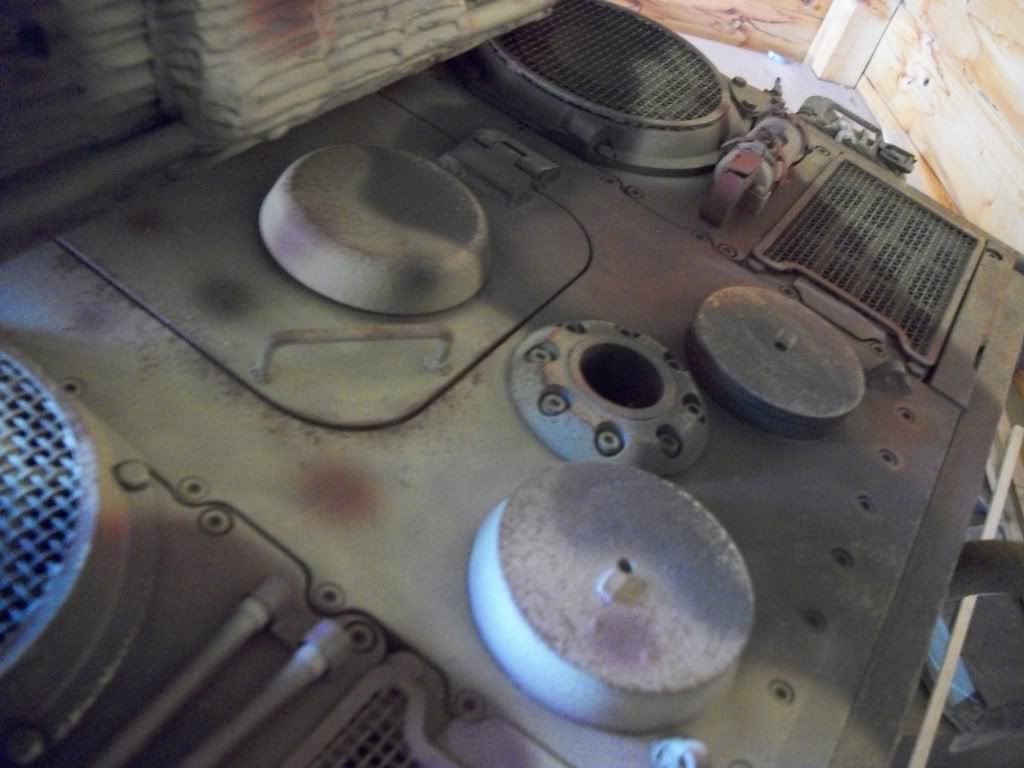 /img]
/img]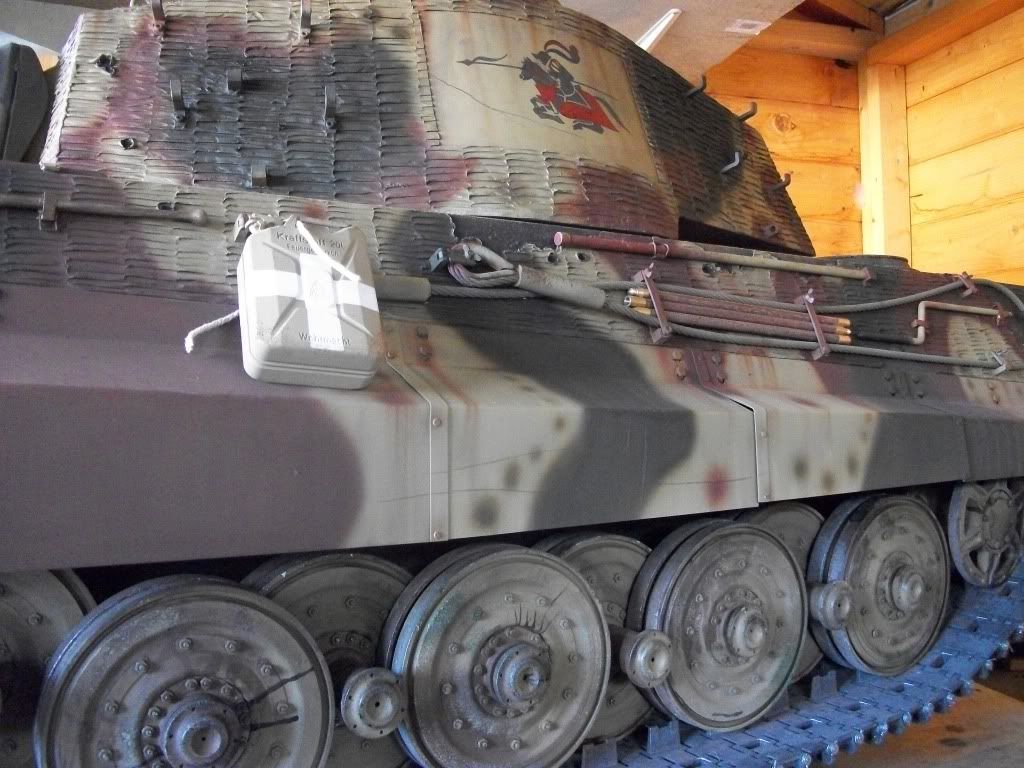 img]
img]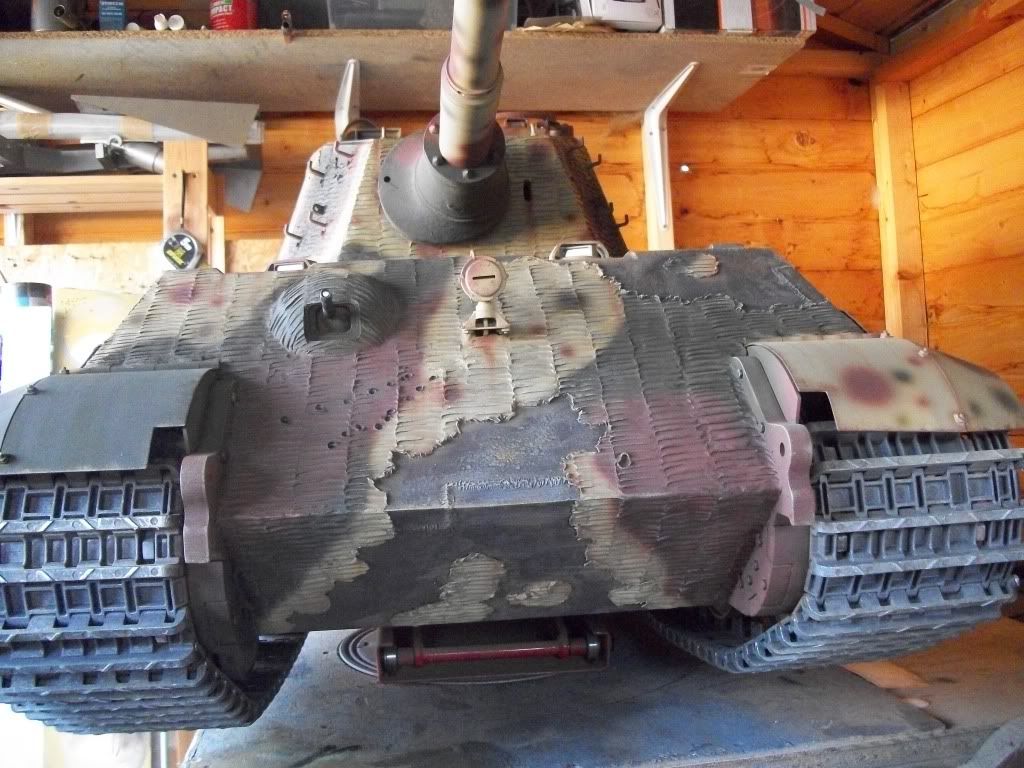 /img]
/img]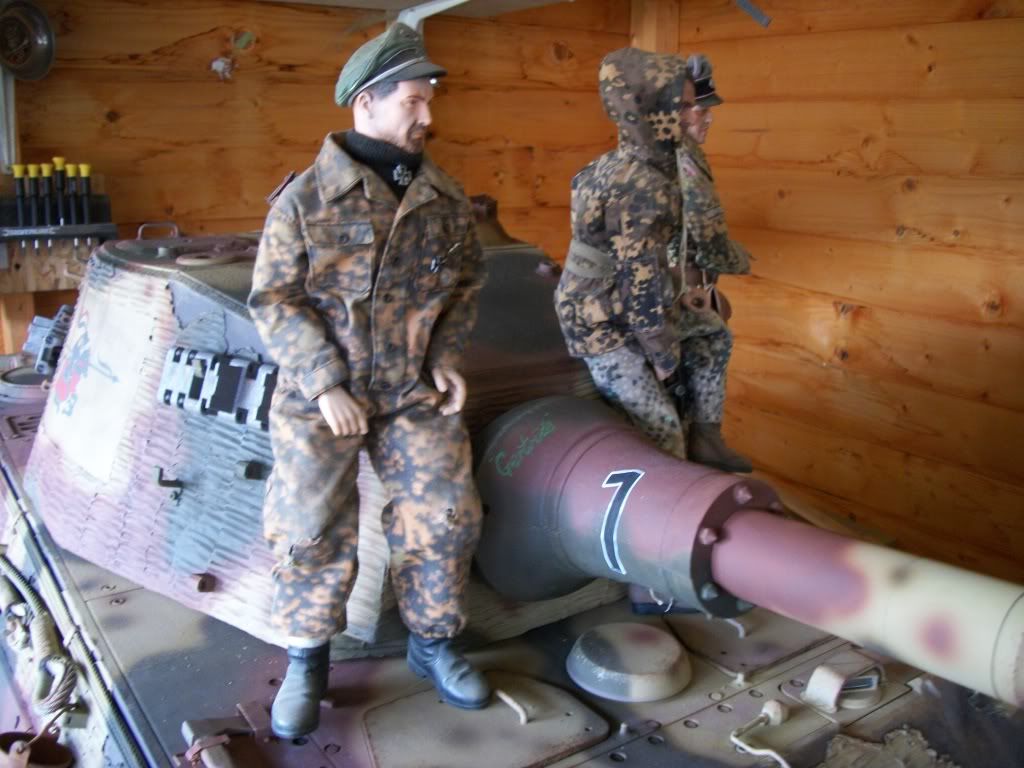 img][/img]
 img][/img]
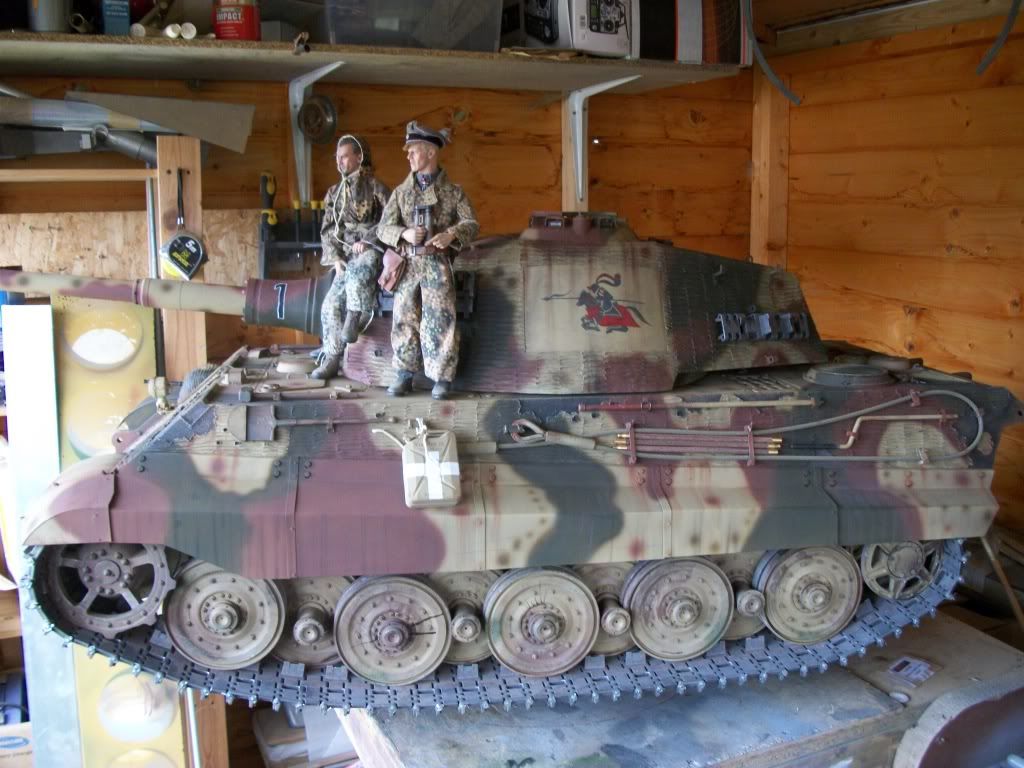 img][/img]
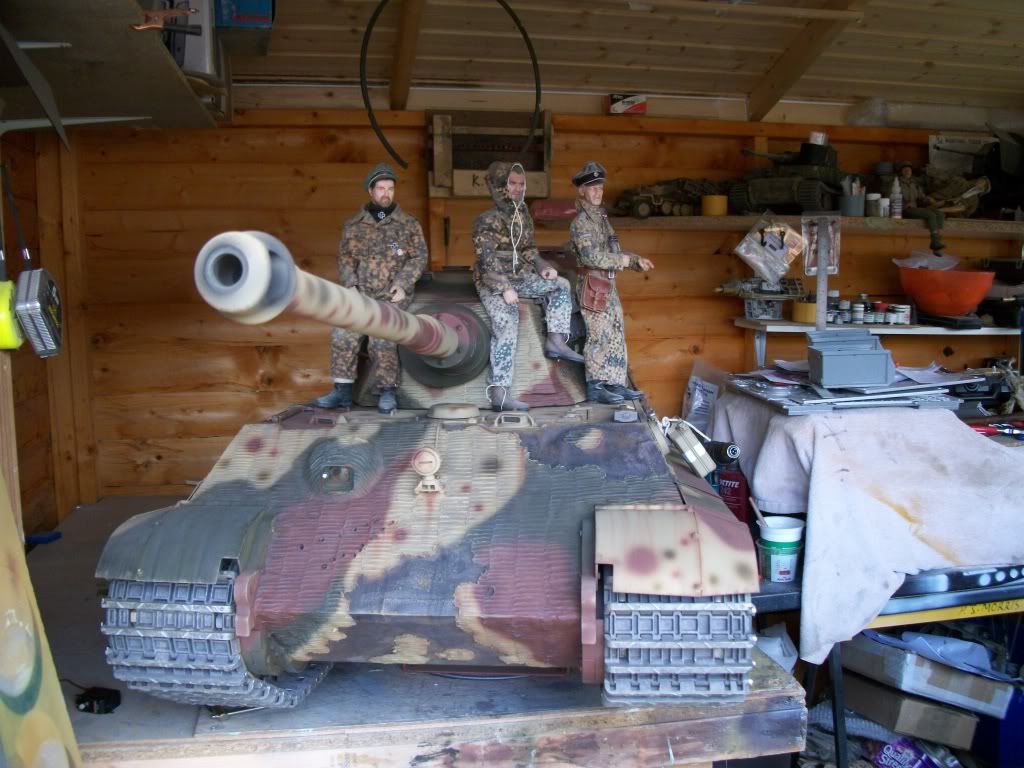 img][/img]