Good news, the Hetzer is growing, and the box of parts is getting more and more empty

I wasn't sure when the best time would be to install the motors, thinking it would be better to attach the sprocet wheels first. Unfortunately, it quickly became apparent that you couldn't achieve the 20 Nm without a gearbox attached, because there is now way to lock the sprocet wheels without a gearbox. So, there was nothing left to do but install the motors. Then it became clear while I was following the manual and did step 1,
I did not realize that the motors should be attached as soon as possible. The reason for this is, you can't reach the four mounting screws for the flange to which the motor and gearbox unit are mounted. The best is indeed to follow the advice in the Manual removed the front panel again (it was only temporarily attached) and then a side panel. A lot of work for eight screws, but there was no other way.
My advice: If you want to build the Hetzer, install the motors as early as possible, even before attaching the side panels.
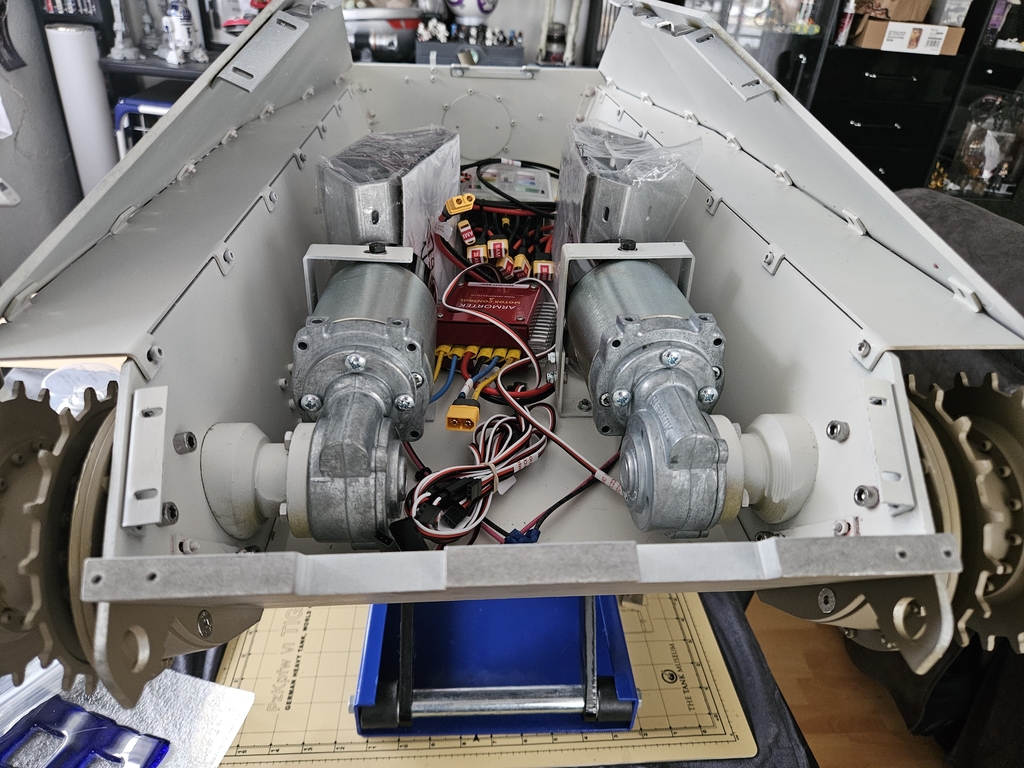
Oh, and consider whether you want to paint the inside of the tank before you start the first step. As you can see from the photo, it's not always a good idea to do it afterward. You can't see it once the front panel is installed, but it annoys me.
To better understand the space available, I temporarily placed a few components, including the speakers, in the tank:
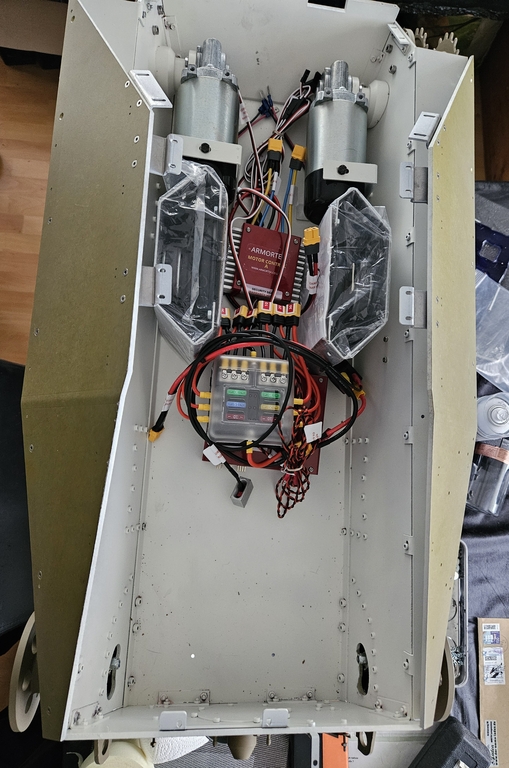
There isn't THAT much space in the tank, especially since the rear slopes down, so a lot of height is lost.
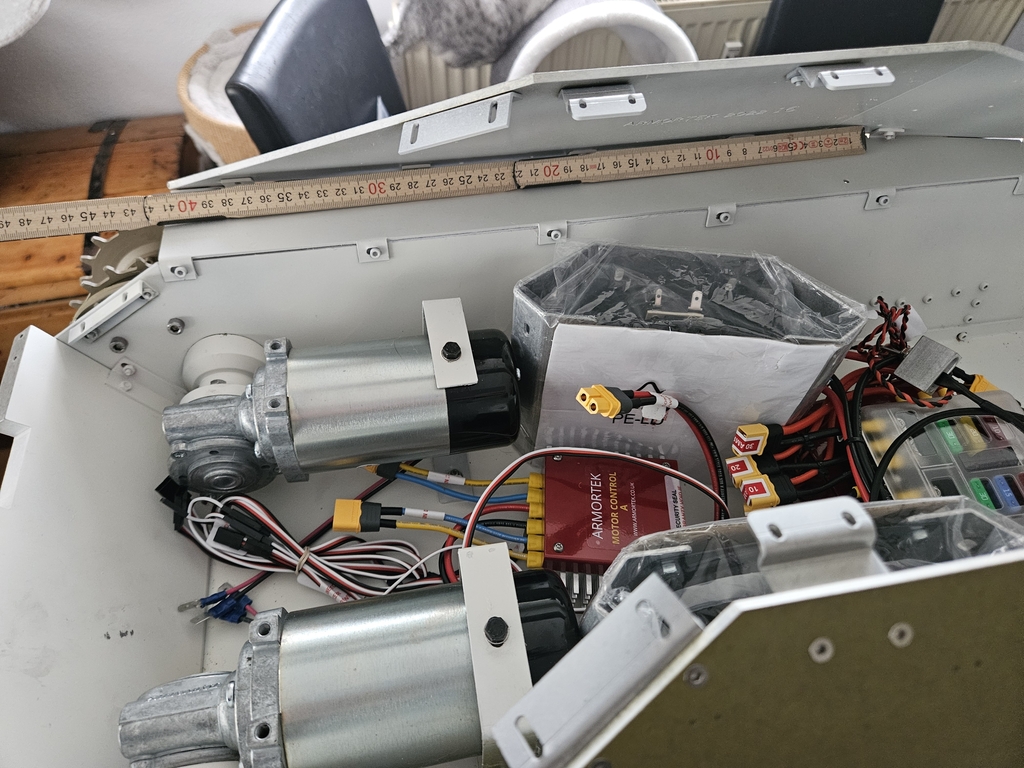
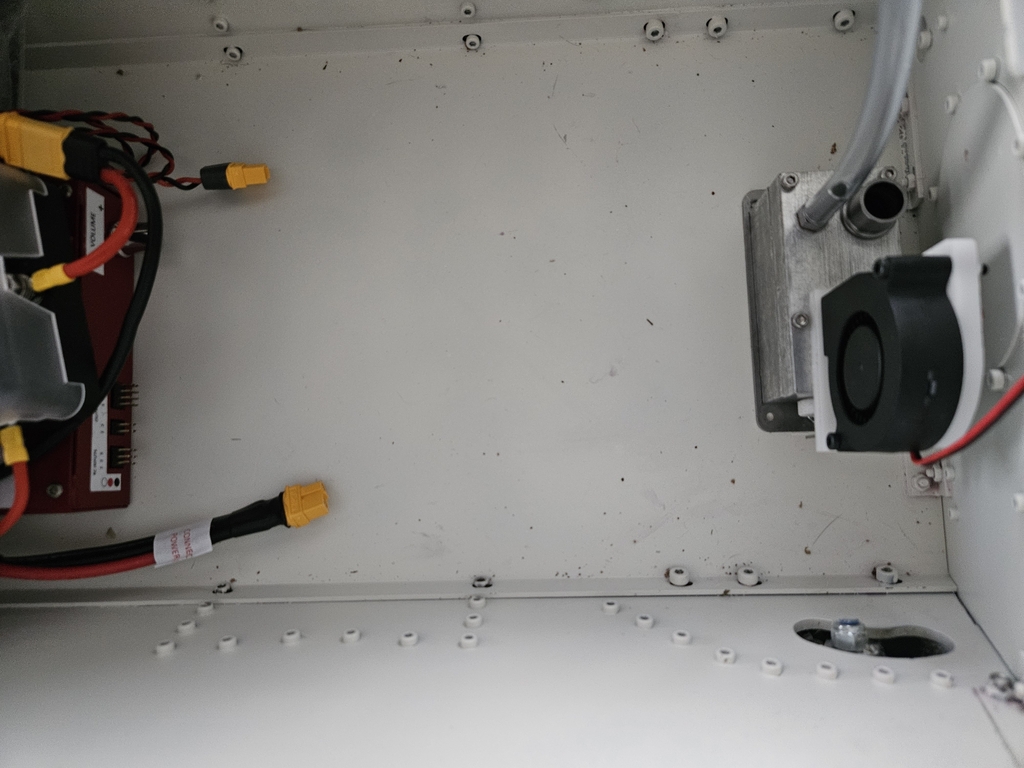
The smoke generator has also found its place. A little less "wasteful" would have been cool, but that's how it's intended, and that's how it's currently mounted. Maybe I'll change that later.
Next, we moved on to the aiming and traversing mechanism for the cannon, as well as the barrel recoil.
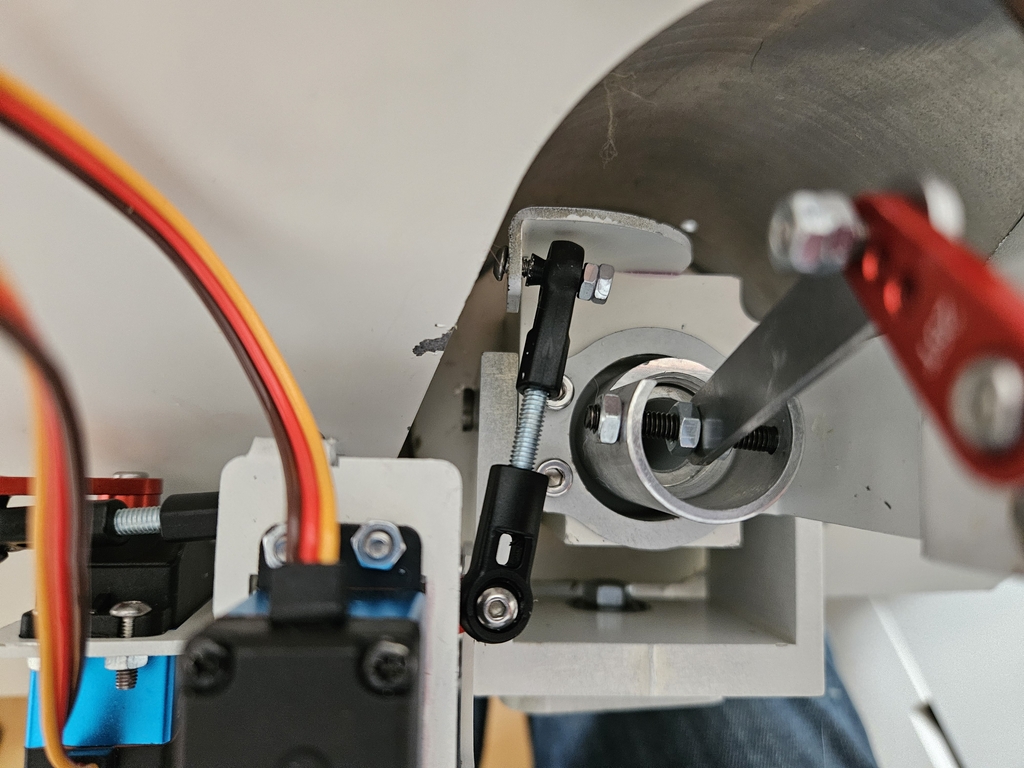
In my previous post I mentioned the collision of the mechanic with the cannon housing. This is how I solved it:
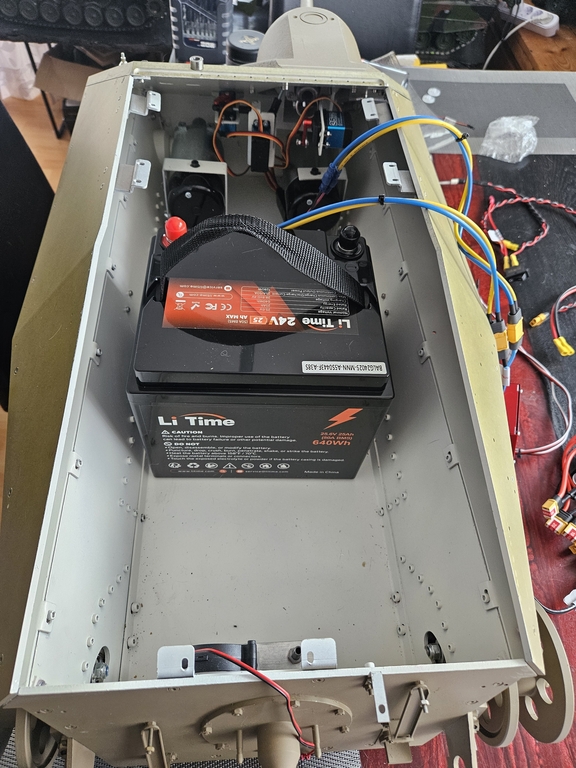
Now it's time to install the new LiFePo battery. Luckily, a standard 24V/25Ah battery fits.
Then it was time to wire up all the components before they found their final place in the tank.
Unfortunately, it looks a bit wild, since the servos are already installed.

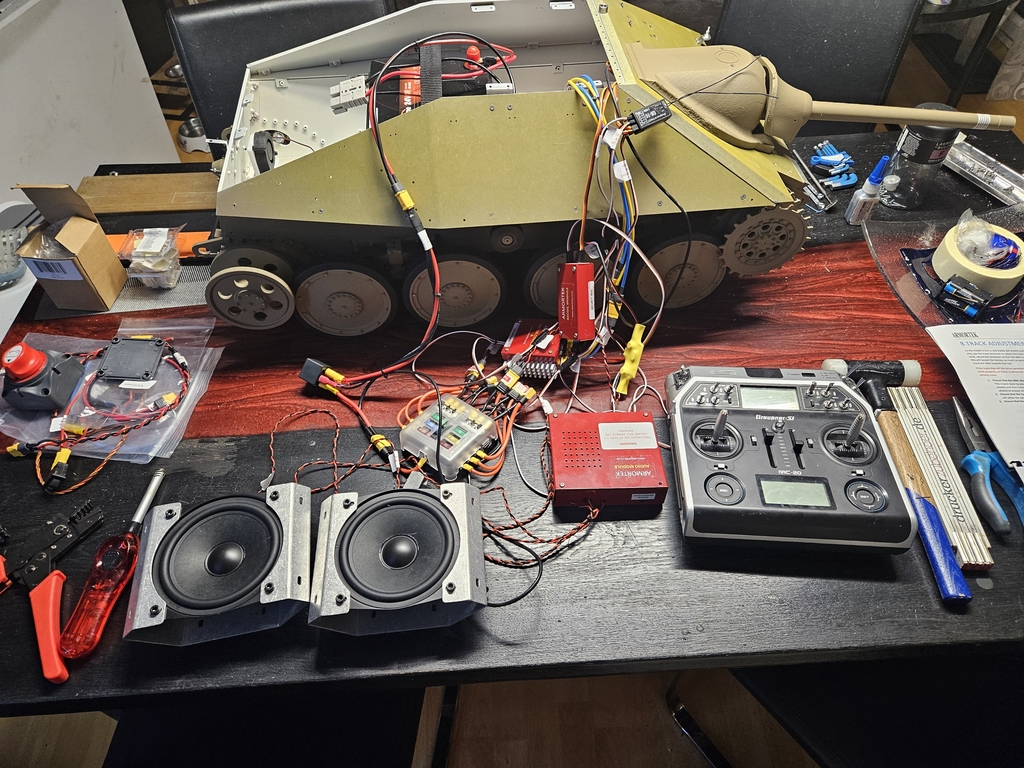
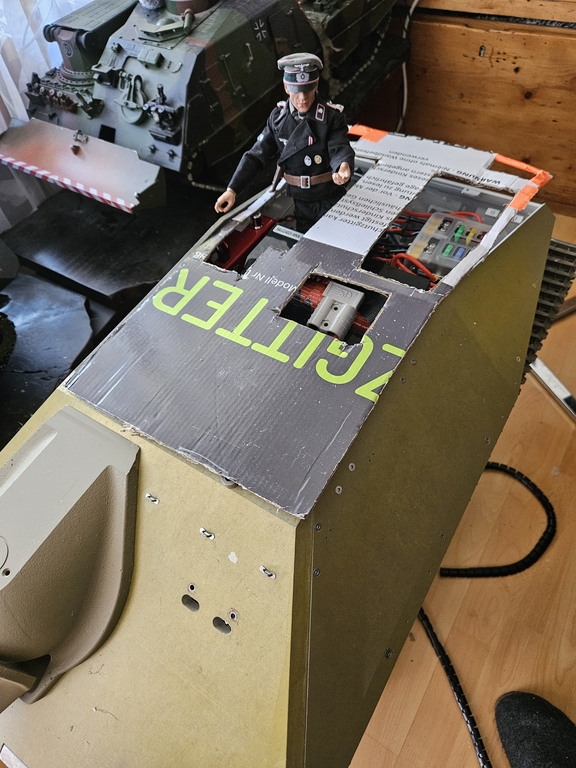
I'm currently busy installing the components, which will take some time. Only if everything is 100% functional, I will install all insinde the tank. To ensure the switches, speaker controls, and fuses are accessible later, I made a cardboard template to mark the position of the hatches.
The tank commander even came by to test the seat. ;D
Best regards
Timo


